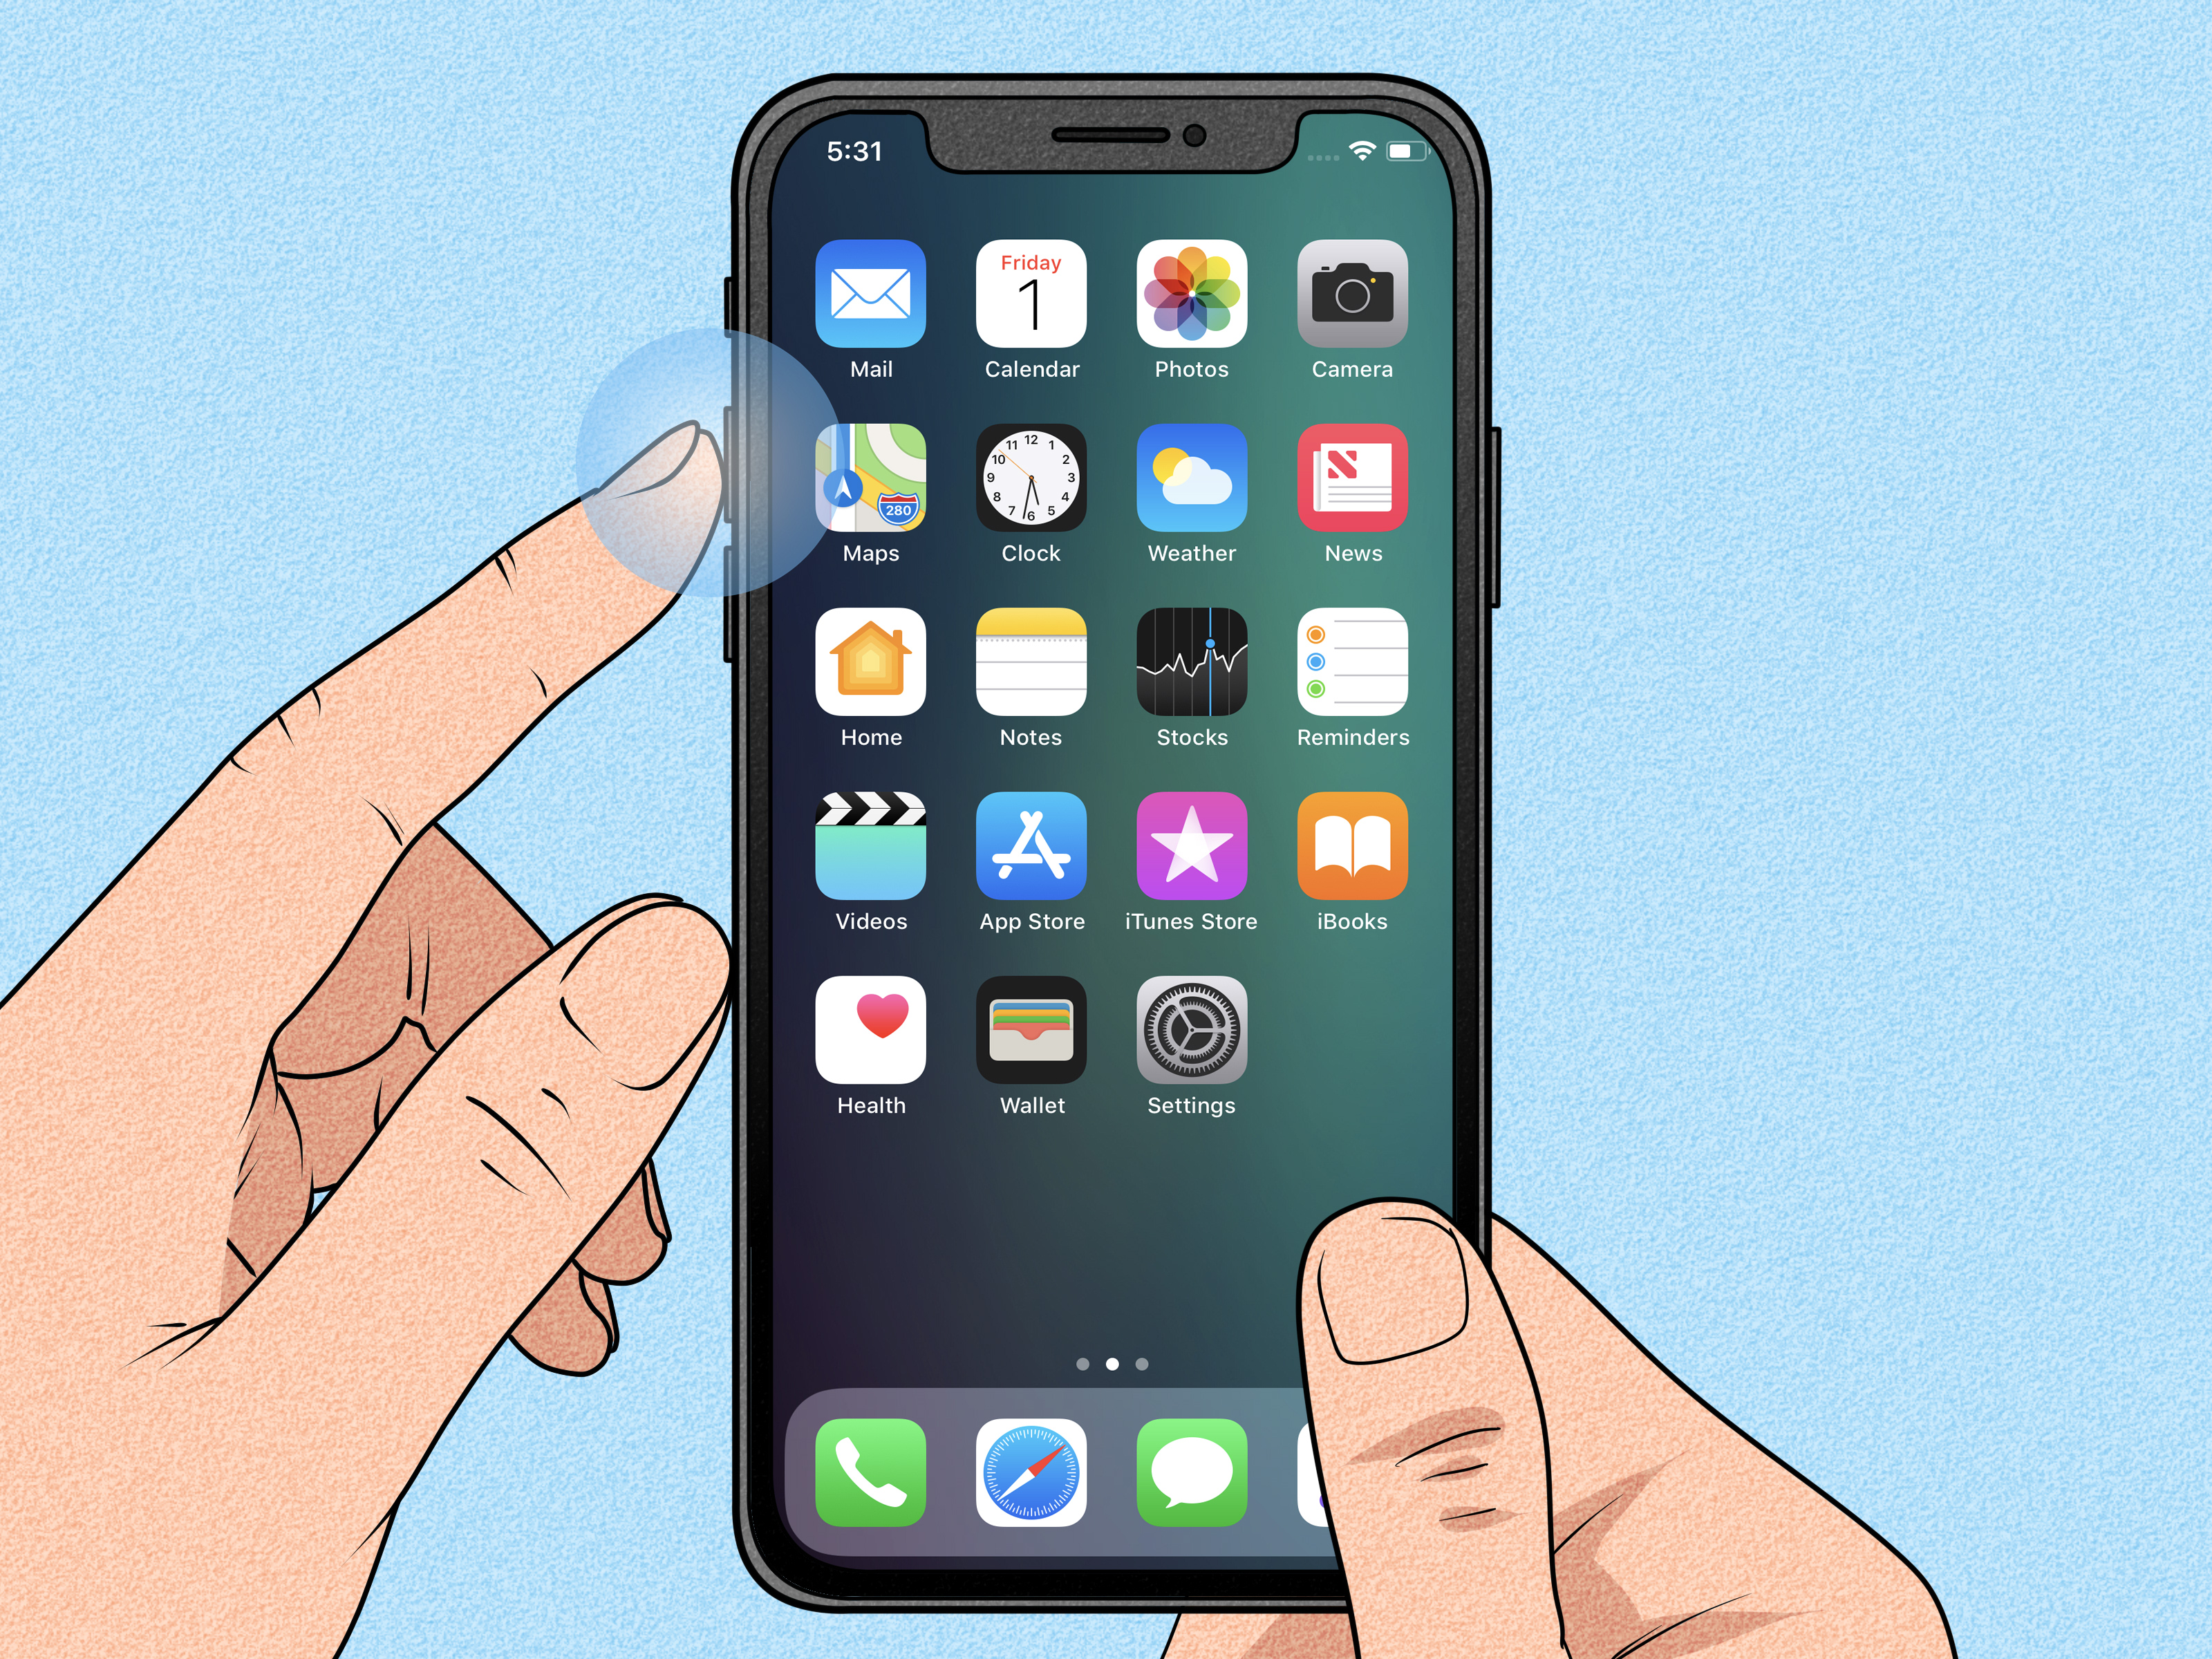
An iPhone can freeze at the worst possible moment: during a payment, halfway through directions, or exactly when you are trying to prove that the family group chat really did say “7:00 p.m.” The right reset depends on whether the phone is frozen, misconfigured, being sold, lost, or locked behind a forgotten passcode.
First, separate two commonly confused terms. A hard reset often means a force restart, which reboots the iPhone without deleting personal data. A factory reset removes local apps, accounts, settings, and data. Confusing them can turn a five-second fix into an afternoon of reinstalling apps.
Before You Reset: Choose the Least Destructive Fix
Use the lightest tool that matches the problem. Start with a force restart for a frozen screen, reset settings for persistent configuration trouble, and erase the phone only for resale, a clean start, loss, or passcode recovery.
Whenever the iPhone is usable, make a fresh backup. For iCloud, open Settings > [your name] > iCloud > iCloud Backup and tap Back Up Now. On a computer, use Finder on a current Mac or Apple Devices on Windows. Encrypt a computer backup when you need Health and Activity data, and store that encryption password safely.
Confirm that you know the Apple Account credentials linked to the phone. Activation Lock can still require them after an erase.
Method 1: Force Restart a Frozen iPhone
A force restart is the safest answer when the screen is black, touch input does nothing, or the normal power-off slider will not appear. It reboots iOS and does not erase apps, photos, messages, or settings.
For iPhone 8 or Later, Including Newer iPhone SE Models
- Press and quickly release the Volume Up button.
- Press and quickly release the Volume Down button.
- Press and hold the Side button.
- Release the Side button when the Apple logo appears.
The first two presses should be quick. Do not hold all three buttons at once; that is the wrong dance routine.
For iPhone 7 or iPhone 7 Plus
Press and hold the Side button and Volume Down button together until the Apple logo appears.
For iPhone 6s, iPhone SE (1st Generation), or Earlier
Press and hold the Home button and the Side or Top button together until the Apple logo appears. If the phone remains dark, charge it and try again before assuming the hardware has failed.
When This Method Is Best
Choose this for a one-time freeze, black screen, stuck app, or failed shutdown. If the problem keeps returning, investigate storage, software updates, apps, or hardware. A force restart is a reboot, not a tiny superhero cape.
Method 2: Reset All Settings Without Deleting Personal Data
Reset All Settings is useful when the iPhone starts normally but Wi-Fi, Bluetooth, keyboard, location, privacy, or other system behavior remains unreliable after a restart.
- Open Settings.
- Tap General.
- Tap Transfer or Reset iPhone.
- Tap Reset.
- Select Reset All Settings.
- Enter the passcode and confirm when prompted.
This option returns system settings to their defaults but leaves photos, messages, apps, and documents in place. Expect to reconnect to Wi-Fi, review permissions, and adjust preferences afterward. Apple recommends restarting first because this reset is rarely necessary.
Do Not Tap the Wrong Reset Option
The Reset menu also contains targeted commands for network settings, keyboard dictionary, Home Screen layout, and location and privacy. Choose the narrowest option that matches the problem; changing every lock because one drawer squeaks is excessive.
Method 3: Factory Reset Through the Settings App
This is the standard full reset for an iPhone you can unlock. Use it when selling, trading in, giving away, starting fresh, or addressing serious software trouble after safer fixes have failed.
- Create and verify a backup.
- Open Settings.
- Tap General.
- Tap Transfer or Reset iPhone.
- Tap Erase All Content and Settings.
- Review the summary of what will be removed, then tap Continue.
- Enter the device passcode or Apple Account password if requested.
- Confirm the erase and allow the iPhone to restart.
The process deletes local information and returns the phone to the setup screen. With Stolen Device Protection enabled, sensitive changes may require Face ID or Touch ID, and a security delay can apply away from familiar locations. Plan ahead before meeting a buyer while both of you stare politely at a countdown.
Should You Keep or Delete the eSIM?
An eSIM-equipped iPhone may offer a choice to keep or remove the eSIM. Keep it for your own continued use. Remove it for a new owner, but contact the carrier when cancellation or transfer is required; deleting an eSIM does not necessarily cancel the plan.
Preparing the iPhone for a New Owner
Before a sale or trade-in, unpair an Apple Watch, back up important data, follow the sign-out prompts, erase the device, and remove it from trusted devices as appropriate. When switching to a non-Apple phone, deregister iMessage so future texts do not wander into the Apple ecosystem like lost tourists.
Method 4: Remotely Erase an iPhone with Find My
A remote erase is designed for an iPhone that is lost, stolen, inaccessible, or no longer nearby. In Find My on another Apple device, or Find Devices through iCloud in a browser, sign in, select the missing iPhone, and choose Erase This Device or Erase iPhone.
If the phone is offline, the request can begin when it reconnects. Activation Lock can remain active while the device stays associated with Find My. For a stolen iPhone, Apple advises against removing it from Find My after erasing, because removal also removes Activation Lock.
Use Remote Erase as a Security Decision, Not a Reflex
Try to locate and mark the phone as lost when recovery still seems realistic. Erasing is a privacy decision, not a dramatic button to press because the iPhone hid under a couch cushion for six minutes.
Method 5: Restore an iPhone in Recovery Mode with a Mac or PC
Recovery mode is the heavy-duty option when the iPhone is disabled, the passcode is forgotten, startup is stuck, an update has failed, or normal erasing is impossible. It erases the iPhone and reinstalls iOS, after which you can set up as new or restore a backup.
What You Need
Use a compatible cable and an updated Mac or Windows PC. Open Finder on a current Mac or Apple Devices on Windows. Turn off the iPhone, then connect it while holding the correct model-specific button until the computer-and-cable recovery screen appears.
Recovery Mode Button Sequence
- iPhone 8 or later: Connect the cable while holding the Side button, and continue holding until the recovery screen appears.
- iPhone 7 or iPhone 7 Plus: Use the Volume Down button while connecting and continue holding.
- iPhone 6s, iPhone SE (1st generation), or earlier: Use the Home button while connecting and continue holding.
Locate the iPhone in Finder or Apple Devices and choose Restore. If the download takes long enough for the iPhone to leave recovery mode, let it finish, then repeat the button sequence.
Forgotten Passcode Shortcut
On supported iOS versions, an unavailable or Security Lockout screen may offer Forgot Passcode? and an on-device reset flow. It requires network access, previously enabled Find My, and the Apple Account password, and it still erases the phone. Otherwise, use computer recovery mode.
Which iPhone Reset Method Should You Choose?
| Situation | Recommended Method | Deletes Personal Data? |
|---|---|---|
| Frozen screen or unresponsive iPhone | Force restart | No |
| Persistent Wi-Fi, Bluetooth, privacy, or settings issue | Reset All Settings | No |
| Selling, trading in, or starting fresh | Erase All Content and Settings | Yes |
| Lost or stolen device | Remote erase with Find My | Yes |
| Forgotten passcode, failed restore, or startup problem | Recovery mode restore | Yes |
Common Reset Mistakes to Avoid
Assuming Everything Is Already Backed Up
Check the date of the latest backup and confirm that important photos, files, messages, authentication credentials, and app data exist somewhere safe. Syncing with iCloud and creating an iCloud Backup are related but not identical.
Forgetting Account and eSIM Details
Activation Lock may request the previously connected Apple Account even after an erase. Removing an eSIM may also require carrier help before service works again. Resolve both issues before selling or resetting whenever possible.
Restoring the Same Problem
If a software problem returns immediately after restoring a backup, briefly test the iPhone as a new device. That can help separate a hardware or iOS issue from a troublesome configuration or app state stored in the backup.
Real-World Reset Experiences: What the Process Usually Feels Like
The most common reset experience begins with panic and ends with an ordinary reboot. A user sees a black screen after opening the camera or switching between demanding apps. The Side button seems useless, and repeated taps only produce increasingly personal negotiations with the phone. A correctly timed force restart often brings back the Apple logo. Nothing is erased, notifications return, and the main lesson is that timing matters more than how aggressively the buttons are pressed.
A second common scenario involves a phone that works but has become mysteriously bad at one job. Perhaps it connects to every Wi-Fi network except the home router, Bluetooth audio drops during calls, or location permissions behave inconsistently after years of upgrades and migrations. Reset All Settings can help, but the aftermath surprises people. The photos and apps remain, yet familiar conveniences need attention: Wi-Fi passwords must be entered again, permissions may need review, and carefully tuned preferences return to defaults. The reset feels less like moving houses and more like a very efficient roommate reorganizing every drawer without throwing anything away.
The full factory-reset experience is more emotional because the screen warns exactly what is about to disappear. People who back up first usually describe the process as uneventful. The iPhone erases, displays the Hello screen, and offers restoration options. The waiting happens afterward as apps download, photos repopulate, messages synchronize, and background indexing continues. The phone may feel warm or use more battery for a while during this rebuilding period. That does not automatically mean the reset failed; the device is doing the digital equivalent of unpacking boxes after a move.
Trade-in resets produce a different kind of tension. The owner is often standing in a store or meeting a buyer and suddenly discovers an Apple Account password is required, Stolen Device Protection has triggered extra authentication, or the eSIM decision is unclear. The smoother experience comes from preparing at home: verify the backup, unpair accessories, transfer service, confirm account credentials, and begin the erase while connected to reliable Wi-Fi and power. A reset performed under fluorescent store lighting with three people watching is scientifically proven to make every password harder to rememberat least emotionally.
Recovery mode feels the most technical, but it is mostly a matter of patience and timing. Users commonly release the button when the Apple logo appears, which starts a normal boot instead of recovery mode. The correct move is to keep holding until the computer-and-cable screen appears. Another frequent surprise occurs when the computer spends time downloading iOS and the iPhone exits recovery mode. The fix is not to throw the cable into the nearest drawer; let the download finish, then repeat the button sequence and restore.
Finally, a remote erase brings a security-focused experience. It can provide peace of mind when a phone is truly lost, but it should follow a deliberate attempt to locate and secure the device. Owners sometimes remove the erased iPhone from Find My too quickly, not realizing that keeping it associated can preserve Activation Lock. The practical lesson across all five methods is simple: identify the problem, back up what matters, choose the least destructive reset, and read every confirmation screen. The iPhone is fast, but it still cannot distinguish a careful tap from an impulsive one.
Conclusion
There is no universal hard reset for every problem. Force restart preserves data; Reset All Settings fixes configuration trouble; Erase All Content and Settings creates a clean start; Find My protects a missing device; and recovery mode handles a locked or disabled iPhone.
Start small, back up first, confirm Apple Account and eSIM details, and erase only when necessary. That approach creates fewer “Where did all my photos go?” moments.