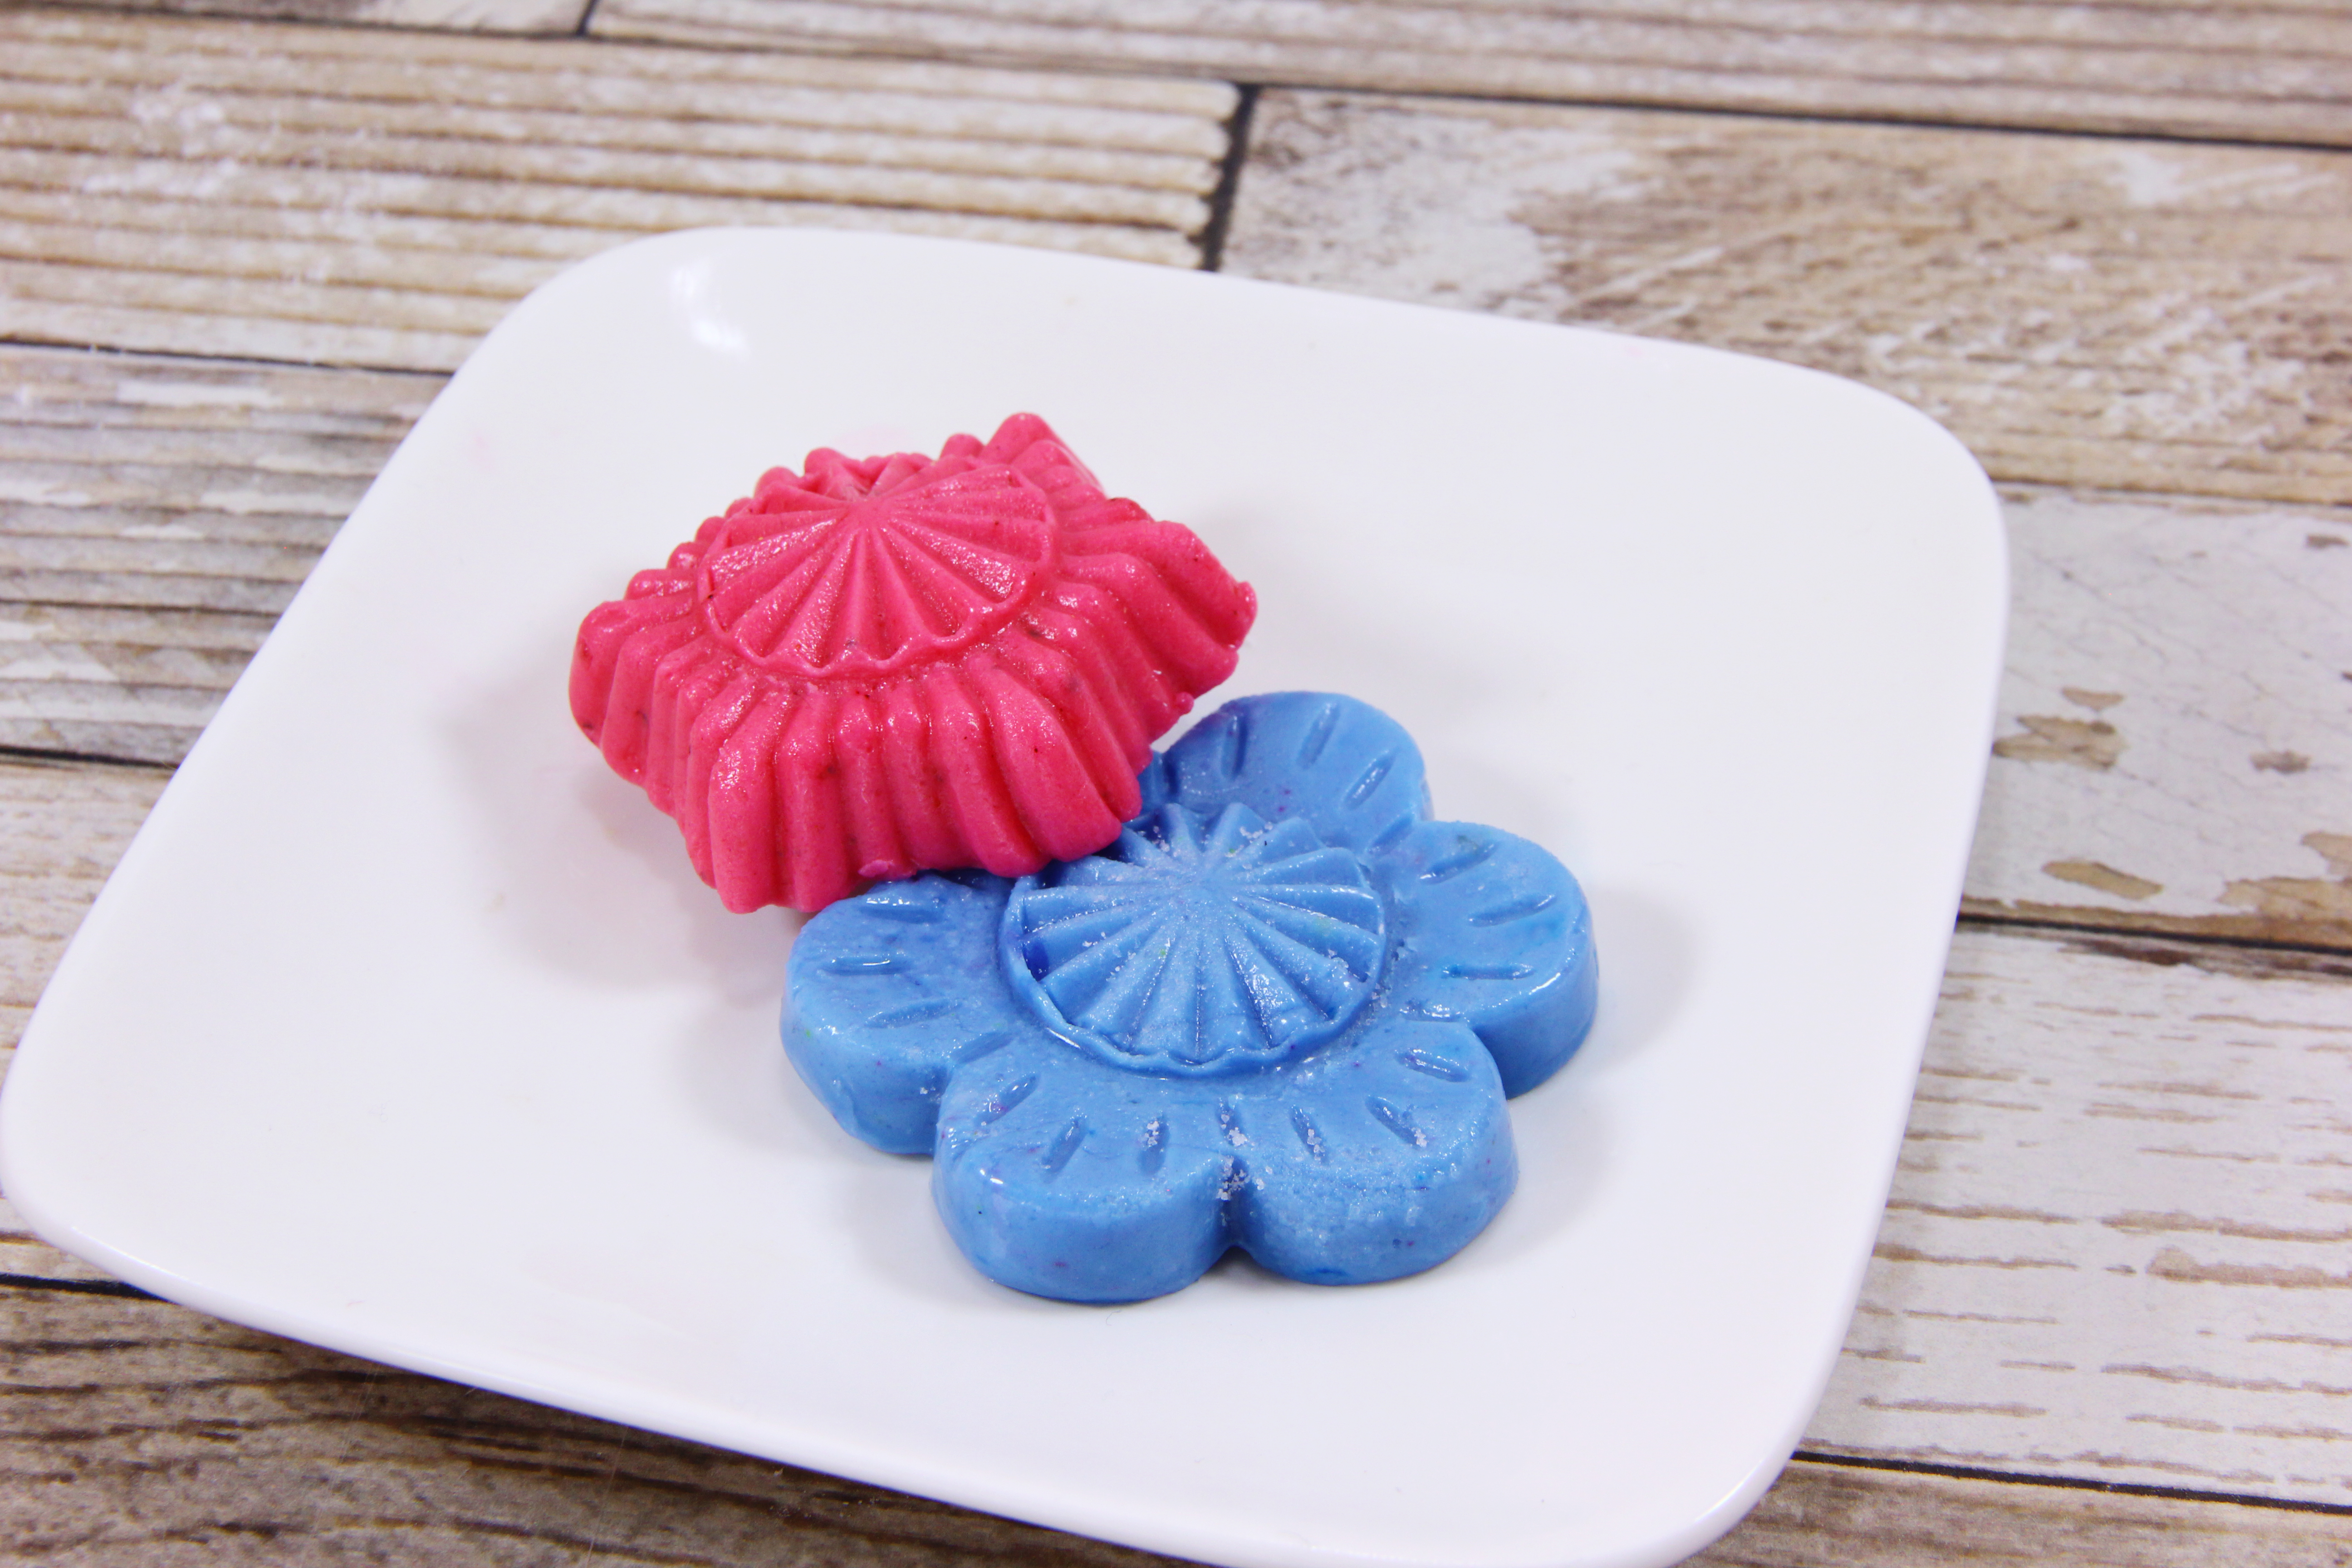
Fondant flowers can turn an ordinary cake into a miniature sugar garden. They work on wedding cakes, birthday cakes, cupcakes, cookies, and any dessert that looks as though it could use a little botanical drama. Best of all, you do not need the patience of a museum sculptoror a kitchen full of mysterious professional equipmentto make them.
This guide explains three ways to make fondant flowers, beginning with simple cut-out blossoms, moving to hand-shaped roses, and finishing with dimensional flowers featuring realistic petals. Each method includes practical tools, step-by-step instructions, troubleshooting advice, and ideas for arranging the finished decorations.
What Are Fondant Flowers?
Fondant flowers are edible cake decorations shaped from rolled fondant, a flexible sugar-based icing with a texture similar to soft modeling clay. Fondant can be colored, rolled, cut, molded, embossed, painted, and dried, making it especially useful for decorative flowers and leaves.
Standard rolled fondant works well for flat blossoms, thick petals, and simple roses. For delicate flowers that must hold a curved shape, many decorators strengthen fondant with an edible gum powder such as tylose or CMC. Another option is to combine fondant with gum paste. The firmer mixture can be rolled more thinly and generally dries faster than plain fondant.
Fondant flowers can be prepared well before the cake itself. Once completely dry, they may be stored in a dry, covered container until decorating day. That means fewer last-minute conversations with yourself about why you decided a six-tier sugar garden was a sensible weekend project.
Technique background synthesized from Wilton, Better Homes & Gardens, Allrecipes and Craftsy.
Tools and Supplies for Making Fondant Flowers
You can make basic fondant flowers with items already found in many kitchens. Specialty tools improve consistency, but they are not mandatory for the beginner methods.
Essential supplies
- Rolled fondant in white or your preferred colors
- Gel or paste food coloring
- A small nonstick rolling pin
- Cornstarch or confectioners’ sugar for dusting
- A sharp paring knife or small pizza cutter
- Small paintbrushes reserved for food use
- Water, edible glue, or royal icing for attaching pieces
- Parchment paper or a silicone work mat
Helpful decorating tools
- Flower-shaped fondant cutters in several sizes
- Foam shaping pads
- A ball tool for thinning and curling petals
- Petal and leaf veiners
- Silicone flower molds
- Small bowls, egg cartons, or curved drying forms
- Edible petal dust and luster dust
- Food-safe flower picks for wired arrangements
Gel coloring is usually easier to control than watery liquid food coloring because it adds strong color without introducing much extra moisture. Begin with a tiny amount, knead it thoroughly into the fondant, and add more only when necessary. Fondant colors often deepen slightly as they rest, so stop before your pale blush pink becomes emergency-exit-sign red.
Rolling, coloring and dusting guidance synthesized from Better Homes & Gardens, Food Network, Wilton and Bob’s Red Mill.
Prepare the Fondant Before Shaping Flowers
Knead the fondant until it feels smooth, flexible, and free of cracks. If it is extremely firm, warm a small piece between your hands. Avoid overheating it, because overly warm fondant can become sticky and difficult to cut cleanly.
Lightly dust the work surface and rolling pin with cornstarch or confectioners’ sugar. Use only enough to prevent sticking. Excess powder can dry the surface, leave pale patches, and make it harder to attach petals.
Keep unused fondant tightly wrapped in plastic while you work. Even a short period of exposure can create a dry outer skin. That skin will later appear as cracks along the edges of your petals, usually at the exact moment you begin feeling proud of yourself.
Method 1: Easy Cut-Out Fondant Flowers
Cut-out blossoms are the fastest and most beginner-friendly fondant flowers. They are ideal for cupcakes, cookies, children’s birthday cakes, spring desserts, and floral borders. A single-layer flower takes only a few minutes, while stacked blossoms create a more detailed appearance without significantly increasing the difficulty.
Step 1: Roll the fondant
Roll the fondant to approximately 1/8 inch thick. For flowers that will lie flat against a cake, you can roll it slightly thinner. Keep the thickness consistent so all the flowers dry at roughly the same rate.
Step 2: Cut the flower shapes
Press a flower cutter firmly into the fondant. Twist it gently before lifting to help create clean edges. If you do not own flower cutters, use the wide end of a piping tip to cut circles and transform them into flowers by pinching or trimming the edges into petals.
Step 3: Shape the petals
Place each cut-out on a foam pad. Run a ball tool gently around the outer edges of the petals to make them thinner and slightly ruffled. Press the center with the rounded end of the tool so the petals lift upward.
Without a foam pad, place the flower on a folded clean kitchen towel. The surface will have more give than a cutting board and can help prevent hard tool marks.
Step 4: Add the center
Roll a tiny piece of contrasting fondant into a ball and flatten it in the center of the flower. Attach it with a very small amount of water or edible glue. You may also use royal icing, sugar pearls, sprinkles, or several tiny fondant dots to create a textured center.
Step 5: Dry the flowers
Leave the blossoms flat for simple decorations, or place them in shallow cups, clean egg cartons, or flower-forming trays for a curved shape. Allow them to dry uncovered in a cool, dry room until they hold their form.
Creative variations
Stack two or three cut-outs in decreasing sizes for layered blossoms. Rotate each layer so the petals do not sit directly on top of one another. Try yellow centers with white petals for daisies, dark centers with bright petals for cheerful fantasy flowers, or several shades of the same color for an elegant ombré design.
Cut-out and wire-free flower methods synthesized from Wilton, Decorated Treats, Dani’s Cookings and Bob’s Red Mill.
Method 2: Hand-Shaped Fondant Roses
A fondant rose looks sophisticated, yet its basic construction is surprisingly forgiving. Real roses are not perfectly symmetrical, so a slightly uneven petal often makes the finished sugar flower look more natural. Conveniently, this is also an excellent excuse when one side develops an unexpected personality.
Step 1: Make the rose center
Roll a small piece of fondant into a ball, then taper one end to create a teardrop or cone. This center should be slightly shorter than the petals that will surround it. Set it aside while preparing the first row.
Step 2: Form the petals
Roll several small fondant balls of similar size. Flatten each ball between your fingers or beneath a piece of food-safe plastic. Thin the upper edge of each petal while leaving the base slightly thicker for strength.
For a small rose, prepare approximately seven to ten petals. Larger roses may require fifteen or more, with the outer petals gradually increasing in size.
Step 3: Wrap the first petal
Brush the lower portion of one petal with a trace of water or edible glue. Wrap it snugly around the cone, leaving the top edge slightly open. This creates the tightly curled center of the rose.
Step 4: Add the inner row
Attach two or three petals around the center. Overlap them so the right side of each petal sits over the left side of the next one. Keep these petals relatively upright to imitate a young rosebud.
Step 5: Build the outer rows
Add larger petals around the rose, staggering the seams. Gently curl the upper edges outward with your fingers or a ball tool. As the flower expands, angle each new row farther away from the center.
Step 6: Trim and dry
Pinch or cut away excess fondant from the base. Place the rose upright in a small cup, molded foil support, or flower-forming tray. Let it dry until the petals remain stable when handled.
An easier ribbon-rose variation
For an even faster flower, roll fondant into a long strip. Thin one long edge, then loosely roll the strip into a spiral. Pinch the bottom while opening and curling the upper edge. Ribbon roses are less realistic, but they are charming, quick, and perfect for cupcake toppers.
Method 3: Dimensional and Realistic Fondant Flowers
The third method uses individually shaped petals to create larger, more realistic flowers such as peonies, hibiscus blooms, lilies, poppies, or open garden roses. These decorations require more drying time, but the process is simply a series of small, manageable steps.
Step 1: Strengthen the fondant
Knead a suitable edible gum powder into the fondant according to the product instructions, or combine fondant with gum paste. Wrap the mixture and allow it to rest briefly. It should feel firm enough to roll thinly without tearing.
Step 2: Cut separate petals
Roll the fondant thinly and cut individual petals in several sizes. A realistic flower usually has smaller petals near the center and larger petals around the outside. Keep the uncut fondant and finished pieces covered while working so their edges remain flexible.
Step 3: Thin and texture each petal
Place a petal on a foam pad and move a ball tool along its edge using light, steady pressure. The tool should sit partly on the fondant and partly on the foam. This thins the edge while encouraging a natural curl.
Press the petal into a silicone veiner, or draw faint veins with a modeling tool. Avoid carving deep lines. Botanical texture is subtle; your flower should not look as though it has been scratched by a tiny garden rake.
Step 4: Dry petals in curved positions
Arrange the petals over spoons, molded foil, flower cups, or pieces of foam. Vary the curves and angles so the finished flower does not look mechanically uniform. Let the petals become firm before assembling them.
Step 5: Assemble the flower
Begin with a fondant center or dried cone. Attach the smallest petals first, followed by medium and large petals. Edible glue works well for lightweight pieces. Thick royal icing can provide extra support where several petals meet.
For a fully edible, wire-free flower, assemble the bloom on a small fondant base and place it directly on the cake after it dries. For wired sugar flowers, use only appropriate cake-decorating materials and isolate the stems from the cake with food-safe flower picks or another purpose-made barrier. Never push bare craft wire or floral tape directly into food, and remove structural decorations before serving.
Drying and assembly practices synthesized from Wilton, Cake Central, Florea Cakes and Craftsy.
Step 6: Add finishing color
Once the flower is dry, brush edible petal dust near the center, along the edges, or inside the folds. Build color gradually. Several translucent layers generally look more natural than one heavy layer.
For painted details, mix edible dust with a small amount of food-safe decorating liquid recommended by the manufacturer. Apply fine dots, stripes, or shadows with a food-only brush and let the color dry completely.
How Long Do Fondant Flowers Need to Dry?
Drying time depends on the thickness of the fondant, the size of the flower, the amount of gum powder used, and the humidity of the room. Small cut-out blossoms may become firm within several hours. Thick roses and large dimensional flowers may require 24 to 48 hours or longer.
Humidity is the great practical joker of sugar work. Marshmallow fondant and other soft formulas can remain sticky longer in moist conditions. Do not place drying flowers in the refrigerator, where condensation may soften them or damage painted details. Instead, choose a cool room with low humidity and gentle air circulation.
Make extra flowers whenever possible. Delicate petals can break during coloring, transport, or assembly, and a spare blossom is more useful than a dramatic speech directed at the kitchen ceiling.
Drying and humidity guidance synthesized from Wilton, The Spruce Eats, Favorite Family Recipes and Cake Central.
How to Store Fondant Flowers
Allow every flower to dry completely before storing it. Place the decorations in a sturdy cardboard box or food-safe container lined with parchment paper. Separate delicate layers with soft tissue or paper towel, taking care not to place heavy flowers on top of thin petals.
Store the container at room temperature in a dry location away from sunlight, steam, and strong odors. Direct light can fade colored fondant and petal dust. Avoid airtight storage when flowers contain residual moisture, because trapped humidity may soften the petals.
Do not freeze fondant flowers. Refrigeration can also cause condensation when the decorations return to room temperature. If the completed cake must be chilled, add the most delicate dried flowers as close to serving time as practical.
How to Attach Fondant Flowers to a Cake
Small, lightweight flowers can be attached with a dot of water, edible glue, melted candy coating, buttercream, or royal icing. Water should be used sparingly because too much can dissolve the sugar and create shiny streaks.
Royal icing is useful for heavier flowers on a fondant-covered cake because it dries firm. Buttercream works well on buttercream cakes, although flowers may slowly absorb moisture if left in contact with soft frosting for a long period.
Plan the arrangement before applying adhesive. Place the flowers loosely on a clean work surface in the approximate design, then transfer them one by one. Start with the largest focal flowers, add medium blossoms, and fill empty spaces with tiny flowers, buds, or leaves.
Common Fondant Flower Problems and Fixes
The fondant cracks around the petal edges
The fondant may be too dry or may have remained uncovered too long. Knead it until flexible and use a trace of vegetable shortening if appropriate for the fondant formula. Work with smaller portions and keep the rest wrapped.
The fondant sticks to the cutter
Lightly dip the cutter in cornstarch, tap away the excess, and cut again. Make sure the fondant is not overly warm or soft.
The petals lose their shape
The material may be too soft or thick. Add an edible gum powder according to its directions, roll the fondant more thinly, and allow individual petals to firm before assembling the entire flower.
The flower looks bulky
Thin the upper edges of each petal while keeping the base thick enough for support. Use less adhesive, overlap petals carefully, and trim excess material from the bottom.
Petal dust looks patchy
Make sure the flower is completely dry. Apply a small amount of dust with a soft brush, tap off excess powder, and build the shade gradually.
The flower breaks during assembly
Handle dried pieces by their thicker bases rather than their edges. Assemble over a padded surface and prepare spare petals before beginning.
Design Ideas for Decorating With Fondant Flowers
Create a floral cascade that begins on the top tier and travels diagonally down the side of a cake. For a modern design, place three oversized flowers in an asymmetrical cluster and leave the rest of the cake simple.
Miniature blossoms can form a wreath around a cake’s top edge or a border around individual cupcakes. Monochromatic flowers in several shades create an elegant look, while contrasting colors feel cheerful and playful.
Add fondant leaves, vines, berries, buds, or tiny filler flowers to make an arrangement appear fuller. Odd-numbered groupssuch as three, five, or seven flowersoften create a naturally balanced composition.
Hands-On Experience: What Making Fondant Flowers Teaches You
The first practical lesson of fondant flower making is that preparation matters more than speed. A beginner often starts by rolling a large sheet of fondant and cutting twenty flowers at once. By the time the final blossom is ready to be shaped, half the pieces have developed dry edges. Working in smaller batches produces cleaner petals and creates a calmer decorating rhythm.
Cut-out blossoms are the best confidence builders. The first few may look flat, but pressing the center into a curved drying form immediately changes their character. Adding a second, smaller blossom on top makes the flower look far more detailed than the effort suggests. This is the decorating equivalent of wearing a blazer over a plain shirt: suddenly everything appears intentional.
Hand-shaped roses teach a different lesson. The flower usually looks strange during the first few petals. The center may resemble a tiny wrapped vegetable, and the first row can appear too tight. The rose begins to make visual sense only after the outer petals are added. New decorators often pull the flower apart too early because they judge it before the full shape has developed.
The most convincing roses are rarely the most symmetrical ones. Slightly curled edges, uneven openings, and petals placed at different angles give the flower movement. When every petal is identical, the rose may look more like a decorative cabbage. That is not necessarily a tragedycabbages deserve representationbut it may not be the intended result.
Dimensional flowers teach patience. Thin petals need time to firm, especially in humid weather. Trying to assemble them while they are still soft causes the lower petals to collapse beneath the weight of the upper layers. Allowing each stage to dry turns a frustrating project into a controlled one.
Color is another area where experience changes the result. Bright fondant can look attractive on its own but overwhelming when several flowers are grouped together. Muted shades, gentle gradients, and small touches of petal dust often create a more polished arrangement. Mixing a tiny amount of ivory, brown, or a complementary shade into a strong color can soften it without making it dull.
Decorators also learn quickly that edible glue is not improved by enthusiasm. Too much adhesive makes petals slide, creates glossy marks, and may soften dried fondant. A barely damp brush is usually enough for fresh pieces. Heavier decorations can be secured with royal icing or another suitable edible adhesive.
Making flowers ahead of time is one of the greatest practical advantages of fondant decorating. Completing them several days before the cake allows time for drying, repair, color adjustments, and replacements. It also keeps decorating day focused on frosting, stacking, and arrangement rather than emergency petal surgery.
The final lesson is to stop before the cake becomes crowded. A tray full of finished flowers can tempt a baker to use every single one. Begin with the largest blooms, step back, and examine the composition. Empty space allows the flowers to stand out. Save the extras for cupcakes, cookies, or the inevitable moment when somebody asks whether you can make “just one more small cake.”
Conclusion
Learning how to make fondant flowers becomes much easier when the process is divided into three approaches. Cut-out blossoms provide quick results for beginners, hand-shaped roses build confidence with individual petals, and dimensional flowers introduce advanced shaping, texture, drying, and coloring techniques.
Start with a small batch, keep unused fondant covered, use adhesive sparingly, and give every flower enough time to dry. Perfection is not required. Real flowers are full of irregular curves and unexpected shapes, so minor differences often make sugar flowers look more believable.
With a few cutters, simple modeling tools, and a little practice, fondant can become daisies, roses, peonies, fantasy blossoms, or an entire edible gardenwithout requiring you to remember to water anything.