A beautiful home does not require a designer price tag, a delivery truck, or a mysterious relative who owns a furniture showroom. Sometimea single well-planned accent.
The smartest approach is to create one concentrated “accent zone” rather than attempting to redecorate the entire room. A painted section of wall, thrifted artwork, a small shelf, an updated vase, and warm lighting can work together as one visual feature. The result looks intentional, costs far less than replacing furniture, and can usually be completed over a weekend.
This guide explains how to build a stylish DIY home decor accent on a budget using affordable materials, secondhand finds, leftover supplies, and beginner-friendly techniques. No advanced carpentry degree is required. The ability to measure twice and sigh dramatically when something is slightly crooked will be more than enough.
Why a Small Decor Accent Can Transform a Room
An accent gives the eye somewhere to land. Without a focal point, furniture, accessories, and wall decorations may look like unrelated objects waiting for someone to introduce them. A successful accent zone connects those pieces through color, texture, shape, or theme.
Paint is one of the most affordable ways to change the mood of a room, while gallery walls, decorative mirrors, textiles, shelving, and customized secondhand pieces can add character without a full renovation. Using supplies already available at home can reduce the cost even further. is especially useful in:
- A blank wall behind a sofa or bed
- An empty entryway
- A forgotten dining-room corner
- A rental where permanent remodeling is limited
- A small room that cannot accommodate more furniture
- A home office that needs personality without additional clutter
The Budget Accent Zone: One Project, Several Affordable Layers
The featured project in this guide combines four inexpensive elements:
- A painted or removable wall backdrop
- A large piece of homemade framed art
- A narrow display shelf or existing console
- A few carefully selected accessories
These layers create the appearance of a larger makeover while keeping the shopping list under control. Instead of buying ten random decorations because they are on sale, you will build one coordinated feature. This is both cheaper and less likely to make the room resemble the clearance aisle after a mild earthquake.
Sample Budget
| Item | Estimated Cost | Money-Saving Option |
|---|---|---|
| Sample-size paint or leftover paint | $5–$15 | Use paint already stored in the garage |
| Large thrifted frame | $5–$20 | Reuse an outdated frame |
| Fabric, wallpaper remnant, or paper | $0–$15 | Use a scarf, curtain remnant, or wrapping paper |
| Narrow shelf | $10–$30 | Repurpose a board or skip the shelf |
| Decorative accessories | $0–$20 | Restyle books, plants, jars, and candles you own |
| Estimated Total | $20–$100 | Potentially less than $20 with reused materials |
Step 1: Choose the Right Location
Select one area that is visible but currently lacks a clear purpose. The wall behind a sofa is an obvious choice, but a smaller location may be easier and cheaper. Consider the space beside a reading chair, the wall above a dresser, or the end of a hallway.
Stand at the room’s entrance and notice where your eyes naturally go first. That location is often the best candidate for a focal point. Avoid choosing a wall already crowded with a television, tall storage, multiple doors, or enough electrical cords to power a small airport.
Measure Before Shopping
Measure the available width and height. Use painter’s tape to outline the proposed accent area. Leave the tape in place for a few hours and view it from different positions. This simple test helps you judge whether the design is too small, too large, or awkwardly positioned.
As a general styling approach, the artwork or grouped decoration above a sofa, console, or dresser should feel visually connected to the furniture rather than floating alone near the ceiling. Exact measurements can vary, so trust the proportions of the room instead of forcing every wall to follow one rigid formula.
Step 2: Create an Affordable Backdrop
The backdrop establishes the accent zone. It can be as simple as paint or as decorative as removable wallpaper, painted arches, stenciled patterns, faux paneling, or narrow wood strips.
Option A: Paint a Color Block
Paint only a rectangle, arch, circle, or partial wall rather than the entire room. A sample container may provide enough paint for a small shape. Use a level, pencil, string, and painter’s tape to mark the design.
For a clean modern look, choose a color several shades darker than the existing wall. For a softer result, use a warm neutral such as clay, mushroom, muted olive, dusty blue, or creamy beige. Light colors can help a small room feel more open, while a deeper backdrop creates contrast behind pale artwork and frames. se Removable Wallpaper
Peel-and-stick wallpaper can create pattern without committing to a permanent installation. To control costs, cover only the area behind a desk, console, headboard, or group of shelves.
Choose a medium-scale pattern that remains visible after artwork and accessories are added. Extremely tiny patterns may look busy, while oversized designs can disappear when used on a very narrow section.
Option C: Add Simple Architectural Texture
Thin molding, pole-wrap material, lightweight paneling, or evenly spaced wood strips can create the appearance of custom millwork. More elaborate slat walls can cost several hundred dollars, but limiting the treatment to a narrow section makes the idea more manageable. ld use removable mounting methods only when approved for the wall surface. Test adhesive products in an inconspicuous location, because “damage-free” occasionally behaves more like an optimistic suggestion than a legal guarantee.
Step 3: Make Oversized DIY Framed Art
Large artwork often creates more impact than several tiny decorations, but it can also be expensive. The budget solution is to combine a secondhand frame with inexpensive material that already has color or texture.
Materials
- One large thrifted or reused frame
- Fine-grit sandpaper
- Paint, spray paint, or wood stain
- Cardboard, foam board, or the frame’s original backing
- Fabric, wallpaper, handmade paper, wrapping paper, or a printed photograph
- Double-sided tape, adhesive, or staples
- Picture-hanging hardware appropriate for the wall
Instructions
- Remove the glass and backing from the frame.
- Clean the frame thoroughly and lightly sand glossy areas.
- Paint the frame in a color that connects with the room. Matte black feels graphic, warm white feels relaxed, and metallic gold can add vintage character.
- Cut the chosen fabric or paper slightly larger than the backing.
- Center the pattern and secure it smoothly around the backing.
- Reassemble the frame, leaving out the glass when displaying thick fabric or heavily textured material.
- Hang the finished piece at the center of the accent area.
Spray paint can quickly update an old frame, while fabric, collected photographs, botanical material, paper, and other found objects can turn an inexpensive frame into a distinctive focal point. k Fillers
- A section of patterned fabric
- A vintage scarf
- Pressed leaves or dried botanicals
- A child’s drawing enlarged through a local print shop
- A black-and-white family photograph
- A handwritten recipe copied onto textured paper
- Painted geometric shapes on inexpensive canvas
- Pages from a damaged vintage book that cannot be restored
- A simple abstract composition made with leftover wall paint
Step 4: Add a Shelf or Styling Surface
A narrow picture ledge beneath the artwork provides space for small objects without taking up much room. It also allows the display to change over time. Use a store-bought ledge, a reclaimed board with brackets, or an existing console table.
DIY shelves can be built in many shapes and sizes, but the simplest design is often the best for beginners: one straight board, two secure brackets, careful measurements, and hardware suitable for the wall. ing, use a stud finder and check for electrical or plumbing hazards. Follow the shelf manufacturer’s weight limits. A decorative shelf should hold a candle and a small plant, not your complete collection of hardcover dictionaries.
Step 5: Style the Accent Without Creating Clutter
The final layer should support the focal point, not compete with it. Begin with three to five objects in different heights. For example:
- One small lamp or battery-powered accent light
- Two stacked books
- One vase with branches
- One candle or decorative bowl
- One trailing plant
Group smaller objects instead of spreading them evenly across the surface. Leave some empty space. Negative space is not evidence that you forgot to finish decorating; it is what allows the selected pieces to be noticed.
Use Objects You Already Own
Move accessories between rooms before buying anything new. A ceramic pitcher can become a vase. A basket can become wall storage. A stack of books can raise a small lamp. Clear jars can hold branches, art supplies, or collections.
Designers and DIY publications frequently recommend refreshing rooms by rearranging furniture, displaying personal objects, repurposing household materials, and decorating with items already on hand. ld Vase
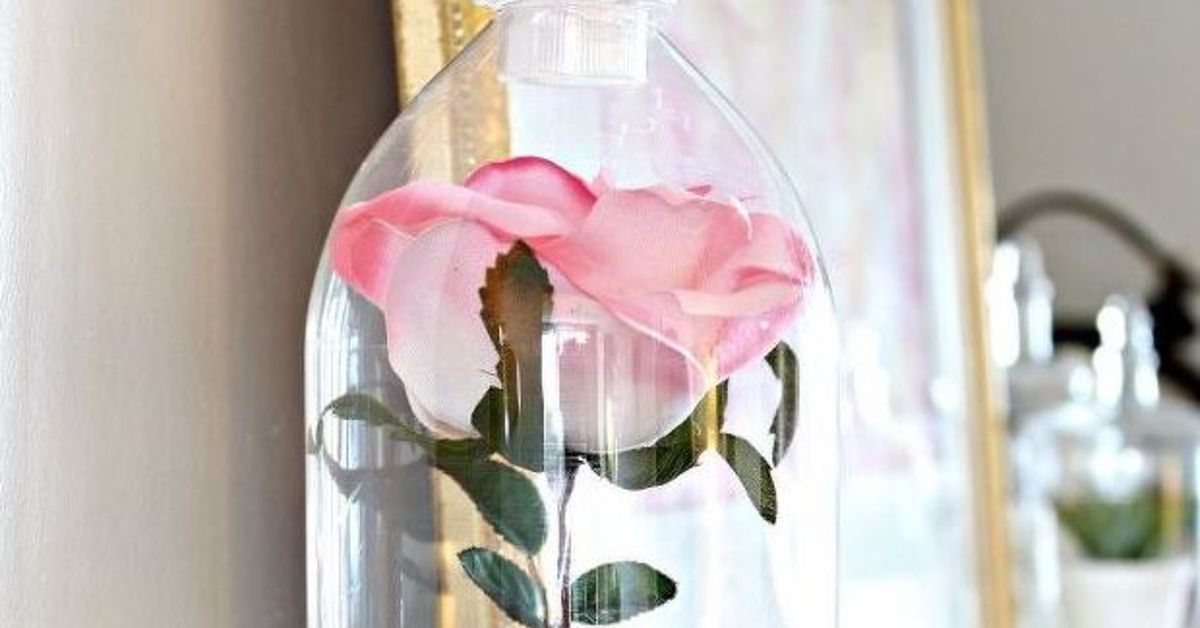
A dated vase can be painted, wrapped with cord, covered with paper, or decorated through decoupage. Paper napkins, leftover wallpaper, and fabric scraps are useful for adding pattern. Martha Stewart’s DIY guidance, for example, demonstrates how an older vessel can be transformed with cut paper and craft adhesive. me Decor Accent Ideas on a Budget
1. Thrifted Plate Gallery
Collect plates in related colors and arrange them on the wall. Mixing shapes creates personality, while a shared palette keeps the collection cohesive. Lay the arrangement on the floor before hanging it.
2. Painted Furniture Detail
Instead of repainting an entire dresser, add color to the drawer fronts, legs, or interior. Replacing knobs or pulls can complete the transformation.
3. Fabric-Covered Lampshade
Use leftover fabric to update a plain drum shade. Choose a thin material that allows light to pass safely, keep fabric away from the bulb, and use an LED bulb that produces less heat.
4. Basket Wall Storage
Mount shallow baskets as decorative storage for mail, lightweight textiles, or small accessories. Woven texture adds warmth to plain walls.
5. Faux Plaster Accent
Layered paint or specialty finishes can imitate the soft movement of Venetian plaster. Depending on the chosen method and wall size, this project may cost more than a simple painted shape, but limiting it to one accent wall helps control expenses. <e Gallery Wall
Combine photographs, postcards, children’s art, small mirrors, and thrifted frames. Paint mismatched frames in one or two colors to make the collection feel connected.
7. Nature-Inspired Display
Branches, leaves, stones, seedpods, and dried flowers can add texture with little or no cost. Use only materials that can be collected legally and responsibly, and inspect natural items before bringing them indoors.
Common Budget Decorating Mistakes
Buying Before Planning
A low price does not automatically make an item a good purchase. Ten unnecessary $8 decorations still cost $80. Decide on the location, measurements, palette, and project materials before visiting a store.
Using Too Many Themes
Farmhouse signs, tropical leaves, industrial pipes, coastal rope, and glamorous crystal can all be attractive. Combining them in one three-foot area, however, may cause the wall to experience an identity crisis.
Skipping Surface Preparation
Paint adheres better to clean, properly prepared surfaces. Frames, furniture, and walls should be cleaned, repaired, and sanded or primed when necessary. Follow the product instructions for drying and curing times.
Ignoring Scale
A tiny frame above a long sofa may look lost. A massive shelf in a narrow hallway may feel intrusive. Use painter’s tape or paper templates to test the size before installing anything.
Overfilling the Display
Budget decorating does not mean displaying every affordable object you encounter. Edit the arrangement after styling it. Removing one or two pieces often improves the final result more than adding another accessory.
How to Make Budget Decor Look More Expensive
Expensive-looking decor is usually less about price and more about consistency. Repeat one color in two or three places. Mix smooth, woven, matte, and reflective surfaces. Use larger pieces instead of many undersized objects. Hide visible cords, remove damaged labels, and clean every item before displaying it.
Textiles, window treatments, artwork, plants, lighting, and thoughtfully chosen vintage pieces can create a layered, collected appearance. Pattern works best when the colors relate to one another and the scale varies. ntly, include something personal. A home filled only with generic decorations may look attractive, but it can feel like a showroom where everyone is afraid to sit down. Photographs, travel finds, inherited objects, handmade art, and meaningful books make a room belong to the people who live there.
A Realistic Weekend Experience With Budget DIY Decor
The following scenario is a composite of common DIY experiences rather than a claim that every project will unfold in exactly the same way.
The project often begins on Saturday morning with an ambitious plan and a cup of coffee placed dangerously close to the paint supplies. The first surprise is usually that choosing a wall color takes longer than painting the wall. A warm beige may look calm on the sample card but turn suspiciously peach under evening light. Testing the color in several spots prevents an entire afternoon of regret.
Once the color is selected, the painter’s-tape outline immediately makes the room feel different. Even before the paint is applied, defining a clear accent area gives the blank wall a purpose. Two thin coats generally look better than one heavy coat, particularly around the edges. Removing the tape while the final coat is still slightly damp can help create cleaner lines, although product instructions should always take priority.
The thrifted frame is usually the most satisfying part of the project. At first, it may look hopelessly dated, with scratches, a faded print, and a finish last popular when televisions had antennas. After cleaning, sanding, and painting, the shape becomes more important than its original color. An inexpensive frame with good proportions can look surprisingly substantial.
Choosing what to place inside the frame may require experimentation. Fabric can create instant texture, but bold patterns sometimes compete with the painted backdrop. Plain linen may look elegant but too quiet. A balanced option is often a simple pattern containing one color from the wall and one color already present in the room.
Sunday is when the accent zone starts to feel complete. The artwork is hung, the shelf is installed, and several accessories are arranged. The first arrangement usually contains too many objects. Everything seems meaningful when it is sitting on the floor, but once placed on a narrow ledge, five small decorations can suddenly look like twenty-seven.
Removing half the accessories often produces the biggest improvement. A vase, two books, a small framed photograph, and one plant may be enough. The leftover objects can return to other rooms rather than being forced into the display.
Another common lesson is that lighting matters more than expected. During the day, the accent may appear attractive but flat. In the evening, a small lamp or warm accent light creates shadows around the frame, plant, and shelf, adding depth without another major purchase.
The final cost may not be exactly what was planned. A forgotten brush, stronger wall anchors, or an additional container of paint can add $10 or $20. Building a small contingency into the budget keeps those purchases from feeling like failure. The project is still affordable if it prevents hundreds of dollars in unnecessary furniture and decor purchases.
The most valuable experience is realizing that good decorating is largely an editing process. The first version does not need to be perfect. Live with the accent for several days, observe it in changing light, and remove anything that feels distracting. A budget-friendly home develops gradually, not through one frantic shopping trip.
Conclusion
A successful DIY home decor accent idea on a budget begins with focus. Choose one visible location, establish a simple color palette, create a backdrop, add one substantial focal piece, and finish with a restrained selection of accessories.
Paint, thrifted frames, leftover fabric, reused household objects, simple shelves, and natural materials can create a polished feature without requiring a full renovation. Measure carefully, prepare surfaces properly, and resist the temptation to buy decorations simply because they are inexpensive.
The best budget accent should not look cheap or overly trendy. It should look personal, balanced, and intentionaland perhaps slightly more impressive than anyone expects from a project involving leftover paint and a frame discovered between a bread maker and a box of holiday ornaments.