If your hair has been looking a little too “same sandwich every day,” streaks can wake it right up. A few lighter ribbons, a soft money piece, or even a bold temporary pop of color can make your hair look more dimensional without forcing you into a full-blown identity crisis in aisle seven of the beauty store. The good news: putting streaks in your hair at home is absolutely doable. The less-good news: hair color has a wicked sense of humor, and it loves to humble the overconfident.
That is why the smartest DIY streak game starts with realistic expectations. At-home highlights and color streaks work best when you choose a technique that matches your skill level, your current hair color, and your tolerance for maintenance. If you want a fun change with almost no commitment, temporary color is your best friend. If you want classic blonde or caramel ribbons, a cap or foil highlighting kit can get you there. And if you want something softer and more modern, hand-painted face-framing streaks can look surprisingly polished when done carefully.
In this guide, we will walk through three practical ways to put streaks in your hair at home, how to prepare, what mistakes to avoid, and how to keep your hair from feeling like it fought a toaster and lost. Whether your goal is subtle shimmer or “yes, I did this myself and no, I will not be taking questions,” here is how to make DIY streaks actually look good.
Before You Start: The Rules That Save Your Hair
Before we get into the fun part, let’s talk about the boring part that secretly matters most. Hair coloring at home is less about wild courage and more about basic discipline. If you skip prep, your hair may repay you with patchy streaks, brassiness, or the kind of dryness that makes a straw look moisturized.
Do a patch test first
Any dye or lightener should be patch-tested before you use it. This step is not optional just because you are feeling lucky. If your skin reacts badly, that is your sign to stop before the drama moves to your scalp.
Do a strand test too
A strand test tells you how your hair actually lifts, tones, and holds color. Hair has a personality. Some lifts fast, some turns warm, and some behaves like it was raised by chaos. Testing a hidden piece first helps you predict the result before you commit to the whole look.
Choose a realistic shade
If your hair is dark brown or black, trying to create icy blonde streaks in one afternoon is a classic DIY trap. Softer tones like caramel, honey, hazelnut, or warm brown usually blend better and are less likely to go orange. Dramatic contrast sounds fabulous until your bathroom mirror starts giving you side-eye.
Set up like a pro, not like a raccoon
Wear gloves, use clips, keep a timer nearby, and work in a well-lit space with a mirror you trust. Protect your shoulders with an old towel. Divide your hair into sections before you apply anything. “Winging it” is a strategy best reserved for eyeliner and even that is risky.
Know when not to DIY
If your hair is already heavily bleached, recently relaxed, freshly permed, breaking, or very processed, proceed with extreme caution. In those cases, temporary streaks are the safer route. Hair can be adventurous, but it should not be sent into battle weak.
Way #1: Use Temporary Color for Easy, Washable Streaks
If you are new to at-home hair color, temporary streaks are the easiest and safest place to start. Think sprays, waxes, makeup-style color, or wash-out formulas. These are perfect if you want pink, silver, copper, blue, or even a subtle brightened accent without committing to bleach or permanent dye.
Best for
Beginners, teens, party looks, festival hair, peekaboo streaks, and anyone who wants a trial run before making a more permanent change.
What you need
- Temporary hair color spray, wax, or makeup
- Gloves
- A comb or brush
- Hair clips for sectioning
- An old T-shirt or towel
How to do it
Start with dry, styled hair. Decide where you want the streaks: around the face, under the top layer for a peekaboo effect, or scattered throughout for a playful look. Clip the rest of your hair away. Apply the temporary color to thin sections, building slowly rather than soaking the hair all at once. Let each section dry before touching it. If the product is a wax or makeup formula, use your fingers or a small brush to smooth it through the strand.
The real trick with temporary streaks is restraint. One or two well-placed streaks often look cooler than a whole head that seems to have lost a disagreement with a highlighter pack. Temporary color is especially useful if you want bold shades on darker hair, because you can create visible contrast without bleaching first.
Pros
This method is low commitment, fast, affordable, and much gentler than lightening. It is also great for people who want to test placement before trying permanent streaks later.
Cons
Temporary color can transfer, fade unevenly, or last longer than expected on very light hair. If your hair is extremely porous or very blonde, “wash-out” can sometimes mean “eventually wash-out.” That is not betrayal, exactly, but it is close.
Pro tip
For the prettiest result, place temporary streaks where the light naturally hits: near your part, through the front pieces, or underneath the outer layer so the color peeks through when you move.
Way #2: Use a Highlighting Kit With a Cap or Foils
If you want actual lighter streaks that last longer, a home highlighting kit is the classic route. These kits typically include lightener, developer, gloves, and either a cap for pulling out strands or tools for painting and wrapping sections. This method works best if you want traditional blonde, beige, caramel, or honey highlights.
Best for
People who want real, lasting streaks and are comfortable following instructions carefully. It is especially good for subtle ribbons and all-over brightness.
What you need
- A home highlighting kit
- Gloves
- Clips
- Timer
- Toning product if needed
- Deep conditioner or mask
How to do it
Begin with dry hair unless your kit says otherwise. Brush out tangles and section your hair. If you are using a cap, pull out only a modest number of strands to start. If you are using foils, work with thin, evenly spaced pieces. Focus on the hairline, top layers, and part first, because those are the areas that create the most visible brightness.
Mix the product exactly as directed. Apply carefully and keep the lightener off your scalp. Do not assume more product equals better results. It usually equals messier results. Check the timing, but use your strand test and visual progress as your guide. After rinsing, tone if your hair pulls warm, then follow with a deep conditioner.
This method gives the most classic “streaked” finish, but it also leaves the smallest margin for error. Uneven saturation can make some pieces look brighter than others. Pulling too many strands through a cap can create a dense, stripey effect. And leaving the product on too long can send your ends into brittle territory. The hair equivalent of overbaking cookies is not cute.
Pros
You get long-lasting brightness, real lift, and the most visible change. It is also easier to control placement than many people expect, especially if you keep the highlights fine and focused.
Cons
There is a greater risk of dryness, brassiness, breakage, and patchiness. This method takes patience, neat sectioning, and a willingness to stop before “just one more streak” becomes twelve more.
Pro tip
If this is your first time, keep your highlights around the face and crown instead of trying to lighten every corner of your head. Strategic brightness looks more natural and is much easier to maintain.
Way #3: Hand-Paint Soft Streaks or a Money Piece
If cap highlights feel too old-school and full-head foils sound like a personal cry for help, hand-painted streaks may be your sweet spot. This method creates softer, more blended pieces, especially around the front. A money piece, face-framing highlights, or a few painted mid-length streaks can brighten your overall look without screaming “I met bleach in a stressful environment.”
Best for
Anyone who wants a modern, lower-maintenance look with softer grow-out.
What you need
- Lightening or highlighting kit with a brush
- Gloves
- Clips
- A comb
- Optional foil or wrap for isolation
- Toner and hydrating treatment
How to do it
Part your hair the way you usually wear it. Pull out the front sections you want to brighten and maybe a few slim ribbons underneath. Paint the product onto the mid-lengths and ends first, feathering upward for a softer transition. Use less product near the root area and more through the ends. The goal is dimension, not a hard horizontal line that announces itself from across the room.
This technique is ideal for people who want a sunkissed feel rather than obvious stripes. It also grows out more gracefully because the brightness starts away from the scalp. If you are nervous, begin with just the front pieces. You can always add more later. Hair color should be treated like hot sauce: easier to add than subtract.
Pros
Hand-painted streaks look softer, more current, and less rigid than traditional cap highlights. They are also more forgiving as your hair grows.
Cons
It is easy to misjudge symmetry. One side may end up brighter than the other if you rush or eyeball too hard. Freehand color rewards a steady hand and punishes improvisation.
Pro tip
Use a lighter touch near the roots and a heavier application on the ends. That placement creates the naturally brightened effect most people are actually after when they say they want “just a few streaks.”
How to Keep Your Streaks Looking Good Afterward
Fresh streaks can look amazing on day one and tired by day ten if you do not care for them properly. Once you lighten or color sections of hair, aftercare becomes part of the job description.
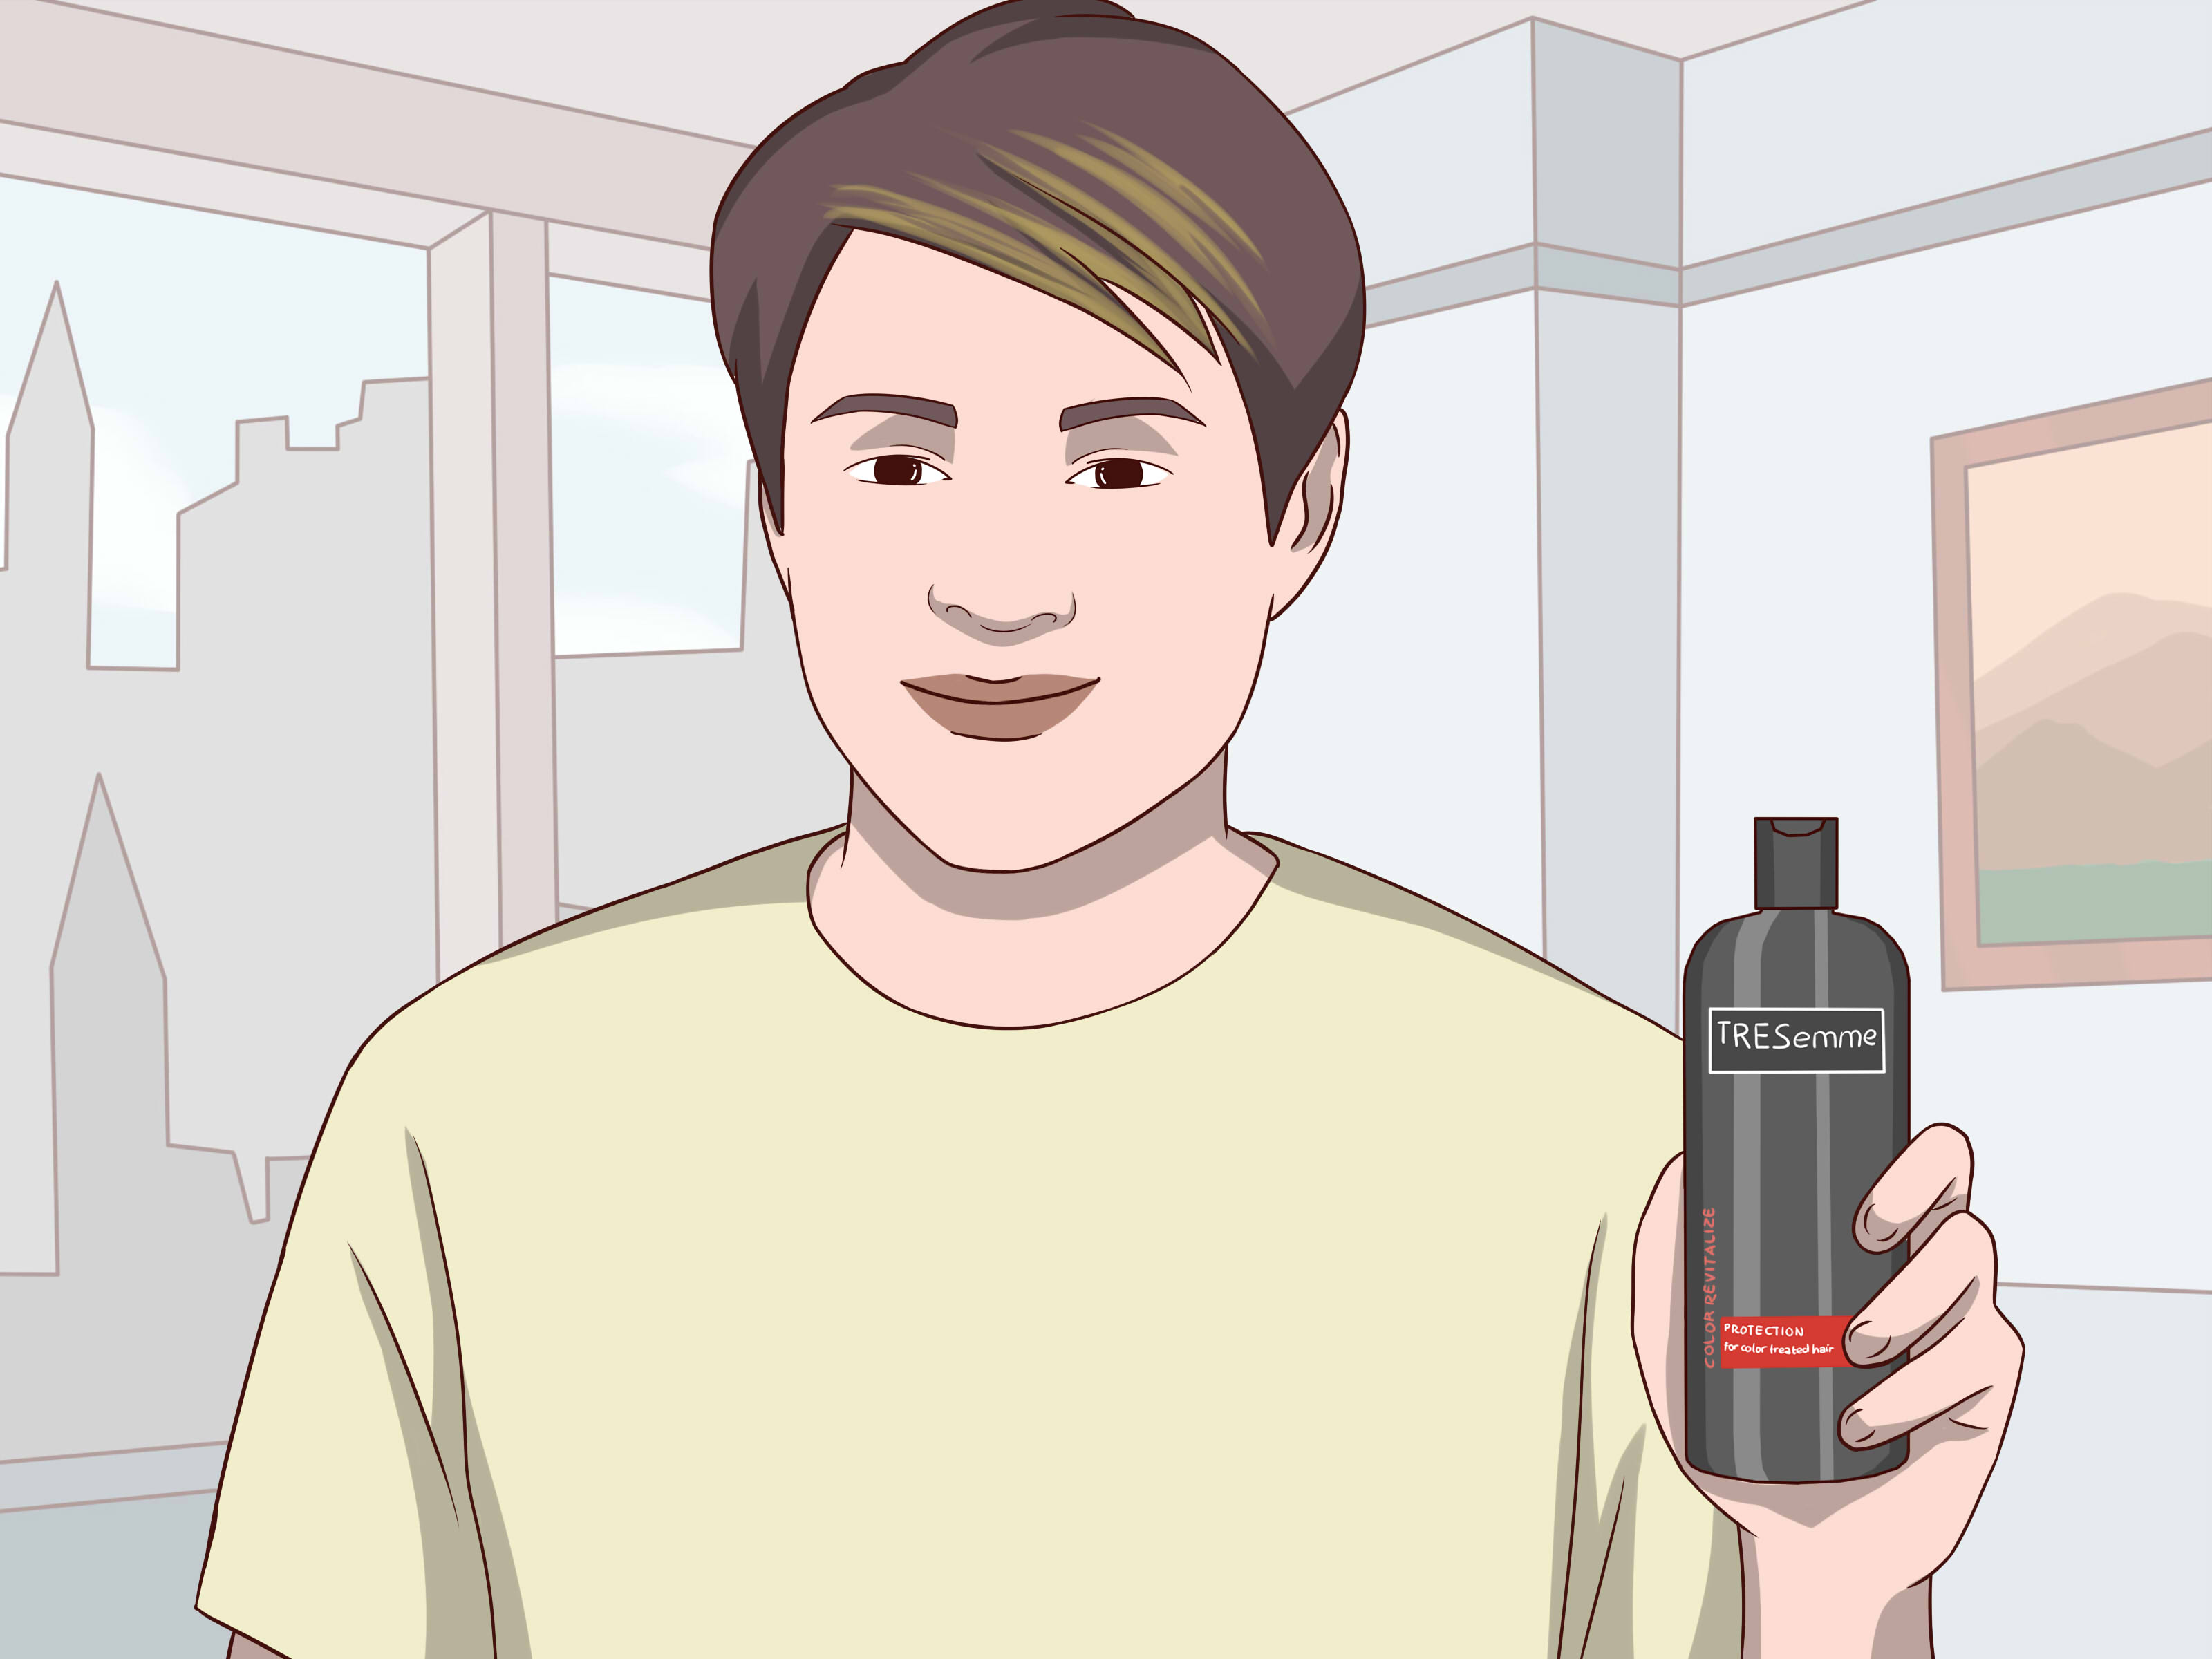
- Use shampoo and conditioner made for color-treated hair.
- Deep condition regularly, especially after bleaching.
- Use purple or blue toning products only as needed if warmth shows up.
- Cut back on hot tools or use a heat protectant every single time.
- Avoid over-washing if you want the color to stay fresh longer.
- Touch up carefully instead of re-bleaching the same pieces too often.
Healthy streaks always look more expensive than damaged ones. Shiny hair can make even a simple home job look polished, while fried ends can make salon color look like it needs a support group.
Common Mistakes to Avoid
The most common DIY mistake is going too big too fast. People often choose too many streaks, too-light shades, or too much bleach for the first round. Another frequent mistake is ignoring undertones. Darker hair often lifts warm, which means orange and yellow are not random surprises. They are invited guests if you skip toning and shade planning.
Another trap is poor placement. Thick streaks in the wrong spots can look stripy instead of dimensional. And finally, there is timing. Leaving product on longer than directed does not magically create prettier highlights. It just increases the chance of damage. Hair is not pasta. You cannot keep checking for al dente.
Which Method Should You Choose?
If you want fun, visible streaks with almost zero commitment, go with temporary color. If you want long-lasting brightness and classic highlighted pieces, use a home kit with a cap or foils. If you want a softer, trendier result with easier grow-out, try hand-painted streaks or a subtle money piece.
The best method is not the one that looks coolest on someone else. It is the one that fits your current hair, your skill level, and your willingness to maintain it afterward. Good hair decisions are not always the most dramatic ones. Sometimes the smartest move is one caramel ribbon and a little self-control.
Real-Life Experiences With DIY Hair Streaks at Home
One of the most common experiences with at-home streaks is that the idea feels easier than the setup. In your head, you are casually adding a few chic highlights while music plays and sunlight pours through the window. In real life, you are wearing an old shirt, clutching clips in your teeth, and trying not to drip product on the sink. That does not mean the process is bad. It just means DIY hair has a way of making everyone look like they are defusing a very glamorous bomb.
People who try temporary streaks first usually come away feeling more confident. The reason is simple: there is room to play. You can try a pink streak near the front, decide it is adorable, and keep going. Or you can decide it made you look like you lost a bet with a unicorn and wash it out. Temporary color gives you permission to experiment without turning one small beauty choice into a month-long consequence.
First-time users of highlight kits often report the same surprise: placement matters more than quantity. A few thin, bright ribbons around the face can make the whole hairstyle look lighter and more dimensional. But when people get excited and add streaks everywhere, the result can shift from “sun-kissed” to “zebra with ambition.” Most successful DIY experiences come from starting small and realizing halfway through that subtle really is prettier.
Another common experience is discovering that your hair has opinions. Someone with light brown hair may find that their strands lift beautifully and tone easily. Someone with darker brunette hair may realize those same “honey blonde” dreams want to become pumpkin-orange chaos without the right toner. This is not failure. It is the normal chemistry of hair color. The people happiest with their results are usually the ones who work with their base color instead of trying to force a dramatic transformation in one session.
There is also the emotional side of the process, which nobody talks about enough. Fresh streaks can make you feel polished, brighter, and unexpectedly put together, even if you are wearing sweatpants and holding a grocery receipt. A small change around the hairline can shift the whole mood. At the same time, DIY streaks can teach patience. Sometimes the first round is nice, not amazing. Then you adjust the placement next time, tone the warmth, add a mask, and suddenly the result looks much better. At-home hair is often a learning curve, not a one-shot masterpiece.
In the best experiences, people stop chasing perfection and start paying attention to what actually flatters them. They realize they do not need ten chunky streaks when two soft front pieces already brighten their features. They learn that healthy, glossy hair makes every color look better. And they discover that the secret ingredient is not salon-level wizardry. It is patience, restraint, and the ability to walk away before doing “just one more section.” Honestly, that last skill deserves its own trophy.
Final Thoughts
Putting streaks in your hair at home can be fun, flattering, and far less intimidating once you choose the right method. Temporary color is the safest playground, highlighting kits offer the biggest transformation, and hand-painted streaks deliver the softest, most modern payoff. The key is to respect the process, protect your hair, and avoid treating your bathroom like a televised makeover challenge.
If you start small, follow instructions, and give your hair proper aftercare, at-home streaks can look fresh, dimensional, and surprisingly polished. And if nothing else, you will gain an excellent new appreciation for colorists everywhere. They have seen things.