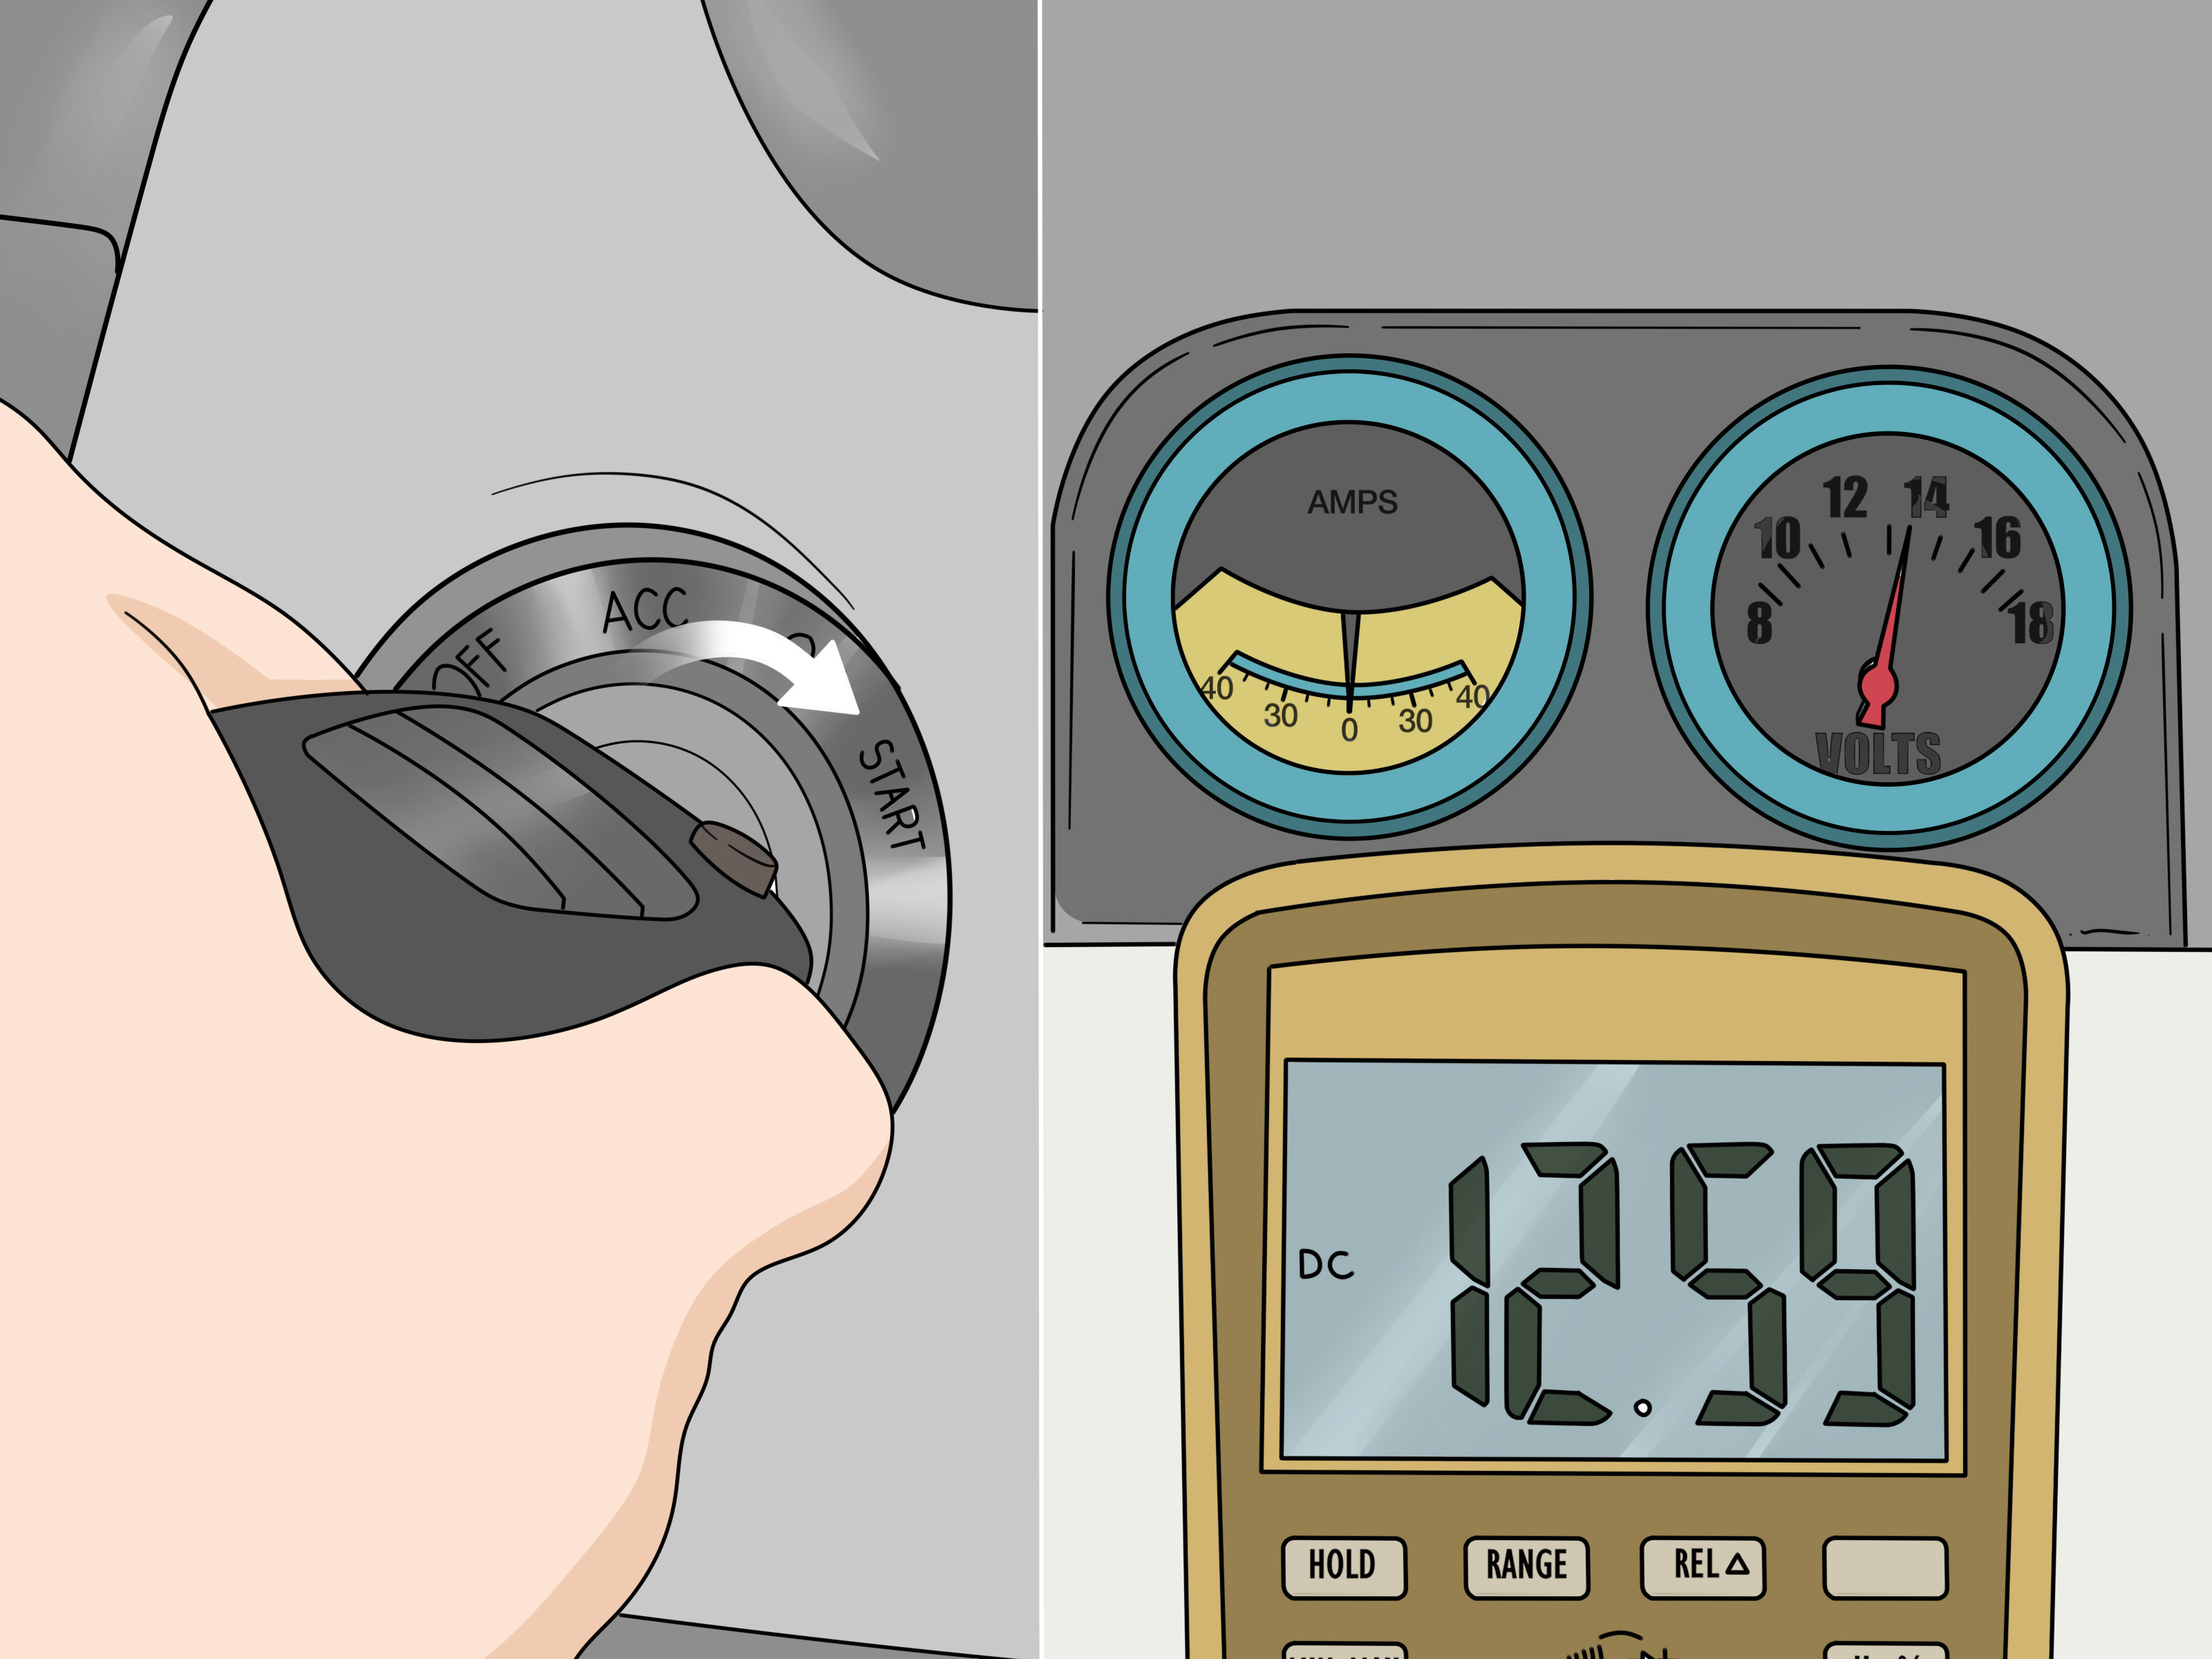
If you have ever stared at a blank spot in your dash and thought, “You know what this car needs? More information and slightly more drama,” welcome. A car volt amp gauge can help you keep an eye on the charging system before your battery taps out in a grocery store parking lot at the worst possible moment. The trick is that “volt amp gauge” can mean different things depending on the vehicle: a simple voltmeter, a traditional ammeter, or a modern retrofit that replaces an old amp gauge with something safer and easier to live with.
That is where many installs go sideways. A voltmeter is usually a light-duty job: switched power, ground, lighting, done. A traditional ammeter is a very different animal because it is installed in series and carries serious current. If you wire it casually, the car may respond with heat, smoke, and the kind of language that makes neighbors close their windows. This guide breaks the job into three realistic installation methods so you can choose the right one for your car, your wiring, and your comfort level.
Note: For most modernized street cars, a voltmeter or voltmeter retrofit is the smartest choice. A traditional inline ammeter is usually best left to older, lower-output charging systems and careful classic-car restorations.
Before You Start: Know What You Are Installing
Voltmeter
A car volt gauge measures electrical pressure in the charging system. In plain English, it tells you whether the battery and alternator are playing nicely together. It is usually wired to a keyed 12V source and a good ground, which makes installation relatively straightforward. If you want useful information without rerouting heavy charging wires, this is usually the winner.
Ammeter
An amp gauge measures current flow. Traditional versions are wired in series, which means the charging wire is routed through the gauge. That gives you a direct picture of charge and discharge, but it also means the wiring carries real current through the dash. On older vehicles, that was normal. On cars with high-output alternators, extra accessories, and wiring that has seen a few presidential administrations, it can be a bad idea.
What You Will Need
- The gauge and mounting bracket or cup
- Correct wire gauge for the job
- Inline fuse or fuse-panel connection where appropriate
- Crimp terminals, shrink tubing, and a quality crimper
- Rubber grommets for any firewall pass-through
- Basic hand tools and a test light or multimeter
- Vehicle wiring diagram if you have one
Also, disconnect the battery before touching anything. That is not optional. That is “I enjoy not welding my wrench to the firewall” basic shop etiquette.
Way #1: Install a Standalone Voltmeter on a Switched 12V Circuit
Best for Most Daily Drivers, Restomods, and Weekend Cars
If your goal is simple, reliable monitoring, this is the cleanest way to install a car volt amp gauge. A standalone voltmeter gives you fast insight into charging system health without routing heavy current through the dash. It is ideal for cars with upgraded alternators, electric fans, fuel pumps, sound systems, or anything else that makes old-school amp gauges nervous.
How It Works
The gauge reads system voltage from a switched ignition source. When you turn the key on, the gauge wakes up. When the engine is running and the charging system is healthy, the reading should climb into the normal charging range. If it stays low, drops under load, or goes suspiciously high, you know you have a problem before the car leaves you stranded in a parking lot with a dead battery and a bruised ego.
Step-by-Step Installation
- Choose the mounting spot. An under-dash cup, A-pillar pod, console panel, or replacement dash panel all work. Make sure there is enough clearance behind the gauge body.
- Disconnect the negative battery cable. Always start here.
- Mount the gauge. If you drill a new hole, measure twice. Then measure once more because dashboards are surprisingly unforgiving.
- Run the ground wire. Connect the gauge ground terminal to a solid chassis or engine ground. Clean paint and corrosion off the contact point.
- Run the power wire. Connect the positive terminal on the voltmeter to a switched 12V source, such as an ignition-switched terminal in the fuse box or behind the ignition switch. Do not wire it straight to the battery unless the gauge specifically calls for that setup.
- Hook up the lighting wire. If your gauge has a separate lighting lead, connect it to the dash-light circuit so the gauge lights up with the rest of the interior illumination.
- Protect the wire routing. Any time you pass through the firewall, use a grommet. Bare metal edges are like tiny wire-eating sharks.
- Reconnect the battery and test. Turn the key on and confirm the gauge powers up. Start the engine and verify the reading rises into a normal charging range.
Why This Method Wins
This is the easiest install, it uses lighter wire, and it plays nicely with modern charging systems. It also makes troubleshooting easier. If your voltmeter reads low with the headlights, blower motor, and cooling fan on, you can start checking the alternator, belt tension, battery condition, and ground connections before the car turns into a driveway ornament.
Common Mistakes
- Using a weak or painted ground point
- Connecting to constant battery power and draining the battery over time
- Skipping the grommet at the firewall
- Using sloppy terminals that loosen and create erratic readings
Way #2: Install a Traditional Ammeter in Series
Best for Correct Classic-Car Setups With Low-Output Charging Systems
This method is the old-school way to install an amp gauge. It can be correct for certain vintage builds, especially when originality matters and the vehicle runs a lower-output charging system. But let us be honest: this is the method that separates “fun project” from “why does the harness smell hot?” It requires careful routing, heavy-gauge wire, and strict isolation from ground.
How It Works
An inline ammeter is wired in series so charging and load current passes through the gauge. That means the wire feeding the electrical system is interrupted and routed through the amp gauge terminals. The gauge then shows whether the battery is being charged or discharged.
When This Is Appropriate
Use this method only if your gauge manufacturer supports it, your alternator output is within the gauge’s safe range, and the rest of the wiring is up to the task. If you are working on a vehicle with a high-output alternator or lots of added accessories, this is usually not the right move.
Step-by-Step Installation
- Disconnect the battery ground. No exceptions.
- Verify gauge rating and alternator output. If your charging system exceeds what the gauge and wiring can safely handle, stop right there and use a voltmeter instead.
- Mount the gauge securely. Make sure the terminals on the rear of the gauge cannot contact metal supports, brackets, or the dash structure.
- Identify the main feed wire. In many classic setups, the ammeter is inserted into the main charging or feed wire running between the battery/starter-solenoid area and the rest of the harness.
- Use the correct heavy-gauge wire. Minimum 10-gauge is common for many inline ammeter installs, and some systems may require larger. Match or exceed the original circuit size.
- Route the wire through the gauge in series. One side of the interrupted charging/feed wire goes to the ammeter negative terminal, and the other continues from the positive terminal to the protected source side, following the gauge and harness instructions for your application.
- Keep the run short. Do not create a scenic route for heavy current. Shorter runs mean less voltage drop and less opportunity for heat.
- Protect the harness. Use the specified fuse, maxi-fuse, or fusible protection in the correct location for your harness design.
- Isolate both ammeter terminals from ground. This is the big one. Neither terminal should touch metal, brackets, or stray ground wires.
- Reconnect the battery and test carefully. Start the engine, watch for normal needle movement, and check for any heat, smell, or hot terminals after a short run.
Why People Still Use This Method
Because on the right classic build, it is authentic, useful, and satisfying. A properly wired amp gauge can show charge and discharge in a way that feels wonderfully mechanical and old-school. It is the vinyl record of charging-system monitoring: not always the easiest option, but undeniably cool when done right.
Big Risks to Avoid
- Installing an ammeter on a high-output alternator setup
- Using undersized wire
- Letting rear terminals contact ground
- Running wires through raw sheet metal without protection
- Using weak crimp connections that add resistance and heat
Way #3: Retrofit an Old Amp Gauge Location With a Modern Voltmeter or Safer Monitor
Best for Classic Cars That Need Better Reliability
This is the smartest compromise for many vintage vehicles. You keep the stock look, the original gauge location, or the period-correct feel, but behind the scenes you switch to a more modern monitoring method. In some builds that means replacing the old amp gauge with a voltmeter movement. In others it means installing a modern aftermarket gauge cluster or using a safer current-monitoring arrangement designed for contemporary wiring.
Why This Method Is Popular
Classic dashboards were not designed around electric fans, EFI pumps, upgraded alternators, phone chargers, giant stereos, or the modern human need to charge six devices before lunch. A voltmeter retrofit lets you preserve the aesthetic while reducing the amount of heavy charging current routed through the dash. That is good for reliability, safety, and peace of mind.
How to Do It
- Remove the original cluster or gauge panel. Take pictures before unplugging anything. Future-you will be grateful and slightly less dramatic.
- Choose the retrofit style. You can install a dedicated voltmeter in the old ammeter location, use a reproduction-style assembly, or install an aftermarket cluster that includes a volt gauge.
- Mount the new gauge core or panel. Some retrofits are nearly drop-in. Others need minor bracket work or face modifications.
- Wire the new voltmeter like a normal voltmeter. That usually means keyed 12V power, a solid ground, and dash-light power if illumination is separate.
- Bypass or retire the old amp-gauge wiring correctly. Do not leave abandoned high-current wires floating around behind the cluster like tiny copper booby traps.
- Label what you changed. The next owner, shop, or very tired version of you will appreciate the honesty.
Great Real-World Uses
A Mopar muscle car with a known ammeter weak spot. A classic truck upgraded to a modern wiring kit. A Corvette or Mustang restoration that wants the vintage face but more dependable readings. A restomod that looks stock at first glance but has modern electrical demands hiding under the hood. This method works because it respects both reality and nostalgia, which is more than can be said for some project cars.
How to Test the Gauge After Installation
For a Voltmeter
Turn the key on and confirm the gauge wakes up. Start the engine and observe the reading. In a healthy charging system, voltage typically rises once the alternator is working. If the gauge stays low, flickers, or reads oddly high, check the power feed, ground quality, alternator output, and battery condition.
For an Ammeter
Start the engine and watch the needle. On a discharged battery, it may show a charge at first, then settle as the battery recovers. Turn on headlights or the blower motor and watch for corresponding movement. After testing, feel the wiring and terminals carefully. Nothing should be hot. Warm is one thing. “Could fry an egg” is a wiring problem.
Which Installation Method Should You Choose?
Choose Way #1 if you want the easiest, safest, most useful install for most street cars. It is the practical option and usually the best answer.
Choose Way #2 only if you are restoring or maintaining a classic setup that truly benefits from an inline ammeter and your charging system is appropriate for it.
Choose Way #3 if you love a vintage dashboard but do not love the idea of routing major current through old wiring behind it. This is often the sweet spot for classic-car owners.
Garage Experiences: What People Learn the Hard Way About Installing a Car Volt Amp Gauge
Ask around any garage long enough and you will hear the same story in a dozen variations. Somebody installs a gauge because they want to be proactive, tidy, and technically impressive. Then the project grows a second head. The hole is slightly off-center. The bracket fights back. One ring terminal disappears into an alternate dimension. A ground point that “looked fine” turns out to be painted, rusty, or connected to nothing useful. Suddenly a one-hour gauge install turns into a full evening with a flashlight, electrical tape, and an increasingly personal argument with the dashboard.
The most common real-world lesson is that grounds matter more than people think. A lot more. A voltmeter with a weak ground can act haunted. It may bounce, read low, or make you blame the alternator when the real problem is one sad little screw biting into old paint. Experienced installers almost always clean the ground point until it shines, use a star washer, and double-check continuity before they blame expensive parts. It is not glamorous, but neither is chasing a fake charging issue for three weekends.
Another lesson is that wire routing makes or breaks the job. People who rush the firewall pass-through often regret it first. The gauge may work on day one and then start behaving strangely after the wire rubs against metal for a while. That is why seasoned builders keep grommets, split loom, and shrink tubing on hand like they are shop snacks. Nobody posts dramatic before-and-after photos of a properly protected wire run, but that boring detail is often the reason the install stays boring in the best possible way.
Classic-car owners have their own special stories. Many start with the original ammeter because that is what the car came with and because originality has a powerful pull. Then the car gets upgraded: brighter headlights, an electric fan, maybe a hotter ignition, maybe a better stereo because apparently every project car needs a soundtrack. The old gauge setup that seemed charming at first begins to look less like “period correct” and more like “period risky.” That is when a lot of owners discover the beauty of a stock-looking voltmeter conversion. The dash still looks right, but the wiring behind it stops asking for heroics.
There is also a huge difference between a gauge that is installed and a gauge that is finished. Plenty of people mount the gauge, make it work, and call it a day. Then they realize at night that the light does not dim with the rest of the dash, or the reading disappears behind the steering wheel, or the pod location blocks the vent they actually use. The best installs usually come from people who slow down long enough to think about visibility, serviceability, and how the car is used in real life. A clean install is not just about pretty wiring. It is about making the gauge easy to read and easy to trust while driving.
And then there is the emotional side of the whole thing, which is more real than some people admit. A properly installed voltmeter has a calming effect. You start the car, glance down, and see a healthy reading. That tiny needle becomes a little confidence machine. On the other hand, an inaccurately wired gauge creates the opposite effect. Every movement feels suspicious. Every dim headlight becomes a conspiracy. Suddenly you are diagnosing ghosts instead of driving. The lesson here is wonderfully simple: when in doubt, wire for clarity, not for drama.
So yes, installing a car volt amp gauge is a technical job. But it is also one of those classic garage projects that teaches patience, attention to detail, and humility. It reminds you that small parts matter, that “good enough” wiring often is not, and that the easiest-looking path is not always the best one. Most of all, it teaches that the right gauge for the right system will save you time, trouble, and maybe one future tow bill. That is a pretty good return for a little needle on the dash.
Final Thoughts
If you want the simple answer, here it is: install a voltmeter if you can, install an ammeter only if you truly should, and retrofit wisely if your classic dash deserves better than old-school risk. The best gauge install is not the one that looks the most hardcore on paper. It is the one that gives accurate information, suits your charging system, and keeps your wiring safe for the long haul.
Pick the method that matches your vehicle, use proper wire size, protect every pass-through, and never treat a charging wire like an afterthought. Cars are surprisingly honest. Give them clean wiring and they tend to behave. Give them shortcuts and they turn into rolling electrical opinions.