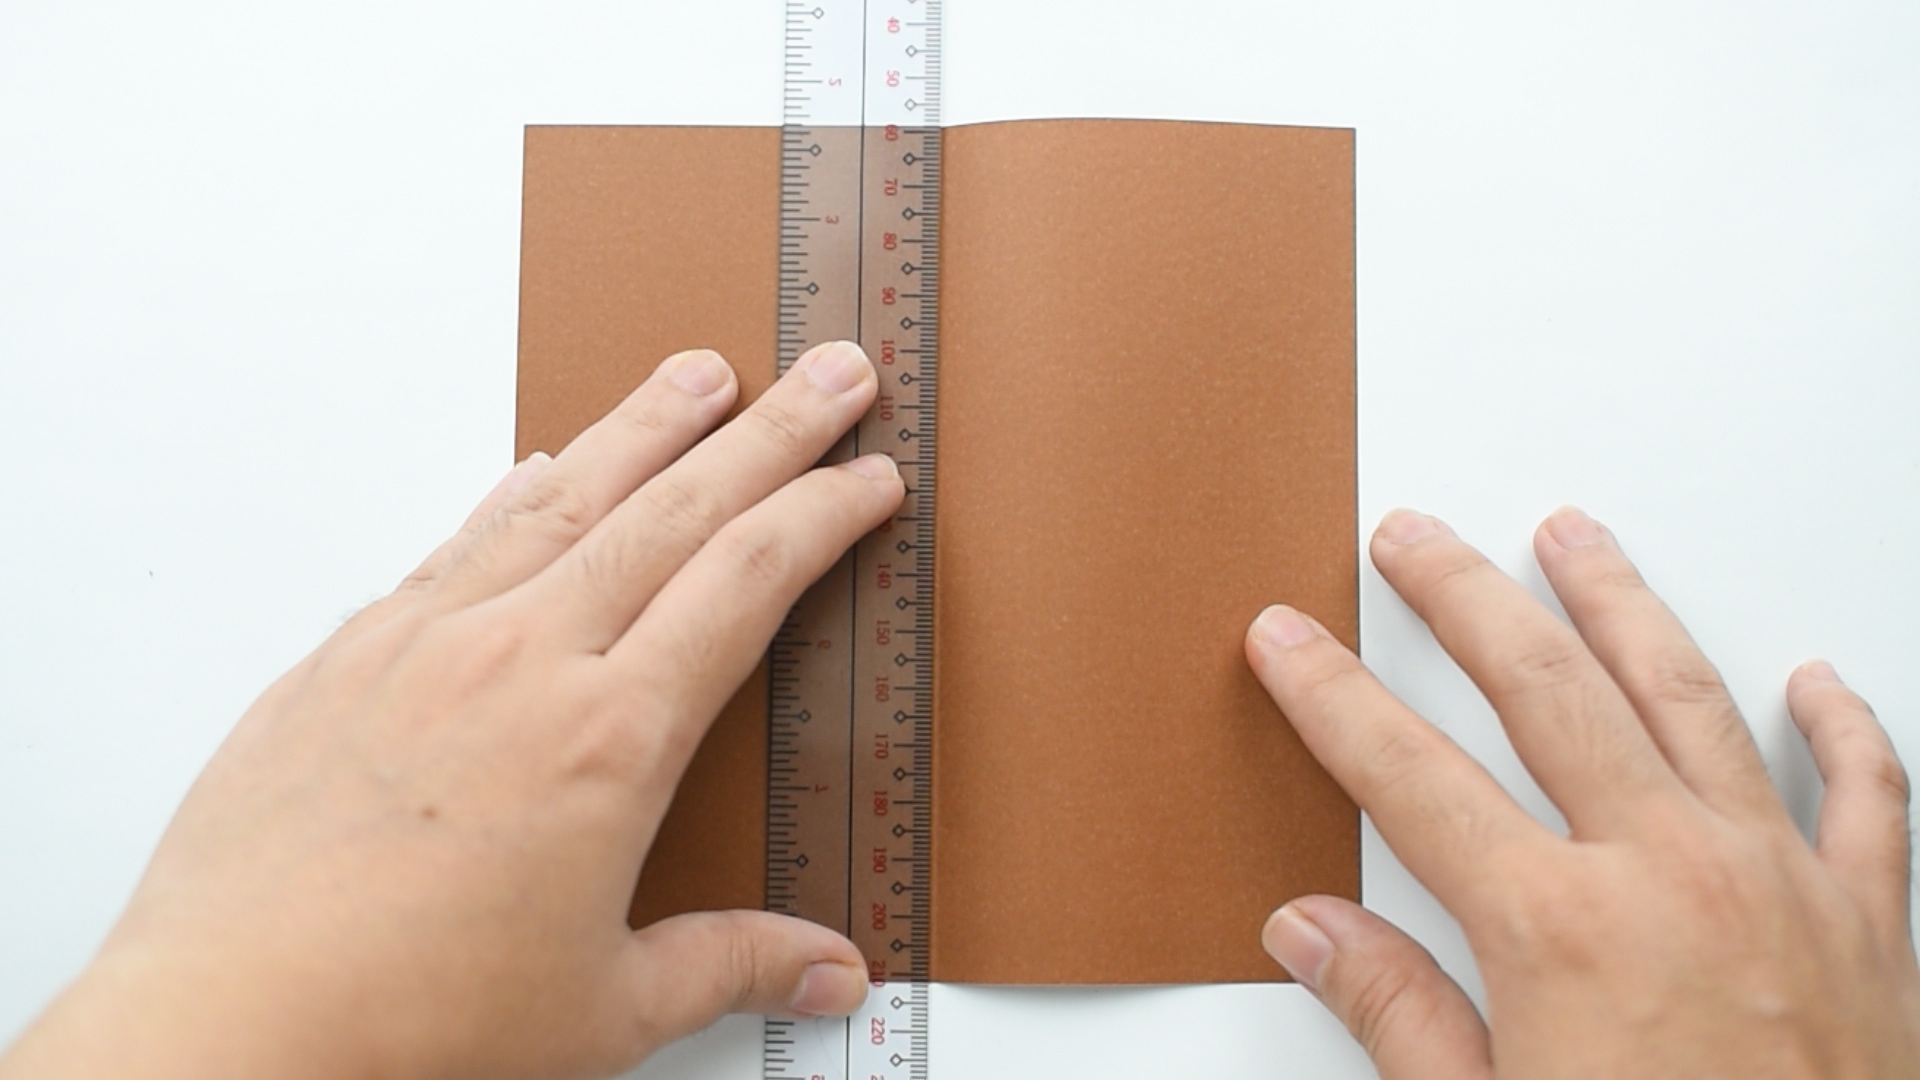
Sometimes scissors disappear into the same mysterious dimension as missing socks, good pens, and that one charger you just had a second ago. Other times, you simply want a cleaner edge, a faster workflow, or a technique that feels a little more polished than hacking away at paper with tired school scissors. Whatever brought you here, the good news is simple: you absolutely can cut paper without using scissors, and in some cases, the result is even better.
If you work with printer paper, cardstock, scrapbook paper, wrapping paper, or labels, the best no-scissors methods usually fall into three categories: folding and tearing, cutting with a craft knife and straightedge, or using a paper trimmer. Each method solves a different problem. One is cheap and surprisingly effective. One offers precision. One is the overachiever of the bunch and makes repeat cuts look almost suspiciously perfect.
In this guide, you’ll learn 3 ways to cut paper without using scissors, when each method works best, what kind of finish to expect, and how to avoid the classic mistakes that leave your project looking like the paper lost a fight. Whether you’re making cards, trimming documents, cutting gift wrap, or trying to survive a craft session with dignity intact, this breakdown will help.
Why Cut Paper Without Scissors?
At first glance, this sounds like a backup plan. But it’s often a better plan. Scissors are fine for casual cutting, yet they are not always ideal for long straight lines, repeated measurements, or thick cardstock. That is why crafters, teachers, scrapbookers, designers, and office workers often reach for other tools first.
Here’s why these no-scissors methods are worth knowing:
- Better straight lines: A folded tear, knife-and-ruler combo, or paper trimmer can produce straighter cuts than hand-held scissors.
- Cleaner edges: Some methods reduce jagged corners and that fuzzy “I panicked halfway through” finish.
- More control on thicker paper: Cardstock and specialty paper often respond better to scoring, trimmers, or blades.
- Faster repeat cuts: If you need five, ten, or twenty identical pieces, scissors become the slow coworker in a group project.
- Creative texture: Torn edges can look soft, artsy, handmade, and intentional rather than messy.
The trick is choosing the right method for the paper and the result you want. Clean invitation edges? Probably not a tear. Soft collage texture? Definitely not a guillotine trimmer unless you’re trying to make collage look like tax paperwork.
Method 1: Fold and Tear
Best for quick straight cuts, rough sizing, and handmade textured edges
If you need to cut paper without scissors and you want the lowest-tech option possible, fold and tear is the classic move. It costs nothing, works almost anywhere, and is much more reliable than people think. In fact, when done carefully, it can create a surprisingly straight line. And when done less carefully, it can create an intentionally rustic edge that looks artsy enough to charge money for at a craft fair.
The idea is simple: mark the line, fold the paper exactly where you want the cut, press the crease firmly, then tear along that crease. The fold weakens and guides the fibers, which helps the paper separate in a controlled way. On standard printer paper, this is easy. On lighter craft papers, it can work beautifully. On very thick cardstock, it becomes less elegant and more “please cooperate.”
Why it works
A strong crease gives the paper a clear path to follow. That is why this method works better when you take a second to make the fold crisp instead of rushing through it. If the paper is heavier, a scored fold or extra-sharp crease usually improves the result. That is also why folded tears tend to look cleaner than random tearing from one side like an angry pirate opening mail.
Pros
- No tools required
- Fast and portable
- Great for journals, collages, and handmade crafts
- Can create either a straight or decorative torn edge
Cons
- Not ideal for thick cardstock
- Not as precise as a blade or trimmer
- Can drift off line if the fold is weak
When to use it
Use fold and tear when you need a quick trim on notebook paper, a soft deckled edge for craft projects, or a simple straight cut without equipment. It is especially useful for classroom projects, gift tags, collage work, mood boards, and any situation where “good enough” is actually more charming than “factory perfect.”
Example: If you are making a scrapbook page and want a layered, textured border under a photo, a torn edge often looks warmer and more organic than a razor-straight cut. It feels handmade in the best possible way.
Method 2: Use a Craft Knife and Straightedge
Best for precise lines, detailed shapes, and clean cuts on cardstock
If fold and tear is the laid-back cousin, the craft knife is the perfectionist in a neat apron. This method is ideal when you need sharp, accurate cuts, especially on cardstock, labels, photo paper, stencils, or small custom shapes. A craft knife paired with a ruler or straightedge gives you much more control than scissors, especially for long clean lines and corners.
This is the method people often use for paper crafts, mockups, handmade cards, invitations, and detail work where precision matters. It is also helpful when scissors are too bulky for a tight shape or inside corner. Scissors can handle curves nicely, but they are not always great at delicate interior cuts. A knife is better when the paper demands accuracy and your project has standards.
Why it works
A fine blade cuts from a narrow contact point, which means you can follow lines more exactly. Add a cutting mat and a firm straightedge, and you get cleaner, more predictable results. This is also one reason many paper crafters use knives for templates and intricate cuts rather than relying on standard household scissors.
Pros
- Excellent precision
- Works well on thicker paper and cardstock
- Great for straight lines and detailed shapes
- Produces professional-looking edges
Cons
- Requires extra tools
- Not the fastest option for lots of repeated cuts
- Needs a protected surface and careful handling
When to use it
Use this method for greeting cards, custom labels, invitation pieces, scrapbooking elements, paper models, poster trimming, or anything that needs accuracy. It is especially helpful when you are cutting a shape from the middle of a sheet, trimming small margins, or working with heavier paper where tearing would look rough.
Example: Say you print a set of quote cards on heavyweight cardstock. A craft knife and ruler can trim the borders neatly and keep the corners crisp. The result looks less “homemade in a panic” and more “small creative studio with opinions about paper stock.”
A practical note on paper quality
Not all paper behaves the same. Thin copy paper cuts easily. Heavy cardstock often benefits from scoring before folding and from deliberate, accurate cutting rather than blunt force optimism. If your paper tends to crack when folded, that usually means it needs a cleaner score or a gentler approach. In other words, sometimes the paper is not being dramatic. It just has needs.
Method 3: Use a Paper Trimmer
Best for repeated cuts, office projects, card making, and ultra-straight edges
If you cut paper often, a paper trimmer is the best no-scissors solution for clean, repeatable results. It is the tool that says, “I am no longer guessing.” Paper trimmers are common in craft rooms, classrooms, print shops, and offices because they make straight lines easy and consistent.
There are different types, including sliding blade trimmers, rotary trimmers, and guillotine-style cutters. Some are better for single sheets and everyday craft work, while others are made for thicker stacks. Many include measurement grids, alignment guides, and scoring options, which make them useful for both cutting and fold prep.
Why it works
Paper trimmers hold the sheet in place and guide the blade along a fixed path. That reduces the wobble, drift, and tiny alignment errors that happen when cutting by hand. For repeated cuts, that consistency is gold. If you are making ten place cards, twenty flashcards, or a batch of bookmarks, a trimmer can save time and protect your sanity.
Pros
- Very straight, consistent cuts
- Fast for multiple pieces
- Helpful measurement guides
- Excellent for cards, flyers, handouts, and paper crafts
Cons
- Less flexible for intricate shapes
- Takes up storage space
- Better for straight cuts than curves or custom interiors
When to use it
Use a paper trimmer when you need clean edges on documents, invitations, photos, labels, worksheets, or card bases. It is also the best option when uniformity matters. If every piece needs to match, this is your winner.
Example: Imagine you are creating recipe cards for a gift. With scissors, each card may end up “close enough,” which is a phrase that means “noticeably different when stacked.” With a trimmer, they line up evenly, look polished, and stop silently judging each other.
Which Method Is Best?
Here is the short answer:
- Choose fold and tear for simplicity, texture, and casual paper projects.
- Choose a craft knife and straightedge for precision, detail, and thicker paper.
- Choose a paper trimmer for repeated cuts, speed, and clean professional edges.
If you only cut paper once in a while, fold and tear may be all you need. If you craft regularly, a knife and cutting mat are incredibly useful. If you cut paper constantly, a trimmer quickly becomes one of those tools you did not realize you needed until you wonder how you ever lived without it.
Common Mistakes to Avoid
Using the wrong method for the paper
Light paper is forgiving. Thick cardstock is not. If your fold-and-tear method starts looking ragged, the paper is telling you to upgrade your approach.
Ignoring the crease
A weak fold leads to a wandering tear. A crisp crease makes a huge difference, especially when you want a straight finish.
Expecting decorative methods to look machine-perfect
Torn edges are supposed to have character. If you want laser-straight lines, use a blade or trimmer instead of blaming the tear for having a personality.
Rushing repeat cuts
If you need multiple matching pieces, measure once, align carefully, and use the right tool. This is not the moment for chaotic confidence.
Final Thoughts
Knowing how to cut paper without scissors is one of those unexpectedly useful skills that pays off in crafts, office work, school projects, gift wrapping, and everyday problem-solving. The best method depends on your goal: texture, precision, or speed. Fold and tear is accessible and charming. A craft knife gives you control. A paper trimmer delivers consistency like a tiny paper-loving machine boss.
So the next time your scissors vanish, do not panic. Paper can still be cut neatly, creatively, and effectively without them. In some cases, your project may even turn out better. Which is both satisfying and a little insulting to the scissors, but they’ll cope.
Experiences Related to Cutting Paper Without Scissors
One reason this topic keeps coming up is that almost everyone has stumbled into it by accident. A student needs to trim a handout, cannot find scissors, and folds the page before tearing it with surprising success. A crafter starts making cards and realizes that scissors leave slightly uneven borders, so a paper trimmer suddenly becomes the hero of the supply drawer. Someone wrapping a gift at the last minute discovers that folded wrapping paper tears beautifully in a straight line and feels like they have unlocked a secret level of adulthood.
In real life, the experience of cutting paper without scissors often comes down to expectations. If you expect every method to produce the same result, you end up frustrated. But if you match the method to the task, the process becomes easier and the finished piece looks more intentional. Torn edges are especially interesting this way. In a formal office setting, a torn sheet may look unfinished. In a collage, journal spread, or handmade card, that same edge looks textured, soft, and artistic. Context matters. Paper, like people, performs differently depending on where it shows up.
Many people also discover that heavier paper changes everything. Printer paper is forgiving and easy to tear. Cardstock is a little pickier. It asks for cleaner folds, more deliberate handling, and better tools. That learning curve is common in craft rooms. Beginners often start with scissors because that feels familiar, then gradually move to scoring tools, knives, and trimmers because those tools simply do the job better. There is a small but very real thrill the first time you make a perfectly straight cut on cardstock and realize your project suddenly looks store-bought in the best way.
Teachers and parents have their own version of this experience. Fold-and-tear is often easier for group projects because it avoids the scramble of passing scissors around and reduces the chance of uneven little snips everywhere. Kids also tend to enjoy torn-paper collage because the irregular shapes feel forgiving. There is less pressure to be exact, which makes the project more approachable. In that sense, cutting paper without scissors can actually feel more creative because it shifts the focus from perfection to composition and texture.
Office and home organization projects tell a similar story. People trimming labels, recipes, photos, or printed signs often find that a small paper trimmer saves time and reduces waste. Instead of cutting one edge, adjusting, cutting again, then wondering why everything is crooked, they get repeatable cuts that line up neatly. It is one of those low-drama upgrades that makes routine tasks smoother.
Overall, the experience is less about replacing scissors forever and more about expanding your options. Once you know when to tear, when to use a blade, and when to bring in a trimmer, paper projects become easier, cleaner, and more enjoyable. And honestly, that is a pretty good outcome for something that starts with, “Wait, where are the scissors?”