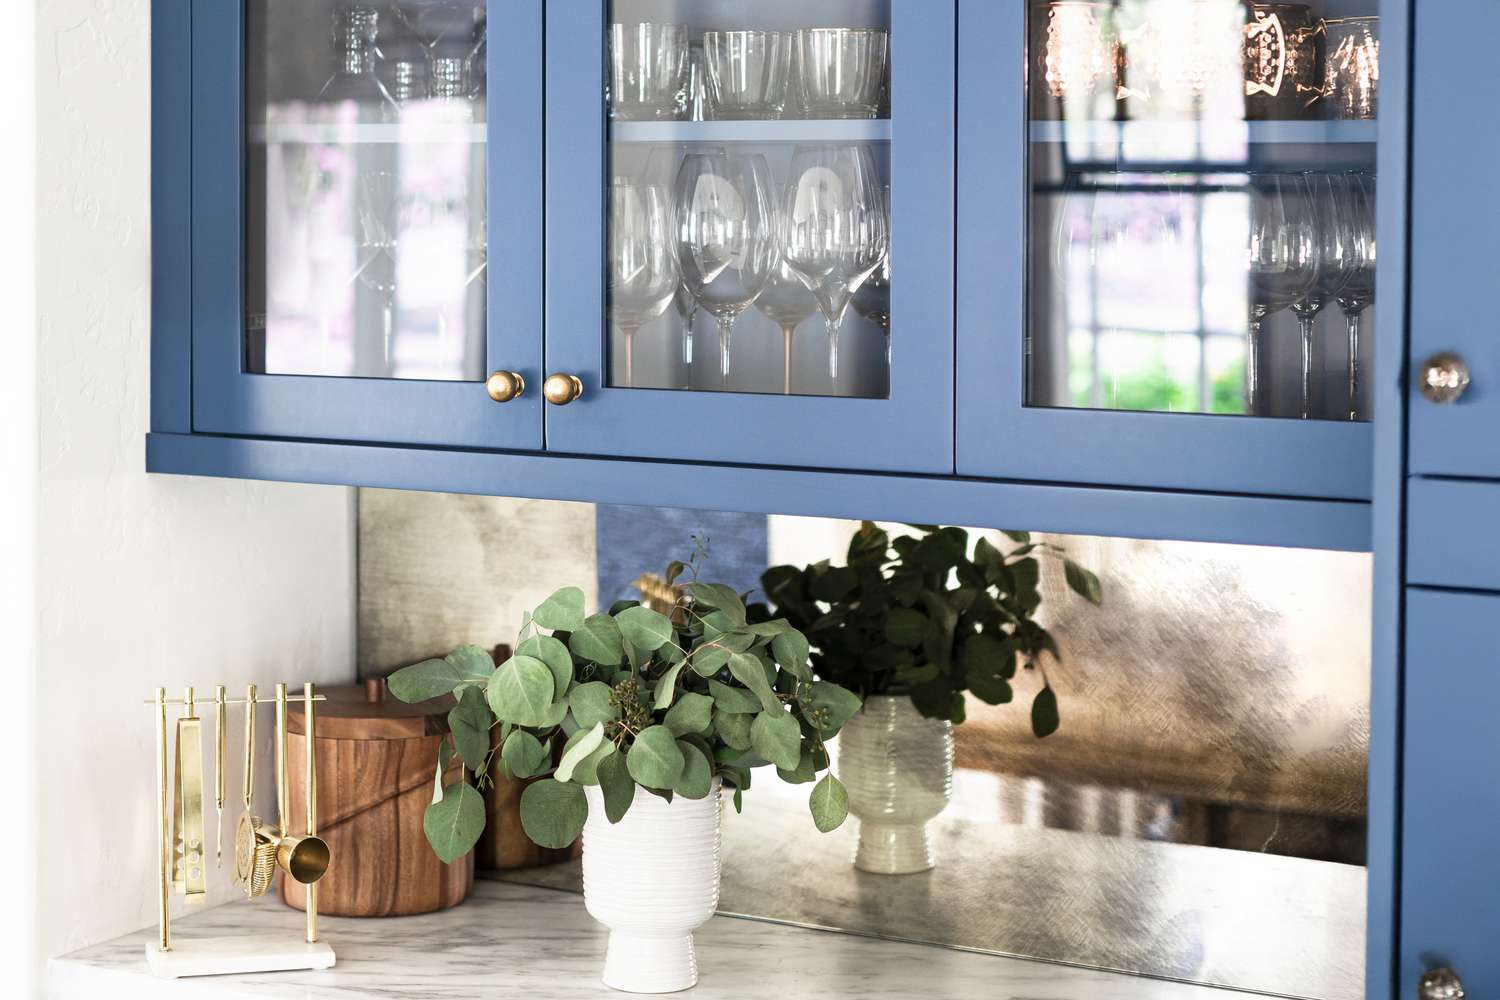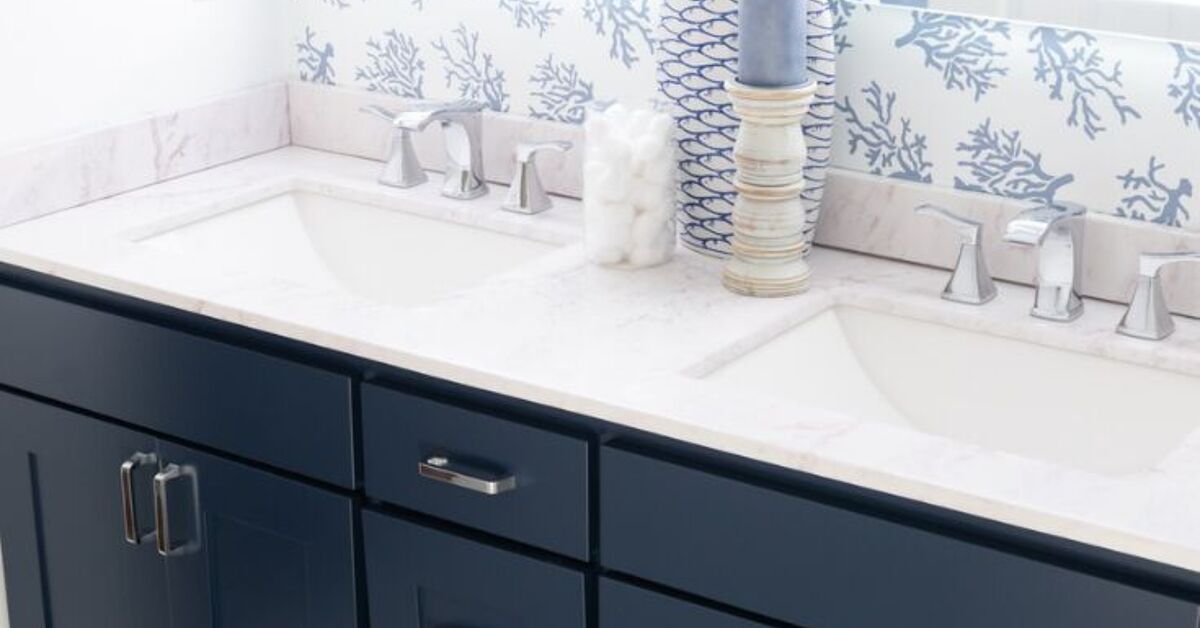
A builder-grade bathroom vanity is the plain toast of home design. It works, it holds the sink, and it probably has a pair of shiny knobs that look as though they were selected during a five-minute lunch break. Functional? Absolutely. Memorable? Only if one of the drawers refuses to close.
The good news is that you rarely need to rip out a solid vanity just because it looks basic. Paint, trim, hardware, a better faucet, and a few thoughtful details can transform an inexpensive cabinet into something that appears custom-built. Keeping the existing cabinet also lets you avoid much of the plumbing, flooring, and demolition associated with full replacement, making a DIY vanity makeover one of the highest-impact updates in a budget bathroom renovation.
This guide explains how to complete a builder grade bathroom vanity makeover DIY project from inspection to final styling. It also covers common mistakes, realistic costs, optional upgrades, and firsthand-style lessons that can save you from sanding the same cabinet door three times while questioning every decision that brought you to this moment.
Should You Make Over or Replace the Vanity?
Before shopping for paint, determine whether the vanity is worth saving. Cosmetic problems are usually manageable. Structural problems are not nearly as charming.
A good makeover candidate has:
- A cabinet box that feels solid when gently pushed
- Doors and drawers that can be adjusted or repaired
- No active plumbing leaks
- No widespread mold or persistent musty odor
- No severely swollen particleboard around the sink or floor
- A layout and storage capacity that still work for the household
Minor scratches, dated oak tones, unattractive hardware, chipped finish, and bland slab doors are all excellent reasons to renovate rather than replace. However, if the cabinet bottom has turned into damp oatmeal, a heroic coat of navy paint will not reverse the laws of moisture damage.
Plan the Builder Grade Bathroom Vanity Makeover
A successful makeover begins with a defined design direction. Choose the paint color, metal finish, countertop plan, faucet style, and decorative details before disassembling anything. Otherwise, you may end up with brushed-nickel hinges, brass pulls, a black faucet, and the visual energy of a hardware store clearance bin.
Choose a style
Popular directions include:
- Modern: Black, charcoal, navy, or warm white paint with simple bar pulls
- Traditional: Soft gray, cream, or muted blue with framed doors and classic knobs
- Organic: Olive green, taupe, mushroom, or natural wood tones with aged-brass accents
- Coastal: Pale blue, sea-glass green, crisp white, and brushed-nickel hardware
- Vintage-inspired: Deep green, burgundy, dusty blue, or black with decorative feet and antique-style hardware
A fresh paint color and coordinated hardware can produce a dramatic change without replacing the cabinet. Current design guidance also supports both versatile neutrals and expressive colors such as navy, green, teal, blush, and butter yellow, provided the shade works with the existing tile, flooring, and countertop.
Tools and Materials
Your exact list will depend on the upgrades you choose, but a typical DIY bathroom vanity makeover requires:
- Screwdriver or drill
- Painter’s tape
- Drop cloth or protective paper
- Degreasing cleaner
- Clean microfiber cloths
- Wood filler and putty knife
- Medium- and fine-grit sandpaper
- Vacuum with a brush attachment
- Bonding or stain-blocking primer
- Cabinet, trim, or furniture enamel
- Quality angled brush
- Small foam or microfiber roller
- Paint tray
- New knobs or pulls
- Optional molding, wood glue, caulk, and finish nails
- Optional faucet, drain assembly, countertop coating, or vanity top
Use products intended for cabinetry or furniture rather than ordinary flat wall paint. Bathroom vanities experience splashes, cosmetics, cleaning products, damp towels, and the occasional toothpaste incident that somehow reaches the cabinet base.
How to Make Over a Builder-Grade Vanity
Step 1: Empty and inspect the cabinet
Remove toiletries, towels, cleaning bottles, expired medication, and the mysterious collection of hotel shampoos you have been saving since 2017. Inspect the plumbing connections, cabinet floor, hinges, drawer slides, and door alignment.
Repair leaks before beginning cosmetic work. Tighten loose screws, replace damaged hinges, and reinforce weak cabinet joints if necessary. Allow damp areas to dry completely.
Step 2: Remove doors, drawers, and hardware
Take off the doors and remove the drawer boxes or drawer fronts, depending on the vanity’s construction. Label every piece with painter’s tape so it returns to its original location. Builder-grade components are often similar enough to appear interchangeable but different enough to create chaos during reassembly.
Place screws and hinges in labeled bags. If you plan to reuse the hinges, note which hinge belonged to each door.
Step 3: Clean every paintable surface
Bathroom cabinets can collect soap residue, hairspray, skin-care oils, dust, and cleaning-product film. Paint applied over contamination may peel, fisheye, or fail to bond.
Wash the cabinet box, doors, and drawer fronts with a suitable degreasing cleaner. Pay special attention to the areas surrounding knobs and pulls. Rinse away cleaner residue according to the product instructions, then let every surface dry thoroughly.
Major cabinet-painting guides consistently emphasize removing hardware, cleaning away grease and residue, lightly sanding glossy finishes, priming, and applying controlled paint coats. Skipping preparation may save an hour today and create a peeling project next month.
Step 4: Fill damage and unwanted hardware holes
Use wood filler to repair gouges, dents, chipped corners, and old hardware holes. Filling the existing holes gives you freedom to choose a different pull size, but measure carefully before committing to a new layout.
Allow the filler to dry, sand it smooth, and repeat if it shrinks. For damaged laminate or thermofoil, determine whether the loose coating can be securely repaired. If large sections are peeling, replacement doors may be more practical than paint.
Step 5: Sand for adhesion
You usually do not need to remove the entire factory finish. The goal is to dull glossy surfaces and create enough texture for primer to grip. Sand evenly, including door edges, drawer fronts, face frames, and decorative profiles.
After sanding, vacuum thoroughly and wipe away the remaining dust with a clean, slightly damp cloth or another method recommended by the coating manufacturer. Dust trapped beneath paint has an impressive ability to look like a mountain range once the light hits it.
Step 6: Add trim for a custom look
This optional step can make the biggest difference in a builder-grade bathroom vanity makeover. Flat slab doors can be upgraded with thin wood strips or molding arranged in a simple rectangular frame. The vanity base can also receive baseboard molding, decorative feet, or a finished toe kick for a furniture-style appearance.
Dry-fit every trim piece before attaching it. Use wood glue and appropriately sized finish nails or another secure method suitable for the door material. Fill nail holes and seams, sand smooth, and caulk small stationary gaps where appropriate. Decorative base trim painted to match the cabinet can make an ordinary vanity look more substantial and built-in.
Step 7: Apply the correct primer
Primer improves adhesion, helps create an even surface, and can block stains or wood tannins. A bonding primer is especially useful on slick factory finishes. A stain-blocking primer may be necessary when painting dark or reddish wood in a light color.
Apply a thin, even coat with an angled brush in corners and profiles, then use a small roller on broad flat areas. Avoid heavy buildup along door edges. After the primer dries for the manufacturer-specified period, lightly sand rough spots and remove the dust.
Step 8: Paint with thin, controlled coats
Apply cabinet-grade enamel in the direction of the grain or longest edge. Paint detailed areas first with a brush, then roll flat sections before the brushed paint begins to set. Do not repeatedly brush paint that has started drying; that is how smooth finishes turn into topographic maps.
Two thin coats are generally preferable to one heavy coat. Some color changes or difficult surfaces may require an additional coat. Follow the product label for drying and recoating times rather than assuming every paint behaves the same way.
Satin, semi-gloss, cabinet enamel, and urethane-reinforced finishes are commonly chosen because they are more washable and moisture-resistant than flat paint. The product must still be compatible with the selected primer and the original cabinet surface.
Step 9: Allow the finish to cure
Dry and cured are not the same thing. Paint may feel dry while remaining soft underneath. Reinstalling hardware too soon can leave dents, sticking doors, or permanent impressions around knobs.
Respect the manufacturer’s recommended recoat, handling, and curing periods. Keep doors separated while they harden, and avoid placing heavy objects against newly painted surfaces. Once reinstalled, treat the vanity gently until the coating reaches full durability.
Step 10: Install new hardware
New knobs and pulls act like jewelry for the vanity. Measure the existing hole spacing before shopping if you want a no-drill replacement. When changing sizes, use a cabinet-hardware jig to keep the new holes level and consistent.
Black hardware adds contrast, polished nickel feels crisp, brass brings warmth, and bronze complements traditional or rustic designs. Matching every metal in the bathroom is not mandatory, but repeating each finish intentionally helps the room feel coordinated.
Optional Upgrades That Add More Impact
Replace the faucet
A dated faucet can make a freshly painted vanity look only half-finished. Shut off the water supply valves, confirm the sink’s hole configuration, and choose a faucet that fits the existing setup. Replace aging supply lines if their condition warrants it.
If valves are corroded, connections leak, or the plumbing arrangement is unfamiliar, hiring a plumber is less exciting than flooding the cabinet but usually less expensive.
Refresh or replace the countertop
If the countertop is structurally sound but unattractive, options may include a surface-specific refinishing kit, countertop coating, or carefully installed overlay. Laminate surfaces generally require thorough degreasing, surface preparation, compatible coatings, and a durable protective finish.
A replacement vanity top can provide an even larger transformation. Measure the cabinet width, depth, faucet configuration, backsplash arrangement, and plumbing position before ordering. Remember that walls are not always square, because houses enjoy keeping DIY projects emotionally stimulating.
Frame the mirror
A plain wall mirror can be upgraded with a painted or stained wood frame. Coordinate the frame with the vanity paint, hardware, or nearby shelving. Make sure the frame does not interfere with faucet clearance, outlets, light fixtures, or medicine-cabinet doors.
Improve the interior
Do not stop at the exterior. Add a washable cabinet liner, stackable bins, drawer dividers, adhesive hooks, or a pullout organizer. Store daily products where they are easy to reach and move rarely used items elsewhere.
Cut openings carefully around pipes, and avoid blocking shutoff valves. A beautiful vanity that requires removing six baskets to turn off the water is technically organized but strategically questionable.
Common DIY Vanity Makeover Mistakes
Painting over a dirty finish
Soap, polish, and skin oils can prevent adhesion. Clean first, sand second, and prime third.
Using ordinary wall paint
Wall paint may not provide the hardness, leveling, washability, or blocking resistance expected from a cabinet coating.
Applying coats too heavily
Thick paint can sag, wrinkle, remain soft, or collect along edges. Thin coats require patience but usually produce a cleaner finish.
Ignoring swollen particleboard
Moisture-damaged composite material rarely becomes smooth simply because it receives primer. Stabilize minor damage appropriately or replace parts that have lost their integrity.
Reassembling before curing
Fresh paint can stick where doors contact the frame. Give the finish time to harden before normal use.
Choosing hardware before measuring
A beautiful pull is less beautiful when its screw holes miss the existing openings by one-eighth of an inch.
Estimated DIY Cost
A basic paint-and-hardware makeover can often be completed with a modest materials budget, especially when tools are already available. A more elaborate project involving trim, a faucet, organizers, and a new top will cost more.
- Cleaning, sanding, primer, and paint: approximately $60–$180
- New knobs or pulls: approximately $20–$120
- Decorative trim and supplies: approximately $20–$100
- Faucet and plumbing accessories: approximately $60–$300 or more
- Countertop refinishing materials: approximately $80–$300
- Replacement vanity top: highly variable by size and material
Prices vary by region, brand, cabinet size, and material choice. Build a small contingency into the budget for replacement hinges, extra sandpaper, another quart of paint, or the inevitable second trip to the hardware store.
Experience-Based Lessons From a DIY Vanity Makeover
The most surprising part of renovating a builder-grade vanity is how little time is spent actually painting. The glamorous moment when the roller turns brown oak into deep green may last only a few minutes. Cleaning, labeling, sanding, dust removal, waiting, and reinstalling everything consume most of the project.
One of the best practical habits is to photograph the vanity before taking it apart. Capture the hinges, drawer slides, plumbing, door spacing, and hardware placement. Those pictures become extremely useful when a hinge suddenly appears to have six possible positions and none of them seems correct.
Labeling doors also matters more than expected. On a double vanity, two doors may look identical while having slightly different hinge adjustments. Returning each door to its original opening reduces alignment problems. A small piece of tape marked “left,” “right,” or “center” can save half an hour of swapping doors and muttering.
Another lesson is that the first primer coat may look alarming. Dark wood can show through unevenly, filled holes may become more visible, and the entire cabinet may resemble an unfinished theater prop. This is normal. Primer is not the final beauty coat; it is the behind-the-scenes employee doing the difficult work while paint accepts the compliments.
Good lighting is essential during sanding and painting. A surface that appears smooth under dim bathroom lighting may reveal drips, roller lines, dust, or missed corners when daylight hits it. Moving doors to a bright work area makes flaws easier to correct before the final coat.
Painting the backs of doors first is another useful strategy. Any early mistakes happen on the less visible side, giving you a chance to adjust the roller pressure, paint quantity, and drying setup before tackling the fronts. Elevating doors on painter’s pyramids or stable supports can also keep wet edges away from the work surface, provided the support marks are placed discreetly.
The project schedule should include more waiting time than the optimistic version in your head. Do not plan to prime Saturday morning, apply two coats by lunch, reinstall the doors before dinner, and host guests that evening. Cabinet paint rewards patience and punishes enthusiasm. Follow the printed drying instructions, account for humidity, and allow additional curing time when possible.
Hardware placement can completely change the finished look. Before drilling, tape paper templates to the doors or use removable painter’s tape to mark possible positions. Step back several feet and evaluate the proportions. On wide drawers, longer pulls may look more balanced than small knobs. On narrow doors, oversized handles may make the vanity appear as if it borrowed accessories from a refrigerator.
It is also worth testing the complete color combination before committing. Paint a sample board, place it beneath the countertop, and view it beside the floor tile, wall color, faucet, and lighting. Bathrooms often contain warm and cool undertones that are easy to overlook when selecting a color from a small chip in a store.
Finally, a makeover does not need every possible upgrade. Paint and hardware may be enough. Adding trim, replacing the faucet, framing the mirror, changing the light fixture, refinishing the countertop, and organizing the interior can create an impressive result, but completing all of them at once may overwhelm the budget and schedule. Start with the improvements that correct the vanity’s biggest visual problems, then add details only when they support a clear design.
Final Thoughts
A builder grade bathroom vanity makeover DIY project can transform an ordinary cabinet without the expense and disruption of a full bathroom remodel. The most reliable process is not complicated: inspect the vanity, clean it thoroughly, repair damage, sand for adhesion, use a compatible primer, apply durable cabinet paint in thin coats, and allow adequate curing time.
Fresh hardware creates the quickest finishing touch, while trim, a new faucet, an updated countertop, and better organization can push the vanity from “recently painted” to “was this custom?” The difference usually comes from preparation and restraint rather than an enormous budget.
Take your time, measure twice, label every part, and remember that a slightly imperfect vanity you improved yourself still has considerably more personality than the beige builder-grade box that started the project.
Note: Drying times, primer requirements, ventilation precautions, and surface compatibility vary by product. Follow the manufacturer’s current instructions, repair leaks before painting, and consult qualified plumbing or electrical professionals when an upgrade exceeds your experience. This article synthesizes guidance from more than a dozen reputable U.S. home-improvement and design resources, including The Home Depot, Lowe’s, This Old House, HGTV, Bob Vila, Better Homes & Gardens, Sherwin-Williams, Benjamin Moore, Real Simple, The Spruce, and Apartment Therapy.