You reach into the freezer expecting a glorious avalanche of ice, and instead you find three lonely cubes rattling around the bin like survivors of a tiny frozen apocalypse. Naturally, the first question is, “Why isn’t my ice maker working?”
The good news is that a refrigerator ice maker not making ice does not automatically mean you need a new refrigerator, a repair truck in the driveway, or a solemn farewell ceremony for your appliance. Many ice maker problems come from surprisingly ordinary issues: an accidentally switched-off control, a warm freezer, restricted water flow, a clogged refrigerator water filter, or ice jammed where ice definitely should not be jammed.
This guide walks through 13 ice maker troubleshooting steps, beginning with the easiest checks and moving toward problems that may require professional appliance repair. Grab a flashlight, locate your refrigerator model number and owner’s manual, and resist the temptation to threaten the fridge. Appliances rarely respond to intimidation.
How Does a Refrigerator Ice Maker Work?
Although designs vary, an automatic refrigerator ice maker follows a fairly simple routine. Water enters through a supply line and water inlet valve. The ice maker sends water into a mold or tray, where freezer temperatures turn it into cubes. After the ice freezes, a motorized mechanism ejects the cubes into the ice bin. A sensor, paddle, or control arm detects when the bin is full and temporarily pauses production.
That means a refrigerator ice maker not working usually has a problem somewhere in one of four areas: electrical controls, freezer temperature, water delivery, or the mechanical ice-making cycle. Troubleshooting in that order can prevent unnecessary part replacement.
1. Make Sure the Ice Maker Is Actually Turned On
Yes, this sounds almost insulting. Check anyway.
Traditional ice makers may use a wire shutoff arm. The arm generally needs to be in its operating position for ice production. Other refrigerators use a physical switch, touchscreen setting, or an “Ice Off” indicator on the control panel.
Food packages, enthusiastic freezer organizing, or accidental button presses can switch the ice maker off without anyone noticing. Consult the refrigerator manual because the exact control arrangement varies by manufacturer and model.
After switching the ice maker on, give it time. Automatic ice production is a cycle, not an instant reaction. The refrigerator may need several hours before you see a fresh batch.
2. Check the Freezer Temperature
An ice maker lives in the freezer, so temperature matters. A lot.
For many refrigerators, a freezer setting around 0 degrees Fahrenheit provides the appropriate environment for normal freezing and ice production. If the freezer is too warm, the ice maker may produce ice slowly or fail to complete its cycle.
Do not trust the fact that your peas “feel pretty cold.” Use an appliance thermometer if you suspect a cooling problem. Temperature issues may develop because of frequent door opening, blocked air vents, a poorly sealing door gasket, dirty condenser coils, or a broader refrigeration failure.
Look for other cooling symptoms
Is the ice cream soft? Are frozen foods developing unusual thawing patterns? Does the compressor seem to run constantly? If the entire freezer is too warm, your problem is bigger than an ice tray with stage fright. Troubleshoot the refrigerator’s cooling system before blaming the ice maker itself.
3. Confirm the Refrigerator Has a Water Supply
No water, no ice. Science can be annoyingly strict about this.
Pull the refrigerator away from the wall carefully and inspect the water connection. Confirm that the appliance is connected to the household cold-water supply and that the shutoff valve is fully open.
If the refrigerator was recently installed or moved, check the connection first. A closed valve is an especially common explanation for a new refrigerator ice maker not working.
Some new plumbing installations may also contain air in the water system. Follow the manufacturer’s instructions for flushing or priming the refrigerator water system. Initial ice cycles can be irregular until water reaches the ice maker consistently.
4. Inspect the Water Supply Line for Kinks
The narrow water line behind a refrigerator can become kinked when the appliance is pushed too tightly against the wall. A sharp bend restricts water flow and may leave the ice maker receiving too little wateror none at all.
Slowly pull the refrigerator forward. Inspect the entire visible section of tubing for bends, crushing, damage, moisture, or ice. Straighten a minor bend only when the tubing is still in good condition.
A cracked or leaking refrigerator water line should be replaced rather than creatively repaired with six layers of mystery tape. Before disconnecting water components, shut off the household water supply to the refrigerator and follow the manufacturer’s safety instructions.
5. Replace a Clogged Refrigerator Water Filter
A clogged water filter is one of the classic reasons an ice maker stopped making ice or suddenly began producing tiny cubes.
As the filter captures material from the water supply, flow can gradually decrease. Depending on your refrigerator and water conditions, you may notice slow dispenser flow, hollow ice cubes, smaller cubes, or declining ice production.
Check the filter indicator and the replacement schedule in your owner’s manual. Many refrigerator manufacturers commonly recommend replacing compatible filters about every six months, although actual replacement timing can depend on water quality and household use.
Install the correct filter for your refrigerator. Make sure it is fully seated and locked into position. An improperly installed filter can also interfere with water delivery.
After replacement, flush the water system according to the manufacturer’s directions. You may also need to discard the first batches of new ice.
6. Test the Refrigerator Water Dispenser
If your refrigerator has a water dispenser, it can provide a useful troubleshooting clue.
Try dispensing water. A strong, consistent stream suggests that at least part of the refrigerator’s water-delivery system is operating. Weak or nonexistent water flow may point toward a closed supply valve, kinked line, clogged filter, or household water pressure problem.
However, a working dispenser does not prove the ice maker is healthy. Refrigerators can use separate valve circuits or components to direct water toward the dispenser and ice maker. Think of the dispenser test as a clue, not a courtroom confession.
Could low water pressure stop an ice maker?
Yes. Ice makers require sufficient water flow to fill the mold correctly. The required pressure range varies by refrigerator, so check the specifications for your model. Reverse-osmosis systems and plumbing restrictions can sometimes affect supply pressure.
If water pressure appears unusually low throughout the home, consider consulting a licensed plumber rather than dismantling the refrigerator in search of an innocent component.
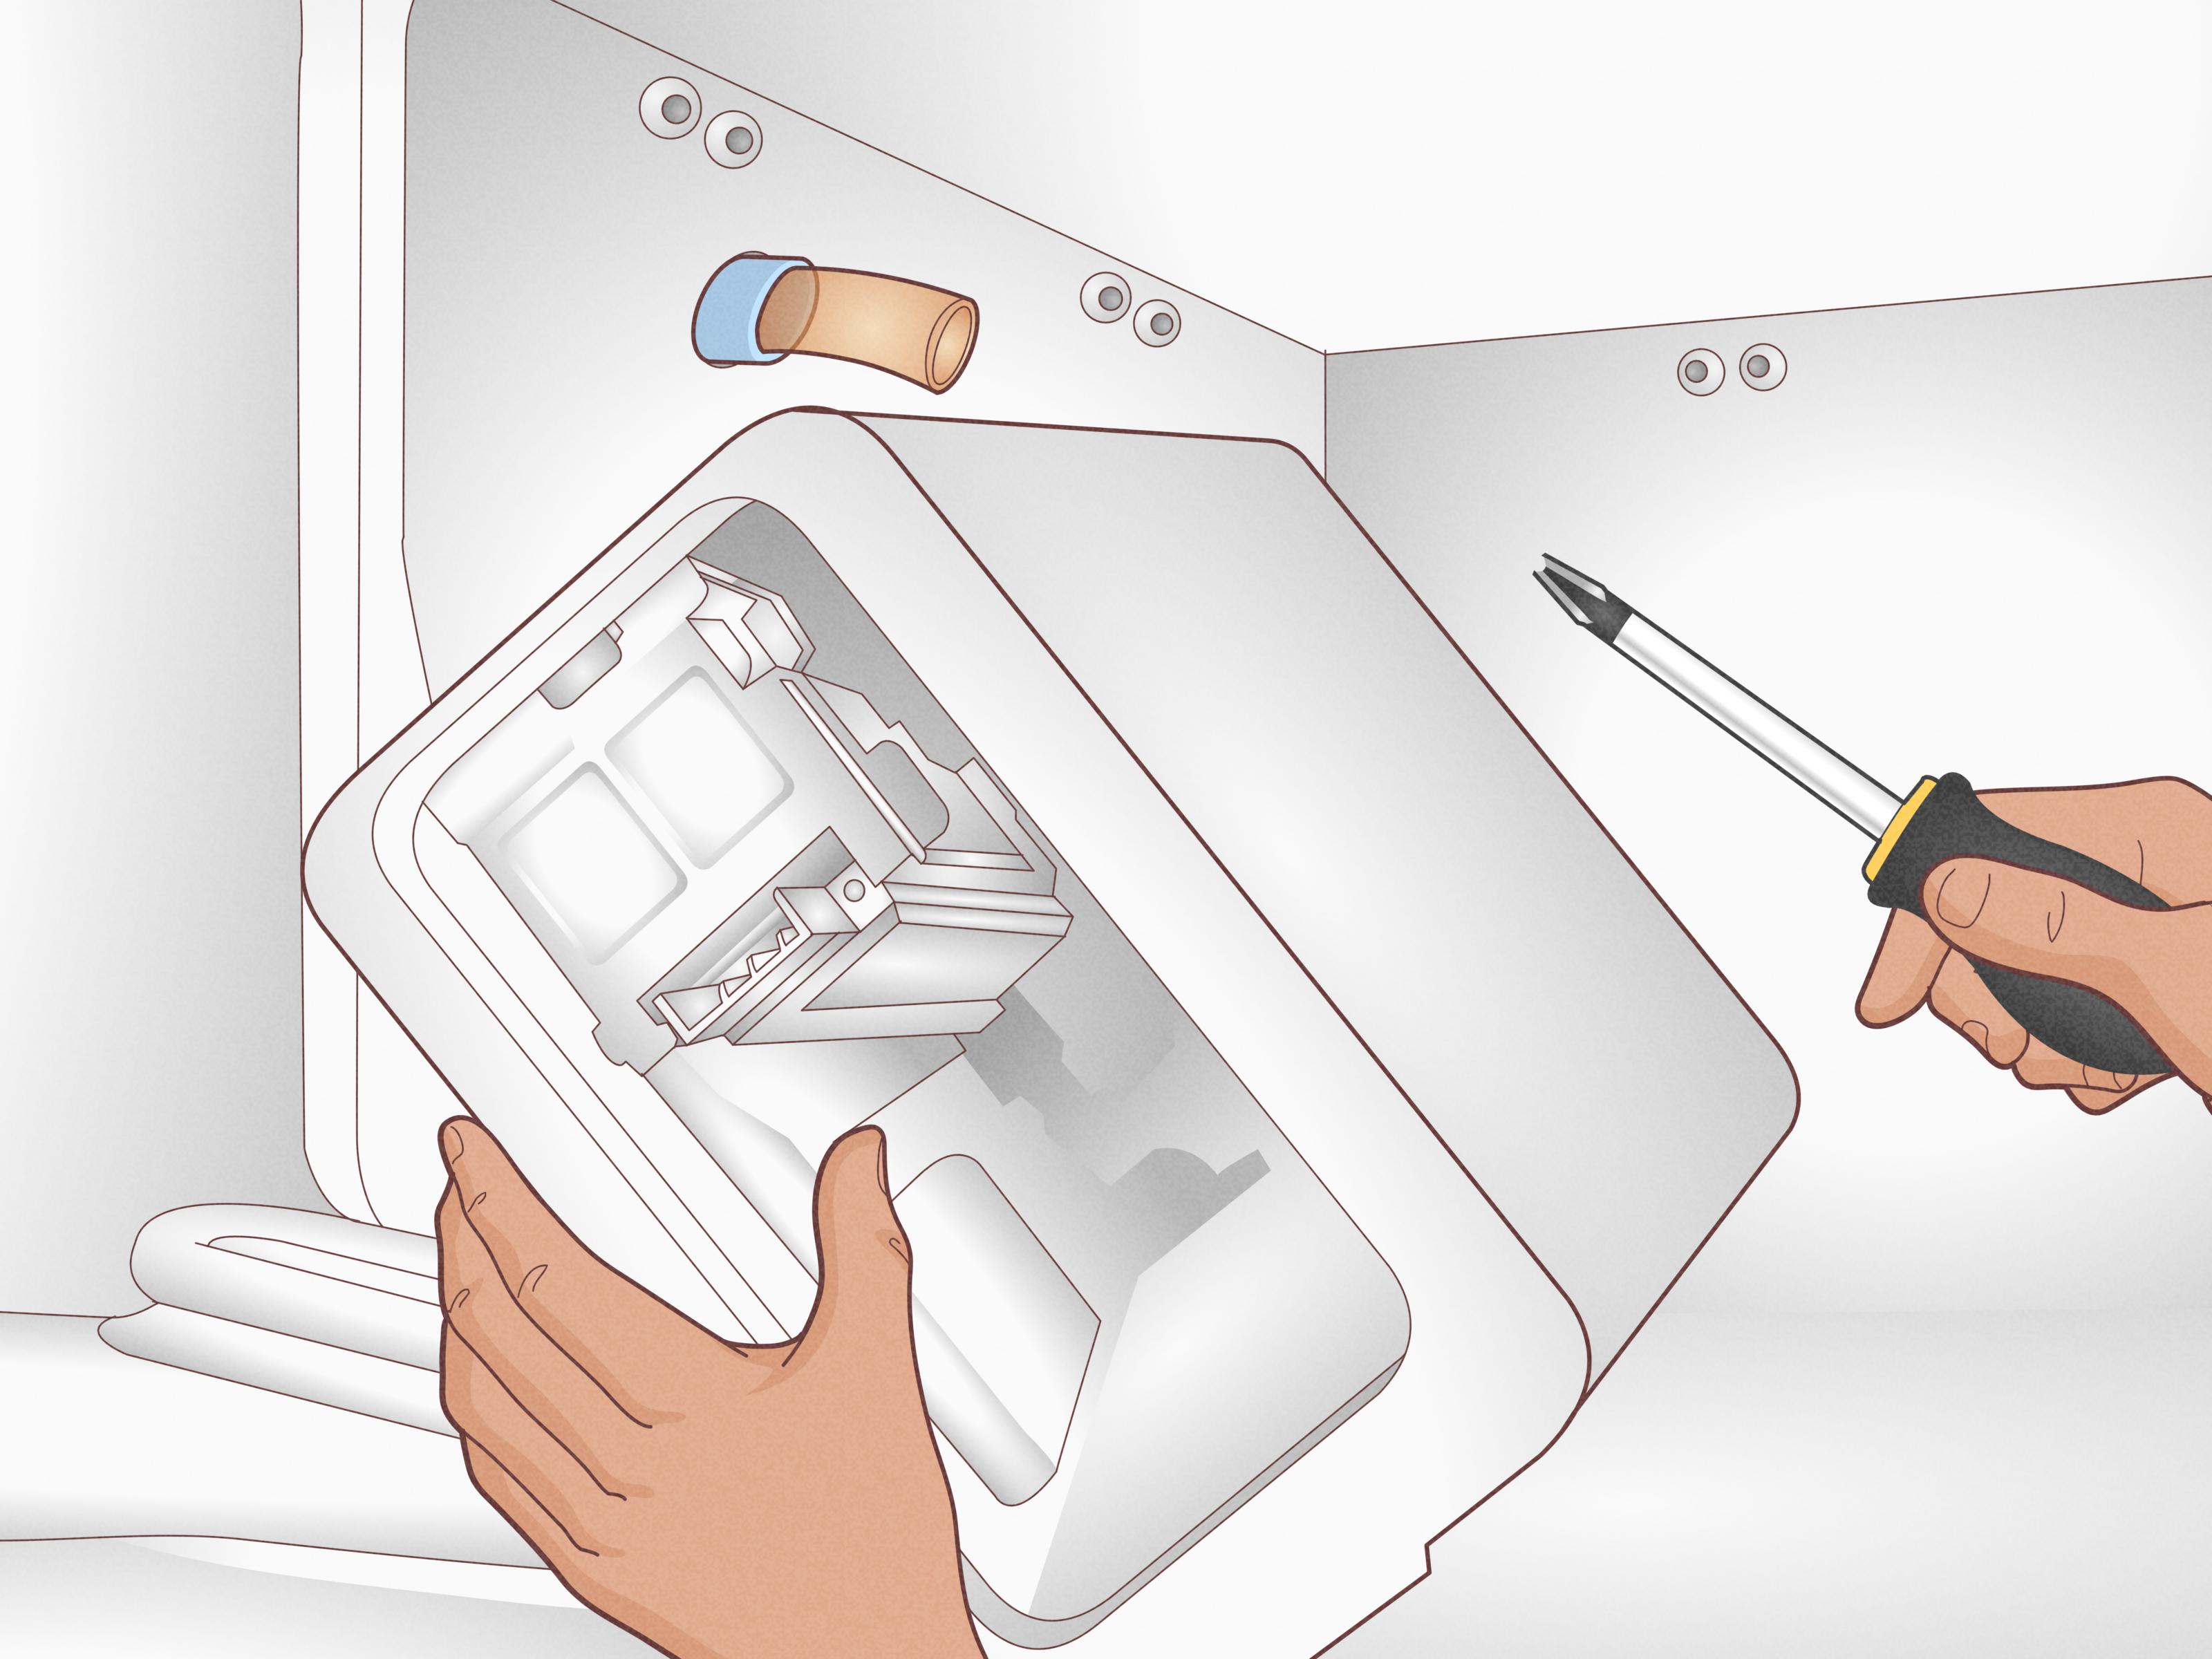
7. Look for a Frozen Ice Maker Fill Tube
The fill tube delivers water to the ice maker. If it freezes, the ice maker may cycle without receiving water.
Turn off power to the refrigerator before closely inspecting internal components. Locate the fill tube using your model’s manual. Visible frost or ice near the fill opening may indicate a blockage.
Do not attack frozen tubing with a screwdriver, steak knife, or other sharp object. Puncturing a water tube transforms “no ice” into “indoor kitchen fountain,” which is rarely an improvement.
Manufacturer-approved thawing methods differ by refrigerator design. A frozen fill tube can also return if another problem exists, such as an improperly operating water inlet valve or an abnormal temperature condition. Repeated freezing deserves a deeper diagnosis.
8. Check the Ice Bin for Clumps and Jams
Sometimes the ice maker has made ice perfectly well. The ice simply refuses to go anywhere.
Remove the ice bucket according to the owner’s manual. Look for large clumps, cubes frozen around moving components, or ice blocking the dispenser chute. Ice can fuse together when it partially melts and refreezes, especially after temperature fluctuations or long periods without dispensing.
Empty severely clumped ice and clean the removable bin with warm water and mild dish soap if allowed by the manufacturer. Dry the bin completely before reinstalling it. Moisture left behind is basically an invitation for another frozen reunion.
Make sure the bucket is returned to its proper position. An incorrectly seated ice bin can interfere with dispensing on some models.
9. Inspect the Shutoff Arm, Paddle, or Bin Sensor
The ice maker needs to know when its storage bin is full. Older designs often use a mechanical arm. Newer refrigerators may use a paddle or electronic sensor.
Check whether ice, food packaging, or a misplaced freezer item is blocking the mechanism. A stuck shutoff device can falsely tell the refrigerator, “Thanks, we’re full,” even when the bin contains enough empty space to rent out as a studio apartment.
Do not force a mechanical arm or sensor assembly. Remove visible obstructions gently. If a component appears bent, broken, or disconnected, identify the correct replacement procedure for your exact refrigerator model.
10. Check the Freezer Door and Door Gasket
A freezer door that does not close properly can allow warm, humid air inside. The refrigeration system then struggles to maintain stable temperatures, and ice production may slow.
Inspect the rubber door gasket for food residue, tears, gaps, or distorted sections. Clean a dirty gasket with the method recommended by the appliance manufacturer. Make sure containers and freezer bags are not physically preventing the door from closing.
Also inspect interior air vents. A tower of frozen pizza boxes packed tightly against a vent may restrict cold-air circulation. Your freezer is an appliance, not a competitive game of refrigerator Tetris.
If cooling improves after correcting a door-seal or airflow problem, ice production may gradually return as the freezer temperature stabilizes.
11. Reset the Ice Maker Correctly
A reset can sometimes clear a minor electronic or cycle problem, but ice maker reset instructions are model-specific.
Some units have a test or reset button. Other refrigerators require a particular button sequence. Certain models may be power-cycled by unplugging the refrigerator for a manufacturer-specified period before restoring power.
Use the manual for your exact model rather than following a random internet video featuring a refrigerator that merely shares the same color.
After a reset, allow adequate time for cooling and ice production. Repeatedly pressing the test button is not likely to make the refrigerator feel more motivated and can complicate diagnosis on certain designs.
12. Consider a Faulty Water Inlet Valve
The water inlet valve opens electrically when the appliance calls for water. If the valve fails, becomes restricted, or does not receive the proper electrical signal, the ice maker may remain dry.
Possible symptoms of a water inlet valve problem include no water reaching the ice mold, inconsistent filling, unusually small cubes, or repeated fill-tube freezing in some situations.
Valve diagnosis can involve water connections and electrical testing. Always disconnect refrigerator power and shut off the water supply before service work. If you are not experienced with appliance electrical testing, this is an excellent point to call a qualified repair technician.
Do not replace the inlet valve merely because the ice maker is empty. A clogged filter, low water pressure, control problem, or frozen tube can create similar symptoms.
13. Suspect the Ice Maker Assembly or Electronic Controls
If the ice maker is switched on, the freezer is cold, the water supply is healthy, the filter is clear, the fill path is open, and a proper reset changes nothing, a component failure becomes more likely.
The ice maker assembly can contain a motor, thermostat or temperature sensing components, mold heater, ejector mechanism, switches, and electronic controls, depending on the design. Some refrigerators also rely on a main control board to coordinate ice production.
A technician may use the refrigerator’s wiring diagram, diagnostic mode, error codes, and electrical measurements to isolate the failed component.
Replacing an entire ice maker without testing can be expensive guesswork. Control-board failures are also possible, but the main board should not automatically receive blame every time a refrigerator develops an attitude.
Quick Ice Maker Troubleshooting Checklist
When asking “Why isn’t my ice maker working?”, check the problem in this order:
- Verify that the ice maker is turned on.
- Check the actual freezer temperature.
- Confirm the cold-water supply is connected and open.
- Inspect the refrigerator water line for kinks or leaks.
- Check the refrigerator water filter.
- Test water dispenser flow, when applicable.
- Inspect the ice maker fill tube for freezing.
- Remove clumped ice and clear jams.
- Check the shutoff arm, paddle, or bin sensor.
- Inspect the freezer door seal and airflow.
- Follow the model-specific reset procedure.
- Have the water inlet valve diagnosed if needed.
- Consider ice maker assembly or control-system failure.
When Should You Call an Appliance Repair Technician?
Basic visual checks, filter replacement, ice-bin cleaning, and control-setting corrections are reasonable projects for many homeowners. Professional refrigerator repair is a better option when troubleshooting requires live-voltage testing, complex wiring diagnosis, sealed refrigeration work, or disassembly beyond the procedures described in the owner’s manual.
Call for service if the refrigerator is not cooling, you see evidence of electrical damage, water is leaking near electrical components, the water valve must be electrically tested, or the same problem keeps returning after basic troubleshooting.
Also consider the refrigerator’s age, repair history, warranty coverage, and estimated repair cost. A technician can help confirm whether you need a relatively simple component replacement or whether several systems are beginning to fail.
My Real-World Experience Troubleshooting a Stubborn Ice Maker
Ice maker problems have taught me one particularly humbling lesson: start with the boring checks. The boring check is often the hero of the story.
In one troubleshooting situation, the ice maker had apparently stopped overnight. The freezer was cold, the refrigerator sounded normal, and everyone was already discussing expensive repair parts with the confidence of people who had tested absolutely nothing. The first assumption was a failed ice maker motor. The second assumption was a bad inlet valve. The third assumption probably involved supernatural activity.
The actual problem? The ice maker had been switched off.
A bag of frozen vegetables had pushed against the shutoff control while the freezer was being rearranged. One small accidental movement stopped ice production completely. The repair took seconds. The diagnostic meeting lasted considerably longer and provided a powerful reminder that complicated theories are very attractive when simple facts have not been checked.
Another experience involved an ice maker that was producing tiny, thin cubes. It still made ice, so an electrical failure seemed unlikely. The ice mold simply was not receiving enough water. Water from the refrigerator dispenser was also noticeably slower than usual.
That clue changed the troubleshooting direction. Instead of focusing on the ice maker assembly, the water-delivery system became the main suspect. The refrigerator filter had been in service far longer than intended. After the correct replacement filter was installed and the water system was flushed according to the appliance instructions, water flow improved. The ice maker gradually returned to normal-sized cubes.
The most memorable problem, however, was a freezer full of perfectly good ice that “wouldn’t work.” Technically, the ice maker was innocent. It had produced plenty of cubes. The problem was that weeks of light use and temperature changes had allowed the ice to form a giant frozen mass in the bucket. Pressing the dispenser lever produced motor noise and absolutely no ice.
Removing the bucket revealed an object that looked less like ice cubes and more like a geological formation. The clumped ice was discarded, the bin was washed and thoroughly dried, and the dispenser chute was checked for obstructions. Fresh ice dispensed normally afterward.
Those experiences shaped the troubleshooting order I use today. First, I separate an ice production problem from an ice dispensing problem. Is the bin empty, or is it full but unable to deliver ice? Those are different symptoms and often point toward different systems.
Next, I look for patterns. Tiny cubes suggest that water delivery deserves attention. No cubes at all may indicate settings, temperature, water flow, a frozen fill path, or a component failure. Soft frozen foods suggest a broader cooling issue. A noisy dispenser with a full bucket may suggest a jam or dispenser problem rather than failed ice production.
I also learned not to change three things at once. If you replace a filter, reset the refrigerator, adjust the freezer temperature, and clear the ice bin simultaneously, you might restore operationbut you will have no idea which action solved the problem. Change one logical variable, observe the result, and move to the next step.
Finally, I keep the refrigerator’s exact model number nearby. Ice maker designs vary enormously. Reset buttons, control arms, test cycles, filter locations, and error codes are not universal. Model-specific instructions save time and help prevent damage.
The practical lesson is simple: troubleshooting is not about guessing the most dramatic failure. It is about following the symptom from the easiest explanation toward the more complicated ones. Your ice maker may need professional repair. But before you order a control board at 2 a.m., please check whether someone accidentally turned the ice maker off. Your wallet will appreciate the restraint.
Conclusion: Solve the Simple Ice Maker Problems First
When your ice maker is not working, begin with controls, temperature, and water supply. Verify that the unit is on, make sure the freezer is cold enough, inspect the water line, and check the refrigerator filter. Then look for frozen fill tubes, ice clumps, blocked sensors, and door-sealing problems.
A model-specific reset may clear a minor control issue. If basic troubleshooting does not restore ice production, the water inlet valve, ice maker assembly, sensors, wiring, or electronic controls may require professional diagnosis.
Most importantly, troubleshoot in a logical order. Your refrigerator is already making enough cold decisions. There is no reason for you to make expensive guesses.