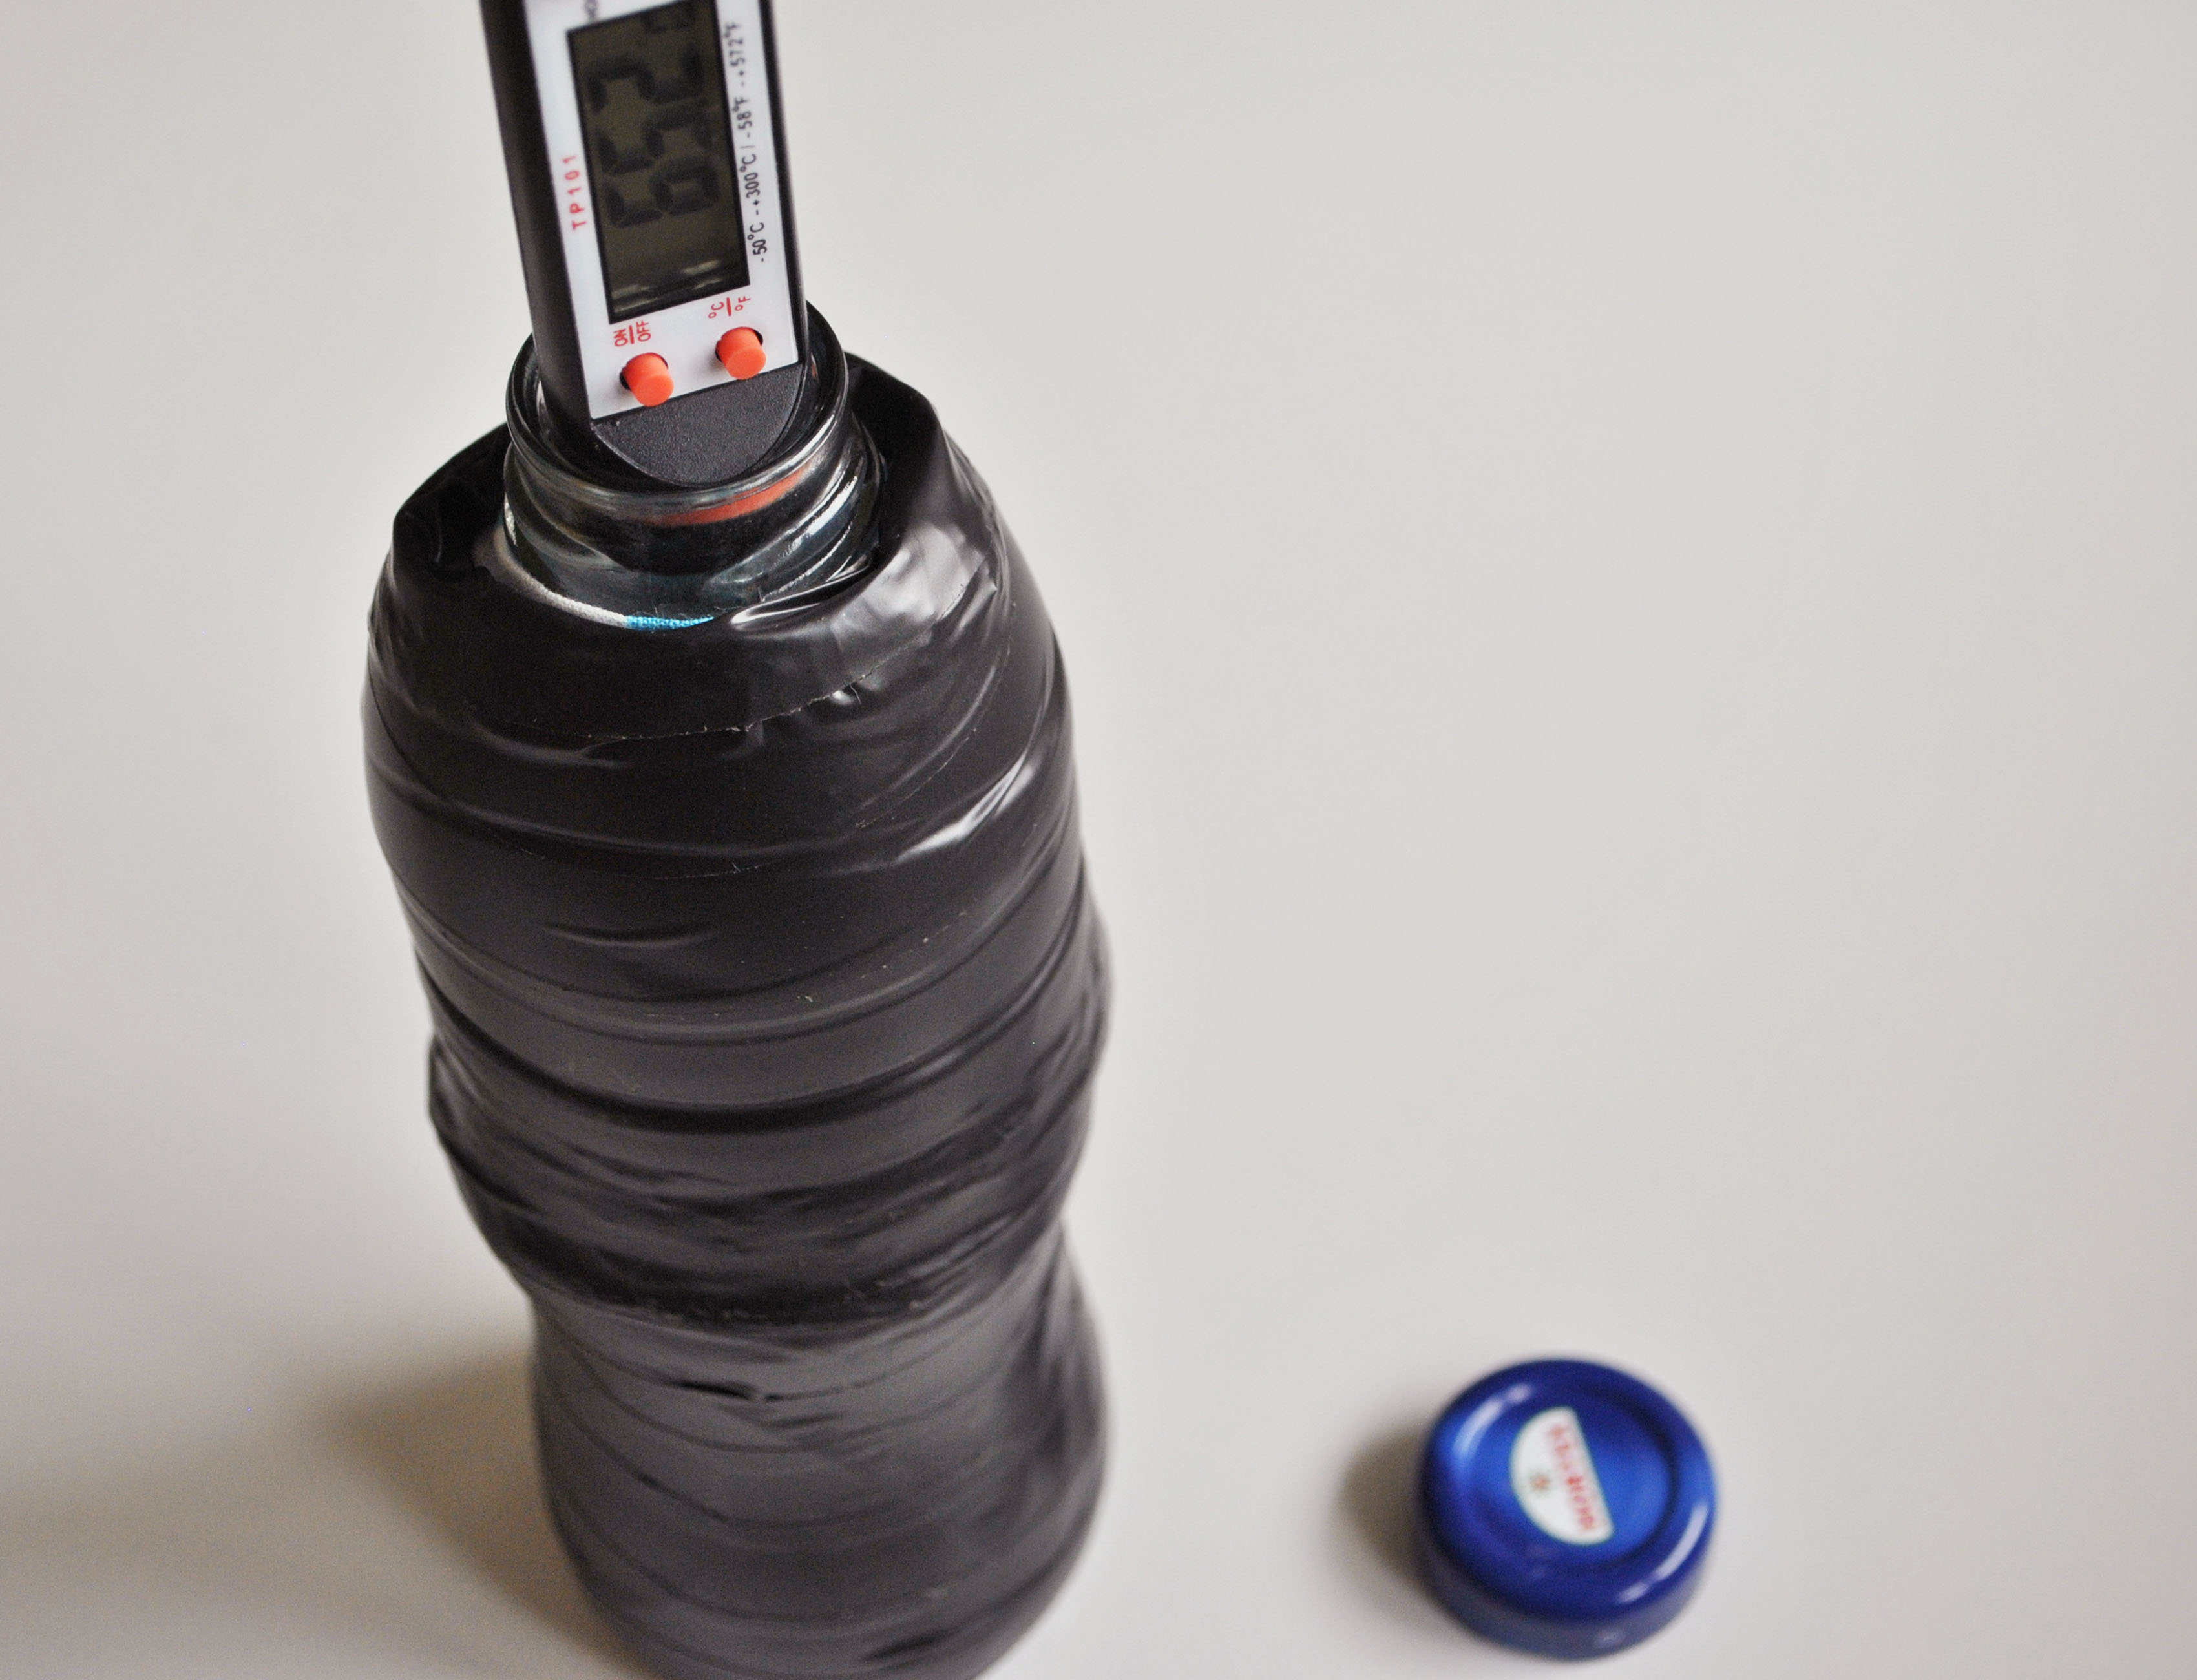
A thermos looks like a simple bottle with a lid, but it is secretly a tiny engineering masterpiece. It fights heat loss the way a determined squirrel fights for the last acorn: from every angle. A good insulated bottle slows conduction, convection, and radiation so your coffee stays hot, your iced tea stays cold, and your soup does not become a lukewarm emotional support liquid by noon.
Before we grab tape and aluminum foil, let’s clear up one important point: making a true commercial vacuum flask at home is not realistic or safe for most people. Factory-made thermoses use double-wall stainless steel or glass with air removed from the space between the walls. Creating that vacuum requires specialized equipment, controlled sealing, pressure testing, and materials designed to resist collapse or breakage. What you can make at home is a DIY thermos-style insulated container that demonstrates the same principles and works surprisingly well for short-term use.
This guide explains how to make a thermos using household materials, why each layer matters, how to test your results, and how to improve the design without turning your kitchen table into a questionable science fair volcano.
What Is a Thermos, Really?
A thermos, also called a vacuum flask or insulated bottle, is designed to reduce heat transfer. Heat always tries to move from warmer areas to cooler areas. That is why hot chocolate cools down in a regular mug and why ice water sweats on a summer day. A thermos slows that movement.
The Three Heat Thieves
To understand how to make a thermos, you need to know the three ways heat escapes:
- Conduction: Heat moving through direct contact, like a metal spoon heating up in soup.
- Convection: Heat carried by moving air or liquid, like warm air rising from coffee.
- Radiation: Heat traveling as infrared energy, even across empty space.
A commercial thermos uses a vacuum to reduce conduction and convection between the inner and outer walls. It often uses reflective surfaces to reduce radiant heat transfer. A tight lid reduces heat escaping through the top. Your homemade version will use trapped air, insulating layers, reflective foil, and a snug lid to copy the same idea.
Can You Make a Real Vacuum Thermos at Home?
Technically, a real vacuum thermos requires removing air from the space between two walls and sealing that space permanently. That is not a beginner DIY project. Glass can implode, thin metal can deform, and poorly sealed containers will lose their vacuum quickly. In other words, this is not the time to introduce your garage to amateur pressure engineering.
Instead, this project focuses on a safe homemade thermos. It will not match a high-end stainless steel vacuum bottle, but it can keep a drink warm or cold much longer than an uninsulated bottle. It is ideal for learning, camping experiments, school projects, emergency practice, and anyone who enjoys making useful objects from ordinary materials.
Materials You Need
Choose clean, food-safe materials. The inner container is the only part that should touch your drink or food, so do not improvise with anything that previously held chemicals, paint, fuel, cleaners, or mystery garage fluids. Mystery fluids are never part of a good lunch plan.
Basic Supplies
- A clean, food-safe bottle or jar with a tight lid
- A larger outer container, such as a wide plastic bottle, coffee can, or sturdy cardboard tube
- Aluminum foil
- Bubble wrap, wool fabric, felt, foam sheet, newspaper, or cotton cloth
- Cardboard
- Tape, rubber bands, or string
- Scissors or a craft knife
- A thermometer for testing
- Optional: cork, silicone gasket, cloth pouch, or foam lid insert
Step-by-Step: How to Make a Thermos
Step 1: Select the Inner Container
The inner bottle or jar should be clean, leak-resistant, and safe for hot or cold liquids. A narrow-mouth bottle works better for hot drinks because less heat escapes through the opening. A wide-mouth jar is easier for soup but loses heat faster through the lid area.
For hot drinks, choose glass only if it is designed to handle heat. Regular glass can crack when exposed to boiling water. Stainless steel or heat-safe plastic may be better, depending on what you plan to store. Never pour boiling liquid into a container unless you know it is rated for high temperatures.
Step 2: Clean and Dry Everything
Wash the inner container with hot, soapy water and rinse it well. Let it dry completely. If the container will hold drinking water or food, sanitation matters. A thermos is excellent at holding temperature, but it can also hold odors if you treat cleaning as a loose suggestion.
Step 3: Add a Reflective Layer
Wrap the inner container with aluminum foil. The shiny surface helps reflect radiant heat. For best results, do not press every layer perfectly flat against the bottle. A small air gap improves performance because reflective barriers work best when facing an air space.
Use tape to secure the foil, but keep tape away from areas that may become hot or touch food. The foil layer is not magic, but it gives your homemade insulated bottle an important first defense against heat radiation.
Step 4: Add Insulating Material
Next, wrap the foil-covered container with insulation. Bubble wrap is a strong choice because it traps many tiny pockets of air. Wool, felt, foam, and thick cloth can also work well. Newspaper is less durable but useful for experiments because it traps air between layers.
The goal is to slow conduction and convection. Materials that trap still air are usually better insulators than dense materials that conduct heat easily. Metal, for example, is strong but a poor insulator by itself. That is why a plain metal cup can betray your fingers after one sip of hot coffee.
Step 5: Create an Outer Shell
Place the insulated inner container inside a larger outer container. The outer shell protects the insulation and creates another barrier between the drink and the outside world. If there is extra space, fill it lightly with more insulation. Do not compress the insulation too much; crushed insulation loses trapped air, and trapped air is doing most of the hard work.
Cardboard rings can act as spacers to keep the inner bottle centered. This reduces direct contact between the inner and outer walls, which lowers conductive heat transfer.
Step 6: Insulate the Bottom
Many homemade thermos designs fail at the bottom. If the inner container sits directly on a cold counter, heat escapes quickly by conduction. Add a foam pad, folded cloth, cork disk, or layered cardboard under the inner container before sealing it into the outer shell.
This small detail can make a noticeable difference. Think of it as giving your thermos warm socks. Not glamorous, but effective.
Step 7: Improve the Lid
The lid is often the weakest point in a DIY thermos. Heat rises, so a loose or thin lid lets warmth escape quickly. If your inner bottle already has a tight lid, keep it. Then add an outer insulated cap using foam, cloth, cardboard, or a cork layer.
A good lid should reduce air exchange, limit exposed surface area, and stay secure. Avoid sealing hot liquids in a way that could build pressure. Do not use your homemade thermos for carbonated drinks, fermenting beverages, or anything that produces gas.
Step 8: Seal the Outer Layer
Wrap the outside with tape, string, or a cloth sleeve to hold everything together. If appearance matters, cover the final layer with fabric, contact paper, or a reusable pouch. If performance matters more, prioritize snug construction, fewer gaps, and better insulation around the lid.
How to Test Your Homemade Thermos
Testing is where this project becomes useful instead of merely artsy. Fill your homemade thermos with hot water, record the starting temperature, close the lid, and measure again after 15, 30, 60, and 120 minutes. Compare it with the same amount of water in an uninsulated bottle.
For a cold test, use chilled water and measure how quickly it warms up. Keep the test conditions fair: same liquid amount, same starting temperature, same room temperature, and containers placed away from direct sun or drafts.
What Good Results Look Like
Your DIY thermos should slow temperature change noticeably compared with a bare bottle. If the temperature drops too fast, check the lid first. Then inspect the bottom and any places where the inner container touches the outer shell. Direct contact creates heat bridges, which are basically express lanes for temperature loss.
Tips to Make Your Thermos Work Better
Preheat or Prechill First
Before adding hot coffee or soup, fill the container with hot water for a few minutes, then dump it out and add the hot food or drink. For cold beverages, do the same with ice water. This simple trick reduces the temperature shock between the container and the contents.
Fill It Nearly Full
A full thermos usually holds temperature better than a half-empty one. Less air inside means less room for heat exchange. Leave enough headspace to close the lid safely, but do not carry one lonely inch of soup in a giant jar and expect miracles.
Keep It Closed
Every time you open the lid, warm air escapes or warm air enters, depending on what you are storing. If you are trying to keep coffee hot, avoid frequent “just checking” moments. Your thermos is not a pet. It does not need emotional reassurance every ten minutes.
Choose Shape Carefully
Tall, narrow containers usually retain heat better than short, wide ones because they expose less surface area at the opening. Wide-mouth containers are convenient for food, but they need extra lid insulation to perform well.
Food Safety Notes for Homemade Thermos Use
If you use your homemade thermos for perishable foods, temperature control matters. Hot foods should stay hot, and cold foods should stay cold. For safety, hot foods are generally kept at 140°F or above, while cold foods should be held at 40°F or below. Use a food thermometer if you are packing soup, chili, dairy, meat, eggs, or leftovers.
Do not rely on a homemade thermos for all-day storage of perishable food unless you have tested it carefully. Commercial vacuum food jars are designed and tested for this purpose; a DIY version is better for short trips, demonstrations, and non-risky beverages.
Common Mistakes to Avoid
Using Unsafe Containers
Never use containers that held chemicals, cleaners, fuel, pesticides, or non-food materials. Even if they look clean, residues can remain. Choose food-grade containers only.
Skipping the Lid Insulation
A beautifully insulated body with a thin lid is like wearing a winter coat with flip-flops. Heat will find the weak spot. Add foam, cloth, cork, or another insulating cap around the lid area.
Compressing the Insulation
Insulation works partly because it traps air. If you wrap everything so tightly that bubble wrap becomes sad plastic wallpaper, you reduce its effectiveness. Keep layers secure but not smashed.
Expecting Factory Performance
A homemade thermos can perform well, but it will not equal a quality double-wall vacuum bottle. That is fine. The goal is to make something useful, learn the science, and maybe rescue your tea from becoming room-temperature disappointment.
Best Uses for a Homemade Thermos
A DIY thermos is great for classroom science projects, camping practice, emergency kits, short commutes, backyard experiments, and learning how insulation works. It is also a smart way to compare materials. Try making three versions: one with bubble wrap, one with wool, and one with newspaper. Test them side by side and record the results. You may discover that the best design is not always the prettiest one.
Experience Notes: What Actually Helps in Real Life
When people build a homemade thermos for the first time, they usually focus on the sides. That makes sense because the sides are large and easy to wrap. But real-world testing often shows that the lid and bottom deserve just as much attention. A bottle wrapped in four layers of insulation can still lose heat quickly if the cap is thin or the base sits directly on a cold surface.
One practical experience is that bubble wrap performs better than many people expect. It is light, easy to wrap, and full of trapped air pockets. However, it needs protection from heat. Do not let bubble wrap touch a hot metal surface that could soften it. Place foil or a safe barrier between the warm inner container and the plastic insulation.
Another useful lesson is that preheating changes the game. If you pour hot soup into a cold jar, part of the soup’s heat immediately warms the jar instead of staying in the food. Preheating with hot water for five minutes can noticeably improve lunchtime temperature. The same logic works for cold drinks: chill the container before adding iced tea, lemonade, or water.
In short outdoor tests, a homemade thermos wrapped with foil, bubble wrap, cloth, and an insulated lid can keep drinks pleasantly warm for a reasonable period. But windy conditions, cold ground, and frequent opening all reduce performance. If you are taking the thermos outside, carry it in a bag or wrap it in a towel for another layer of protection.
Cleaning is another experience-based detail that matters more than expected. A narrow bottle may keep liquids warm nicely, but if you cannot clean it well, it becomes a flavor museum. Coffee today, soup tomorrow, mystery aroma forever. Choose a container that you can scrub properly, rinse completely, and dry upside down.
For school projects, the most reliable method is to build a control container and at least two test designs. Measure temperatures at fixed times and put the results in a simple chart. This turns “I think this worked” into evidence. It also helps you spot design flaws. If the first version fails, improve one variable at a time: thicker insulation, better lid, less direct contact, or a smaller opening.
The biggest takeaway from making a thermos is that insulation is not one material; it is a system. Reflective foil helps with radiation. Bubble wrap, wool, or foam slows conduction and convection. Air gaps reduce direct heat transfer. A tight lid limits air movement. A protected bottom stops heat from escaping into the table. When all those pieces work together, your homemade thermos becomes much more than a decorated bottle. It becomes a practical lesson in everyday engineering.
Conclusion
Learning how to make a thermos is really learning how to control heat. A commercial vacuum flask uses advanced manufacturing, but a homemade thermos can still teach the same core principles with simple materials. Start with a food-safe inner container, add a reflective layer, surround it with air-trapping insulation, protect the bottom, improve the lid, and test your results.
The best DIY thermos is safe, cleanable, and designed with purpose. It may not keep coffee hot for an entire mountain expedition, but it can extend warmth, preserve cold, and make you appreciate the quiet genius of insulated bottles. Also, it gives you an excellent excuse to say “conduction, convection, and radiation” at the kitchen table, which is always a win.
Note: This article is based on established heat-transfer science, food-safety guidance, educational insulation experiments, and practical insulated-bottle design principles. A homemade thermos should be used responsibly and should not be treated as a professionally manufactured vacuum flask.