Painting stair treads is one of those home projects that looks innocent until you realize your stairs are not just decor. They are also a daily highway for feet, pets, laundry baskets, sleepy kids, and that one person who insists on carrying three grocery bags at once. The good news? With the right prep, paint, and patience, you can turn worn wooden steps into a clean, durable, stylish staircase without hiring a crew or replacing the whole thing.
This guide explains how to paint stair treads the right way, from choosing stair tread paint to sanding, priming, adding traction, applying smooth coats, and letting everything cure properly. Whether your stairs were previously carpeted, stained, scuffed, or painted in a color that can only be described as “landlord beige,” this step-by-step approach will help you create painted stair treads that look intentional, hold up to traffic, and do not become a slippery comedy routine.
Why Paint Stair Treads?
Painting stair treads is a practical way to refresh a staircase on a budget. If the wood is too damaged for staining, if old carpet left staple marks, or if the treads are made from builder-grade pine rather than beautiful oak, paint can hide flaws while adding a strong design statement. A dark tread with white risers feels classic. A soft gray tread feels calm and modern. A bold black tread can make the whole entryway look more expensive than it was yesterday.
Paint also gives you more control than stain. Stain depends heavily on the condition and species of the wood. Paint is more forgiving. It can cover patchy repairs, old discoloration, and mismatched boards. However, stair treads take more abuse than a wall, so regular interior wall paint is not enough. You need a durable floor paint, porch and patio enamel, or another coating rated for high-traffic horizontal surfaces.
Before You Start: Check the Condition of the Stairs
Before opening a paint can, inspect each tread carefully. Press on the boards, listen for squeaks, and look for cracks, loose nosing, raised nails, or old staples. Paint can make stairs prettier, but it cannot fix structural problems. If a tread flexes, splits deeply, or feels unsafe, repair it before painting. Think of paint as makeup, not orthopedic surgery.
If your stairs were covered with carpet, expect extra prep. Carpet often leaves behind tack strip holes, adhesive, staple punctures, and dark lines along the edges. Remove every staple and nail you can find. Fill dents and holes with wood filler or a two-part wood repair product when needed. Once everything is dry, sand the surface smooth so the finished tread does not look like it has goosebumps.
Tools and Materials You’ll Need
Basic Supplies
Gather your tools before you begin. You will need a vacuum, degreasing cleaner or mild detergent, painter’s tape, drop cloths, wood filler, putty knife, sanding block or orbital sander, 120-grit and 220-grit sandpaper, tack cloth or microfiber cloth, a small angled brush, a small foam or microfiber roller, primer if recommended for your paint system, and high-quality floor paint or porch and floor enamel.
Optional but Helpful Supplies
For extra safety, consider an anti-slip paint additive, clear anti-slip strips, or a painted runner design that leaves some texture underfoot. Knee pads are also wise, because painting stairs means spending quality time crouched like a home-improvement goblin. If you are painting every other tread so the stairs remain usable, you will also want sticky notes or painter’s tape markers to remind everyone which steps are safe to use.
Choose the Best Paint for Stair Treads
The best paint for stair treads is not regular wall paint. Stair treads need a coating designed for foot traffic, abrasion, cleaning, and repeated contact. Look for products labeled as floor paint, porch and patio paint, floor enamel, or interior/exterior floor coating. These paints are made for horizontal surfaces and typically dry to a tougher finish than standard latex wall paint.
A satin, low-luster, or low-sheen finish is usually a smart choice. High-gloss paint can look dramatic, but it may also show dust, scratches, and footprints more easily. It can also feel slicker underfoot. A lower-luster finish gives you a balance of cleanability, durability, and traction. If the stairs are used by children, older adults, dogs, or anyone who treats socks like ice skates, add slip resistance to your plan.
Step 1: Clean the Stair Treads Thoroughly
Paint sticks best to clean surfaces. Dirt, wax, grease, old furniture polish, and hand oils can interfere with adhesion. Vacuum the stairs first, especially along the corners where the tread meets the riser. Then scrub the treads with a mild cleaner or degreasing solution. Avoid leaving soap residue behind. Rinse with a clean damp cloth and let the wood dry completely.
This step is not glamorous, but it matters. Skipping cleaning is like trying to put a Band-Aid on a dusty dog. It may stick briefly, but do not expect miracles. Clean stairs give primer and paint a fighting chance.
Step 2: Sand for Better Adhesion
Sanding creates a slightly rough surface so paint can grip. If the existing finish is glossy, sanding is especially important. Start with 120-grit sandpaper for general scuff sanding. If there are heavy imperfections, you may need a coarser grit first, but do not gouge the wood. Finish with 180- or 220-grit sandpaper for a smoother surface.
Sand the entire tread, including the nosing, edges, and corners. A small sanding block works well near trim. An orbital sander saves time on the flat center of each tread. After sanding, vacuum slowly and thoroughly. Then wipe with a tack cloth or slightly damp microfiber cloth. Dust left behind will mix into your paint and create a gritty finish, which is not the same thing as intentional anti-slip texture.
Step 3: Repair Holes, Gaps, and Damage
Use wood filler for nail holes, staple marks, small cracks, and dents. Press the filler into the damage with a putty knife, slightly overfilling the area because many fillers shrink as they dry. Once cured, sand the repair smooth. For larger cracks or damaged exterior steps, use a stronger exterior-rated filler or epoxy repair product.
Do not obsess over making old stairs look factory-new. A painted staircase can still have charm. The goal is a smooth, safe walking surface and a finish that looks clean from normal standing height. If you are inspecting each tread with a flashlight and the emotional intensity of a museum curator, take a breath. Stairs are meant to be walked on.
Step 4: Tape and Plan Your Painting Route
Tape along walls, stringers, risers, and trim if you want crisp lines. Decide whether you will paint all the treads at once or alternate them. If the staircase is the only route to bedrooms or a bathroom, paint every other tread first. Let those dry, then paint the remaining treads. Mark the safe steps clearly so nobody forgets and performs an accidental wet-paint tap dance.
If you are painting treads one color and risers another, paint the risers first. Lighter risers often pair beautifully with darker treads. For example, white risers with charcoal treads create contrast and make the stair profile stand out. Beige risers with warm gray treads feel softer. Navy or deep green treads can add personality without turning the staircase into a circus parade.
Step 5: Prime if Needed
Primer helps block stains, improve adhesion, and create an even base. It is especially useful on bare wood, patched areas, previously stained stairs, or surfaces with color bleed. Use a primer compatible with your floor paint. Some floor paints may recommend direct application to properly prepared surfaces, while others perform best over primer. Always follow the product label because paint chemistry is not a place for freestyle jazz.
Apply primer with a brush around edges and corners, then use a small roller for the flat center of the tread. Keep the coat thin and even. Thick primer can create ridges and may take longer to dry. After the primer dries, lightly sand with fine-grit sandpaper and wipe away dust before painting.
Step 6: Paint the Stair Treads
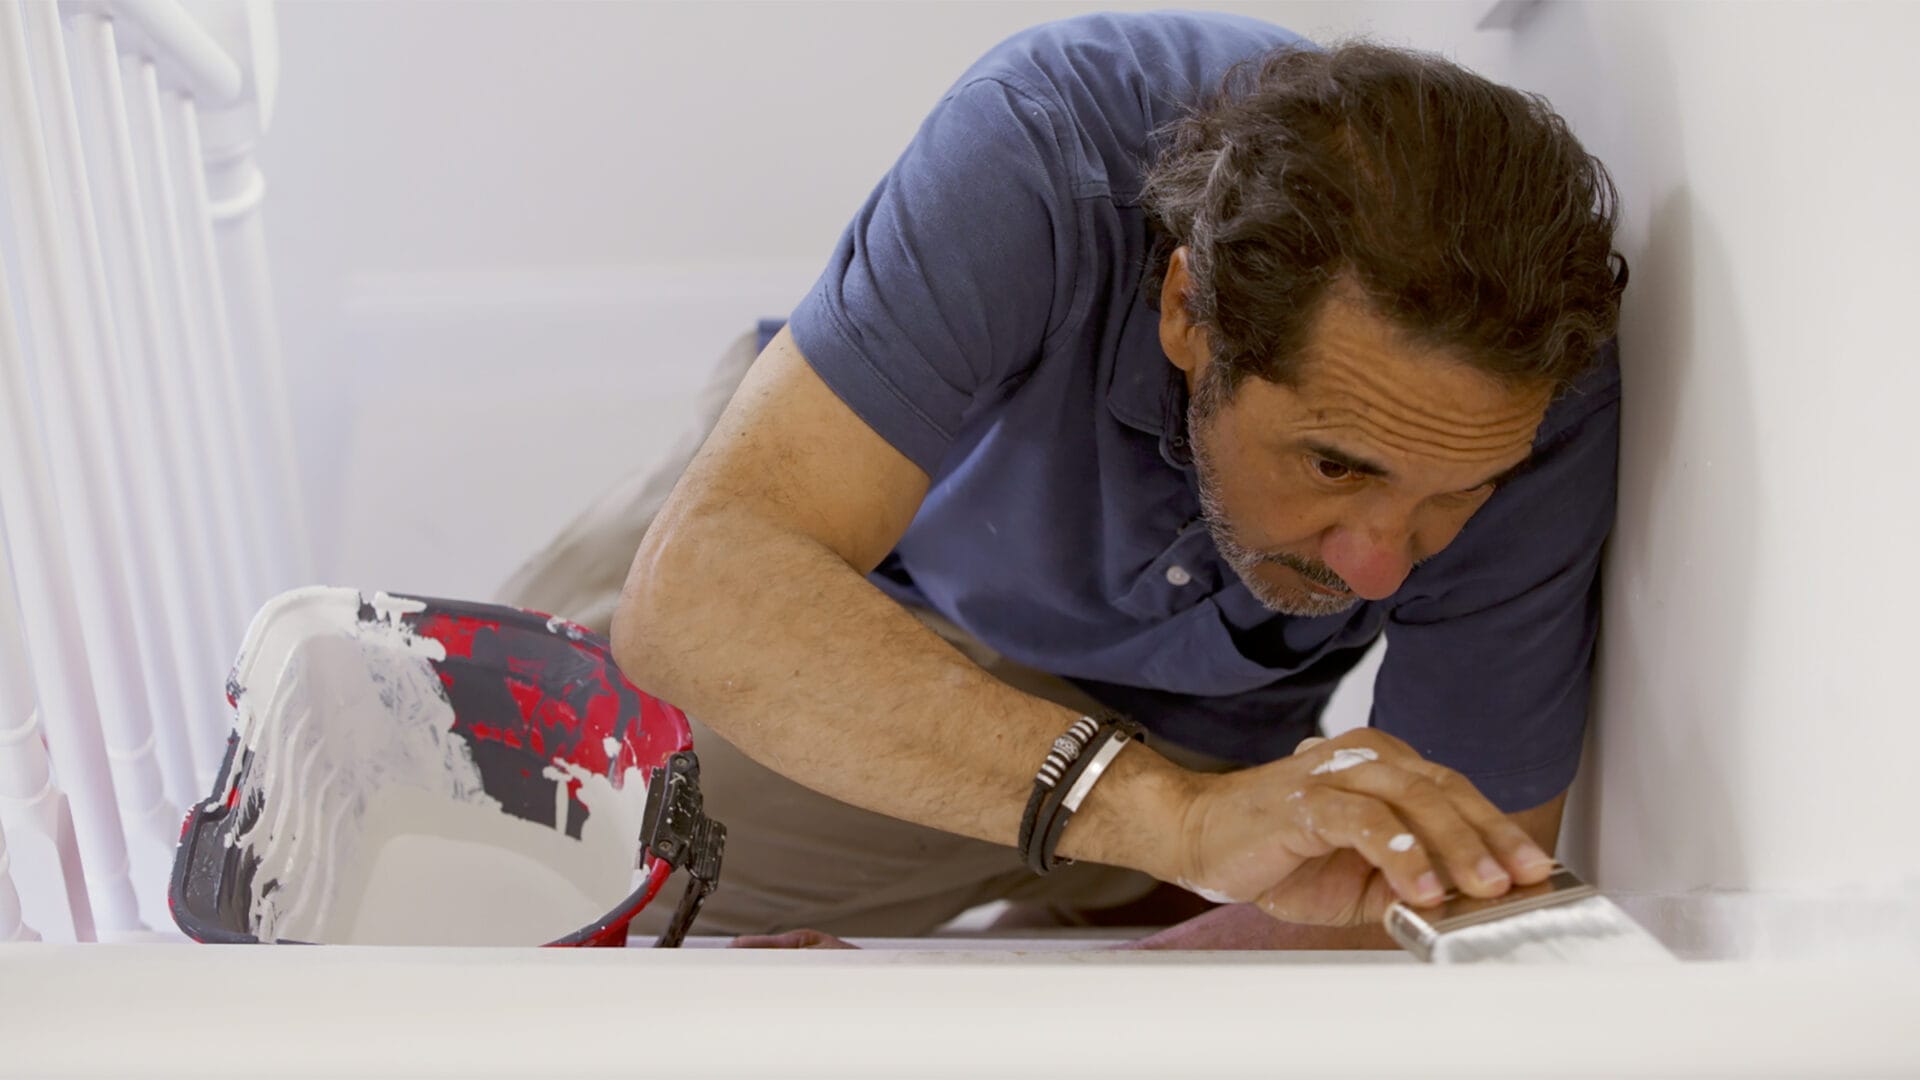
Stir the paint well, but do not shake it into a bubbly mess right before applying. Use an angled brush to cut in along the edges, nosing, and corners. Then roll the flat area of the tread with a small roller. Work in thin coats. Two or three thin coats are usually stronger and better-looking than one heavy coat that sags, puddles, or stays tacky.
Paint with the grain where possible. Watch for drips along the stair nosing, because gravity enjoys participating in DIY projects uninvited. Maintain a wet edge so the finish blends evenly. Let each coat dry according to the paint manufacturer’s instructions before recoating. Dry-to-touch is not the same as ready-for-traffic, and this distinction can save your socks, your paint job, and your dignity.
Step 7: Add Slip Resistance
Painted stair treads should be beautiful, but they must also be safe. If the staircase is steep, narrow, frequently used, or near an exterior door where moisture is common, add traction. You can mix an anti-slip additive into the final coat if the paint system allows it. You can also apply clear anti-slip strips after the paint cures, or install a runner for extra grip and softness.
For interior stairs, subtle texture is often enough. You do not need the stairs to feel like a skateboard deck unless your household includes muddy boots, wet paws, or dramatic teenagers sprinting down the steps. For exterior wood stairs, traction is even more important because rain, snow, and humidity can make painted surfaces slick.
Step 8: Let the Paint Cure
Paint may dry within hours, but curing takes longer. Curing is the process of the coating hardening fully. During this period, avoid dragging furniture, wearing dirty shoes, or washing the stairs aggressively. Light foot traffic may be possible after the recommended drying time, but normal use and cleaning often require more patience.
If possible, give the stairs several days before heavy traffic. For some floor coatings, full cure can take weeks. This is annoying, yes, but rushing the cure time can lead to scuffs, dents, peeling, or sticky spots. A little patience now is better than repainting the same step while muttering words not approved for a family blog.
Design Ideas for Painted Stair Treads
Classic Dark Treads and White Risers
This is the little black dress of painted stairs. Dark treads hide everyday dirt and white risers brighten the staircase. It works in traditional, farmhouse, transitional, and modern homes.
Painted Runner Effect
Instead of installing carpet, paint a runner down the center of the stairs. Leave a border on each side for a tailored look. This gives the illusion of a runner while keeping the surface easy to clean.
Single-Color Modern Stairs
Painting treads, risers, and stringers one color can create a clean, sculptural effect. Soft black, warm gray, muted taupe, or deep green can look surprisingly elegant.
Two-Tone Neutrals
Try greige treads with cream risers, or warm charcoal treads with soft white trim. Two-tone combinations add depth without overwhelming the hallway.
Common Mistakes to Avoid
The biggest mistake is using the wrong paint. Wall paint is not built for stair treads. It may scuff, peel, or wear through quickly. The second mistake is skipping prep. Cleaning and sanding may not be exciting, but they are the difference between a long-lasting finish and paint that flakes like a bad croissant.
Another common mistake is applying paint too thickly. Thick coats dry slowly and can remain soft underneath. Thin, even coats are more durable. Also avoid painting yourself into a corner, or in this case, upstairs. Plan your route before opening the can. Finally, do not forget traction. A beautiful staircase that feels slippery is not a success; it is a lawsuit wearing a satin finish.
How to Maintain Painted Stair Treads
Once the paint has cured, keep stair treads clean with regular sweeping or vacuuming. Grit acts like sandpaper under shoes, gradually dulling the finish. Wipe spills promptly with a damp cloth. Avoid harsh cleaners unless the paint manufacturer says they are safe. If the finish gets scratched, lightly sand the damaged area, clean it, and touch up with leftover paint.
High-traffic stairs may eventually need a refresh coat. That is normal. Even the best painted stair treads live a hardworking life. Keep a labeled jar of leftover paint for touch-ups. Future you will be grateful, especially when one mysterious scratch appears right before guests arrive.
Real-World Experience: What Painting Stair Treads Actually Teaches You
After helping with and studying many stair painting projects, one lesson stands above the rest: the prep takes longer than the painting, and that is exactly how it should be. People often imagine the satisfying partrolling on that rich new color and watching the staircase transform. But the real success happens earlier, when you are pulling old staples, sanding edges, vacuuming dust from corners, and deciding whether that tiny dent needs filler or can live its best rustic life.
A very common example is the post-carpet staircase. At first, homeowners feel excited because the carpet is gone and the wood is finally visible. Then reality enters wearing work boots. The treads may have staple holes, paint lines, adhesive stains, and rough edges near the walls. This is where paint becomes a smart solution. Instead of trying to stain imperfect wood, painting lets you create a clean, intentional surface. A dark tread color can hide old discoloration, while crisp risers make the staircase feel fresh.
Another experience worth noting is the importance of painting in a usable pattern. In a two-story home, stairs are not optional. If you paint every tread at once and the upstairs bathroom is suddenly unreachable, the project becomes less “DIY makeover” and more “survival puzzle.” Painting alternating treads first is often the most practical method. It looks funny for a day, but it keeps the house functioning. Just make the safe steps obvious. Painter’s tape arrows, sticky notes, or a polite household announcement can prevent someone from stepping directly onto wet paint.
Color choice also feels different on stairs than it does on a paint chip. A color that looks subtle on a sample card can feel much darker when repeated across twelve horizontal treads. Test a sample on one step or a scrap board if possible. Observe it in morning and evening light. Staircases often sit in hallways with limited natural light, so colors may read heavier than expected. Soft black, espresso, charcoal, and deep navy can look beautiful, but balance them with lighter risers or walls if the area already feels narrow.
The final experience is about patience. The stairs may look finished after the last coat, but they are not truly ready for chaos. Give the paint as much curing time as your household can tolerate. Wear socks or clean soft-soled shoes at first. Keep pets away if possible, unless you want tiny paw-print fossils preserved in the finish. Painted stair treads can be durable and gorgeous, but only if you let the coating harden before life resumes at full speed.
In the end, learning how to paint stair treads is less about being a perfect painter and more about being methodical. Clean well. Sand enough. Use the right paint. Apply thin coats. Add grip. Let it cure. Do those things, and your stairs can go from tired and scuffed to sharp, safe, and stylish. Not bad for a project that starts with you kneeling on a step, covered in dust, wondering why old carpet had so many staples.
Conclusion
Painting stair treads is one of the most rewarding DIY upgrades for a worn staircase. It is affordable, customizable, and surprisingly transformative. The key is to treat the stairs like the high-traffic surface they are. Choose durable floor paint, prepare the wood carefully, use thin coats, build in slip resistance, and respect the curing time. With the right process, painted stair treads can look polished, stand up to daily use, and give your entryway or hallway a fresh personality.
Whether you prefer classic black-and-white stairs, a painted runner, or a soft neutral finish, the method remains the same: prep like a pro, paint with patience, and do not trust a stair tread that merely “feels dry.” Your future selfand everyone walking downstairs with coffeewill thank you.