Mixing mortar is one of those home improvement skills that looks suspiciously simpleuntil your first batch turns into either desert dust or gray pancake batter. The good news? Mortar is not magic. It is a carefully balanced blend of binder, sand, and water that becomes the sticky, workable material used to lay brick, block, stone, and repair masonry joints.
Whether you are building a small garden wall, repointing old brick, repairing a chimney, or setting a few concrete blocks, learning how to mix mortar correctly can make the difference between a clean, durable project and a crumbly mess that looks like it gave up halfway through the job. This guide explains how to mix mortar from scratch, how to use a ready mortar mix, what consistency to aim for, which mortar type to choose, and how to avoid the classic beginner mistakes.
What Is Mortar?
Mortar is the bonding material used between masonry units such as brick, concrete block, and stone. Unlike concrete, which usually includes coarse gravel or crushed stone, mortar is made with finer sand so it can spread smoothly, grip masonry surfaces, and fill narrow joints. Think of concrete as the structural “rock builder” and mortar as the masonry “glue with manners.”
Most modern mortar contains three basic ingredients:
- Cement: The binder that hardens after mixing with water.
- Sand: The aggregate that gives mortar body, volume, and texture.
- Water: The activator that hydrates the cement and turns dry materials into a workable paste.
Some mortar also contains hydrated lime, which improves workability, water retention, and flexibility. Lime can make mortar easier to spread and more forgiving, especially for traditional brickwork and certain repair jobs.
Mortar Mix vs. Mixing Mortar From Scratch
You have two main options: buy a premixed dry mortar product and add water, or make your own mortar from separate ingredients. Both methods work, but they suit different situations.
Using Ready Mortar Mix
Ready mortar mix is the easiest option for most homeowners. The dry cement, lime or masonry cement, and sand are already blended in the bag. You simply add clean water according to the product instructions, mix until smooth, let it rest briefly, and remix before use.
This method is ideal for small repairs, DIY projects, brick mailbox repairs, planters, tuck-pointing, and general masonry work where convenience matters. Ready mortar mix also reduces the chance of measuring ingredients incorrectly. In other words, it protects you from becoming your own worst subcontractor.
Mixing Mortar From Scratch
Mixing from scratch gives you more control over the formula, color, sand texture, and mortar type. It is useful when you need to match existing mortar, work on older masonry, or adjust a mix for a specific application.
A common basic scratch mortar recipe for general work is one part Portland cement to three parts clean masonry sand. However, many masonry formulas include hydrated lime for better workability. For example, a common Type N mortar ratio is one part Portland cement, one part lime, and six parts sand. A common Type S ratio is two parts Portland cement, one part lime, and nine parts sand.
Scratch mixing is more flexible, but it demands careful measuring. Random scoops from random buckets create random results. Mortar is not chili; “a little of this and a little of that” is not a reliable strategy.
Common Mortar Types and When to Use Them
Mortar types are usually labeled M, S, N, O, and sometimes K. The right choice depends on strength, location, exposure, and whether the masonry is new or historic.
Type N Mortar
Type N is the general-purpose mortar most DIYers will encounter. It is commonly used for above-grade brick, block, exterior walls, chimneys, garden walls, and non-extreme load applications. It balances strength and flexibility, which makes it a practical choice for many home projects.
Type S Mortar
Type S is stronger and often used for load-bearing walls, below-grade masonry, foundations, retaining walls, patios, and areas exposed to soil pressure or frequent moisture. If your project needs more bond strength and durability, Type S is often the better choice.
Type M Mortar
Type M is a high-strength mortar used for heavy loads, foundations, retaining walls, and some natural stone applications. It is strong, but not always the best choice for softer brick because overly hard mortar can damage weaker masonry units over time.
Type O Mortar
Type O is softer and used mostly for interior, non-load-bearing work or repointing older masonry where a hard modern mortar would be too aggressive. For historic brick, the rule is simple: the mortar should usually be softer than the masonry, not the other way around.
Tools and Materials You Need
Before mixing mortar, set up your workspace. Mortar waits for no one, and once the batch starts stiffening, it will not care that you forgot your trowel in the garage.
Basic Tools
- Wheelbarrow, mortar pan, or large mixing tub
- Hoe, margin trowel, or mixing paddle
- Drill with paddle mixer for small batches
- Masonry trowel
- Bucket for measuring water
- Clean measuring container for sand and cement
- Stiff brush and sponge
- Gloves, eye protection, long sleeves, and dust mask or respirator
Materials
- Ready mortar mix or separate Portland cement, hydrated lime, and masonry sand
- Clean potable water
- Mortar color additive, if needed
- Plastic sheet or tarp for protecting nearby surfaces
Safety First: Mortar Is Useful, Not Cuddly
Dry mortar dust can irritate your lungs and eyes, and wet cement-based materials can irritate or burn skin. Wear waterproof gloves, eye protection, long sleeves, and a properly fitted dust mask or respirator when handling dry mix. Avoid kneeling in wet mortar, washing it off with bare hands, or letting splashes sit on your skin.
Mix outdoors or in a well-ventilated area when possible. Open the bag gently instead of dropping it like you are trying to start a dust storm. Add dry mix slowly, keep your face out of the dust cloud, and clean tools before the mortar hardens into a fossilized reminder of poor planning.
How to Mix Mortar With a Ready Mix
Ready mix is the easiest way to get consistent mortar, especially for beginners. Always check the bag instructions because water amounts vary by brand and product type.
Step 1: Measure the Water
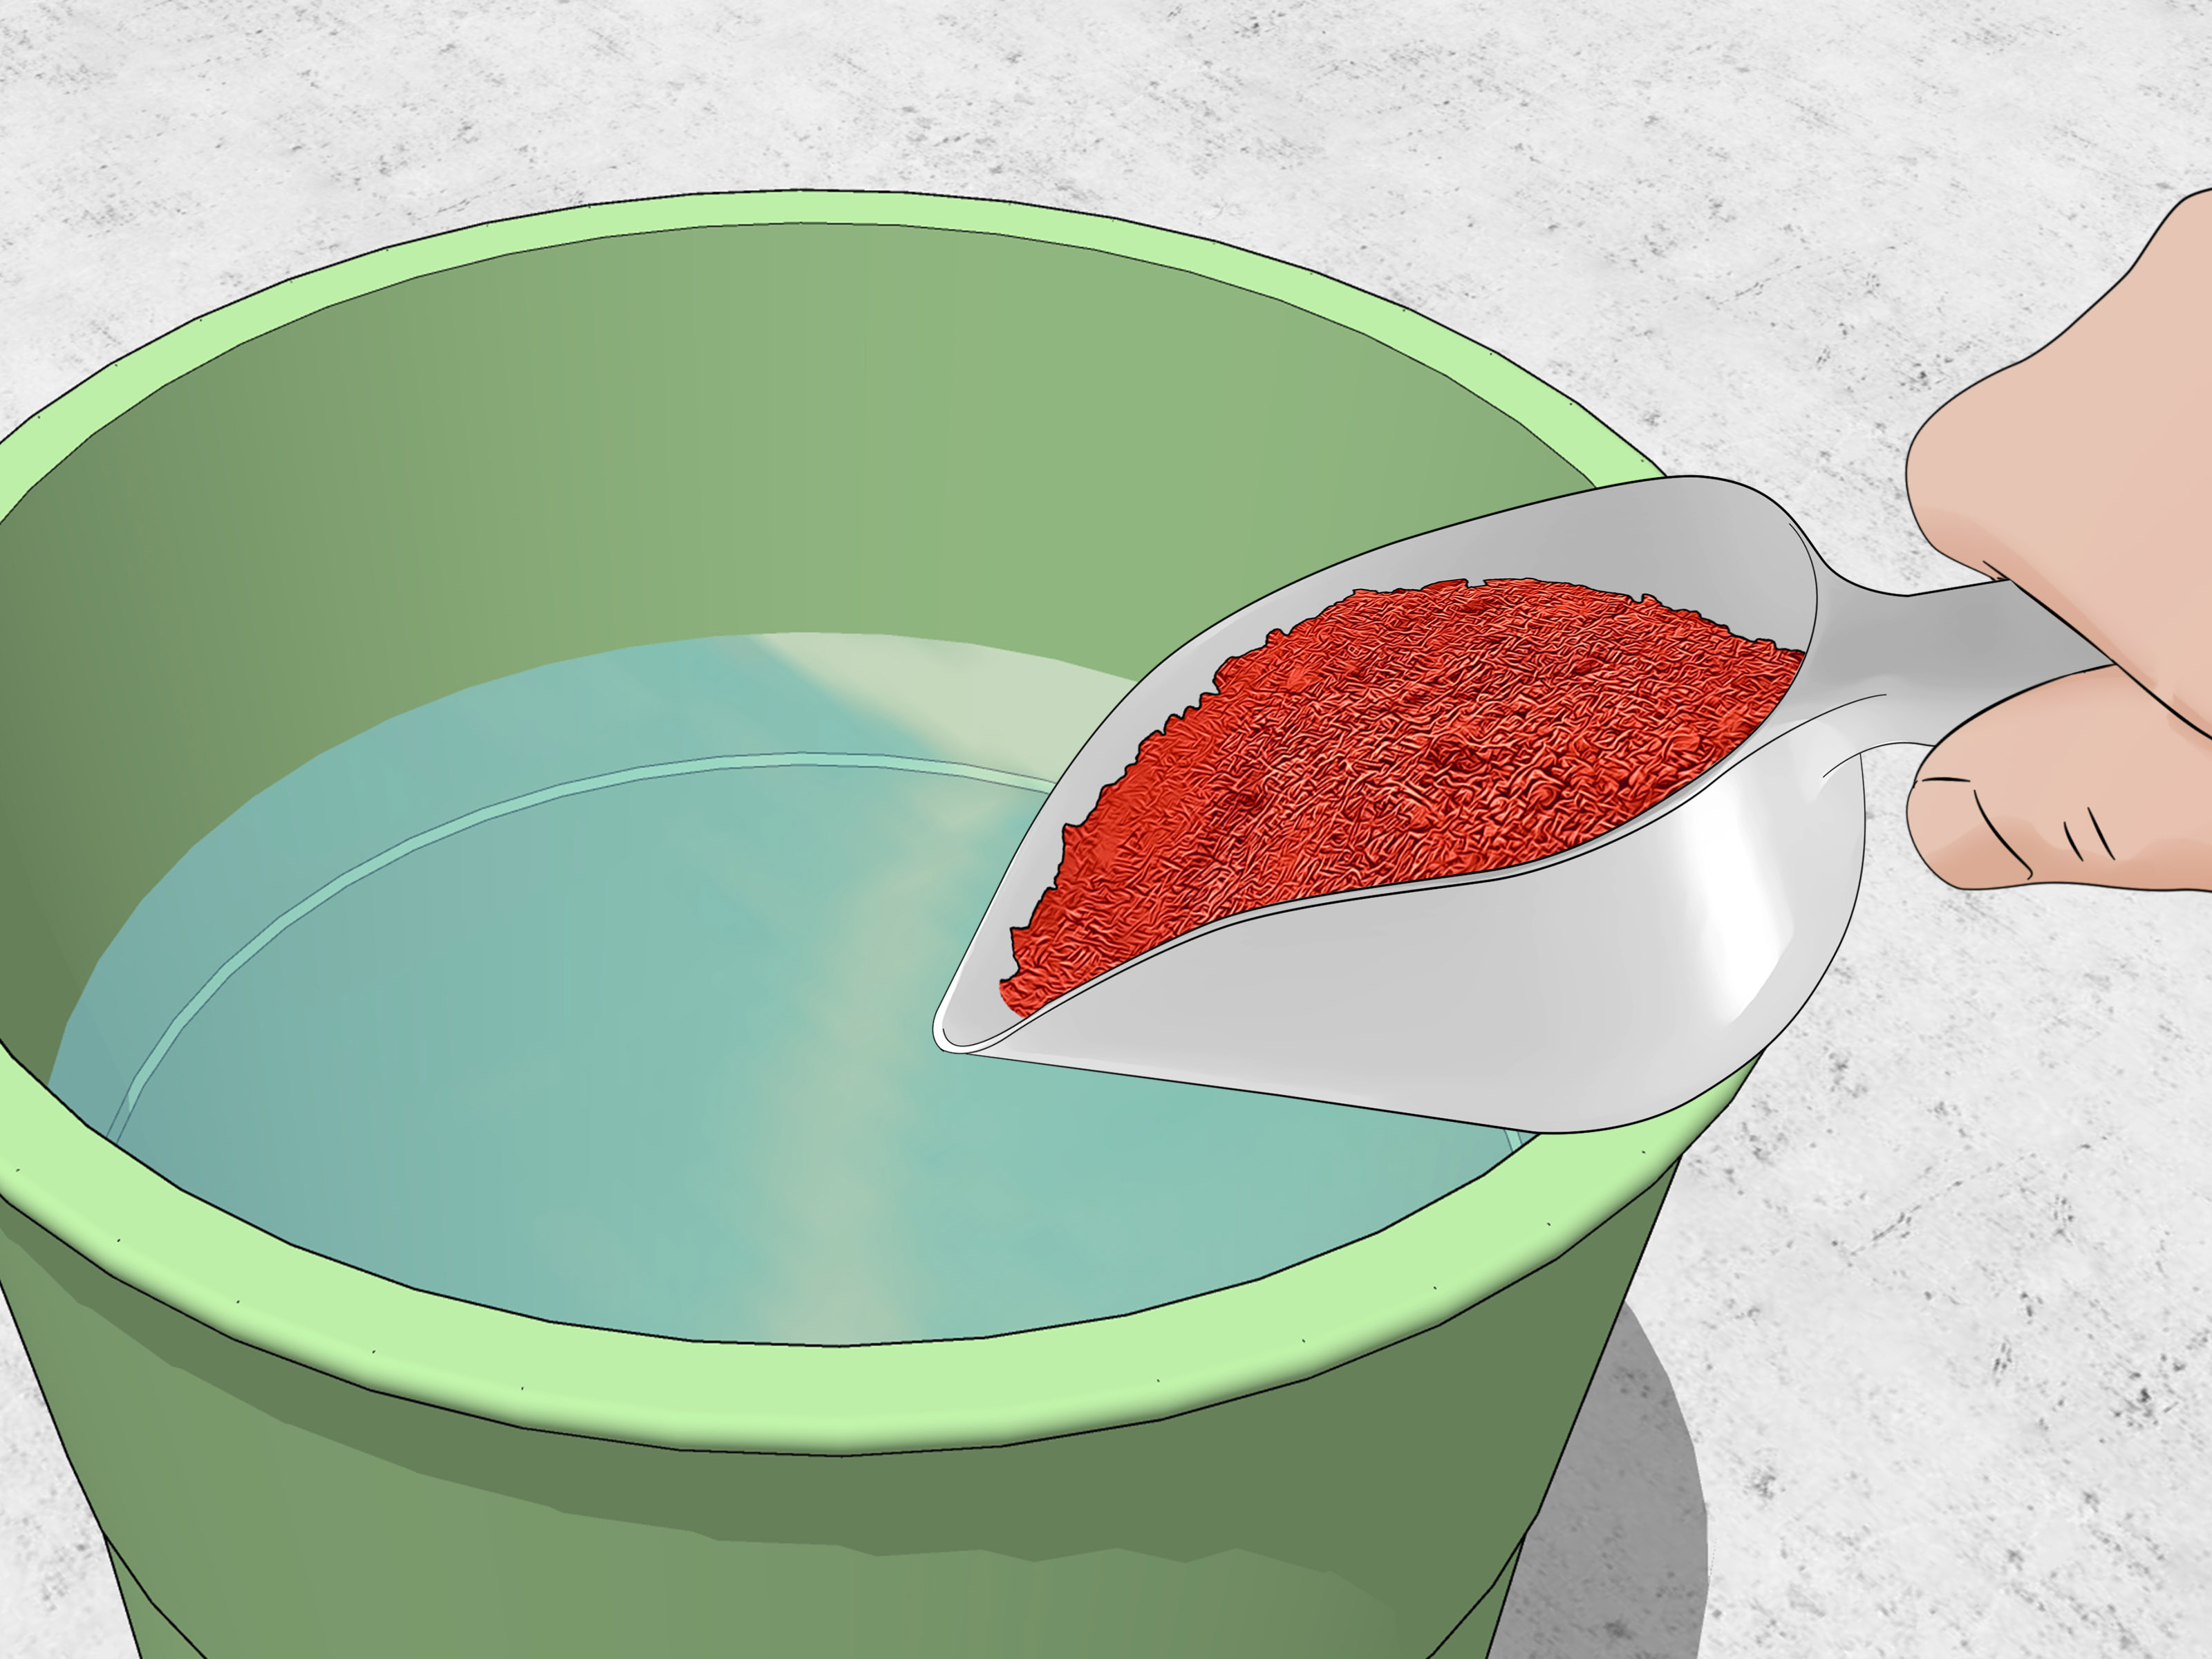
Start with clean water. Pour about three-quarters of the recommended water into your mixing container first. Holding back some water gives you control. You can always add a little more; removing excess water requires a small miracle and possibly a new bag.
Step 2: Add the Dry Mortar Mix
Add the dry mix gradually while stirring. If using a drill and paddle, keep the speed moderate. High-speed mixing can whip in air and fling mortar onto everything except the project.
Step 3: Mix Until Uniform
Mix for about three to five minutes until the mortar is smooth and consistent. Scrape the sides and bottom of the tub so no dry pockets remain. The batch should look even in color and texture.
Step 4: Let It Rest
Let the mortar sit for about five to ten minutes. This short resting period, often called slaking, allows the dry ingredients to fully absorb water. After resting, remix briefly before using.
Step 5: Adjust Carefully
If the mortar is too stiff, add water in small amounts. A few ounces can change the batch more than you expect. If the mortar becomes soupy, add a little dry mix and blend thoroughly. The goal is not “wet enough to pour.” Mortar should be spreadable, not drinkable.
How to Mix Mortar From Scratch
Mixing mortar from scratch requires more attention, but it gives excellent control. Use clean masonry sand, fresh cement, and accurate ratios. Do not use beach sand, dirty sand, or old cement that has hardened into lumps. If your cement bag sounds like it contains rocks, it has already started its retirement.
Step 1: Choose the Right Ratio
For general masonry work, a basic mortar may be mixed using one part Portland cement and three parts sand. For a more workable lime-based mortar, use a ratio based on the mortar type you need:
- Type N: 1 part Portland cement, 1 part hydrated lime, 6 parts sand
- Type S: 2 parts Portland cement, 1 part hydrated lime, 9 parts sand
- Type M: 3 parts Portland cement, 1 part hydrated lime, 12 parts sand
- Type O: 1 part Portland cement, 2 parts hydrated lime, 9 parts sand
These are common proportion-based formulas, but local codes, project specifications, and existing masonry conditions may require a different mix. For structural work, follow the project plans or consult a qualified masonry professional.
Step 2: Dry Mix First
Combine the dry cement, lime, and sand before adding water. Turn the materials until the color is uniform. This prevents clumps of cement or lime from hiding in the batch like little sabotage nuggets.
Step 3: Add Water Slowly
Create a shallow crater in the dry mix and add part of the water. Fold the dry material into the water gradually. Continue mixing and adding small amounts of water until the mortar reaches the right texture.
Step 4: Mix Thoroughly
Mix until the batch is smooth, cohesive, and free of dry streaks. Mortar should cling to a trowel, spread easily, and hold its shape when placed on a board or brick.
Step 5: Rest and Remix
Let the batch rest briefly, then remix. This improves consistency and helps the mortar become easier to work with. Do not add large amounts of water after the rest period. Small adjustments are fine; turning mortar into soup is not.
What Should Mortar Consistency Look Like?
The classic comparison is peanut butter. Good mortar should be smooth, thick, and spreadable. It should slide off the trowel when you want it to, but it should not run off like melted ice cream on a July sidewalk.
Here are three simple consistency tests:
The Trowel Test
Scoop mortar onto a trowel and tilt it slightly. Good mortar should stay together and cling to the blade. If it immediately slumps off, it is too wet. If it crumbles or refuses to spread, it is too dry.
The Ridge Test
Drag the edge of your trowel through the mortar. The ridge should hold its shape without cracking apart. A ridge that collapses suggests too much water.
The Brick Test
Spread mortar on a brick or block. It should stick and form an even bed. If it slides around, it is too wet. If it tears and leaves gaps, it needs slightly more water or more mixing time.
How Much Mortar Should You Mix at Once?
Mix only what you can use within about 30 to 60 minutes, depending on temperature, humidity, sun exposure, and the product. Hot, dry, windy weather shortens working time. Cool, damp conditions may extend it slightly.
For beginners, smaller batches are smarter. A half bag mixed correctly is more useful than a full bag that hardens while you are still deciding where your trowel went. Once mortar begins to set, do not try to revive it with a splash of water. Re-tempering stiff mortar weakens performance and can lead to poor bonds.
Common Mortar Mixing Mistakes
Adding Too Much Water
This is the champion of mortar mistakes. Excess water makes mortar easier to spread for a few minutes, but it can reduce strength, increase shrinkage, and create weak joints. Add water gradually and stop as soon as the mix is workable.
Using Dirty Sand or Dirty Water
Organic material, clay, salt, and debris can interfere with bonding. Use clean masonry sand and clean water. Mortar is picky because chemistry is picky.
Guessing the Ratios
When mixing from scratch, measure consistently. Use the same bucket or container for every ingredient. Do not switch from a coffee can to a shovel scoop halfway through and pretend the mortar will understand your creative process.
Mixing Too Long or Too Fast
Mix thoroughly, but do not overdo it. Excessive high-speed mixing can affect workability and introduce too much air. Moderate, steady mixing is best.
Ignoring the Weather
Mortar does not love extreme temperatures. In hot weather, materials can dry too fast. In cold weather, mortar can freeze before it cures properly. Protect fresh masonry from direct sun, high wind, heavy rain, and freezing temperatures.
Tips for Better Mortar Results
Keep your tools clean as you work. Dried chunks from a previous batch can create lumps in fresh mortar. Dampen very dry brick or block slightly before applying mortar, especially in hot weather, so the masonry does not suck water out of the mortar too quickly. Do not soak the units; a light dampening is enough.
For repointing, remove loose or deteriorated mortar first and clean the joint before packing in fresh mortar. Match the new mortar to the old masonry as closely as possible in strength, color, and texture. On older brick homes, avoid using mortar that is harder than the brick, because rigid mortar can trap moisture and contribute to brick damage.
If color matters, make test batches and let them cure before judging. Wet mortar almost always looks darker than cured mortar. The color you see in the tub is not the final color, so do not panic too early.
Cleaning Up After Mixing Mortar
Clean tools before mortar hardens. Rinse buckets, trowels, and mixing paddles in a controlled area, not directly into storm drains, lawns, or garden beds. Cement wash water is highly alkaline and should be handled responsibly. Let leftover mortar harden, then dispose of it according to local rules.
Never wash large amounts of mortar slurry into plumbing. Your pipes did not sign up to become a Roman aqueduct.
Final Thoughts
Learning how to mix mortar is really learning how to control water, timing, texture, and patience. Ready mortar mix is the best choice for most small DIY projects because it is convenient and consistent. Scratch mixing gives more control but requires accurate ratios and a better understanding of mortar types.
For general above-grade projects, Type N often works well. For stronger load-bearing or below-grade work, Type S may be more appropriate. For historic masonry, softer lime-rich mortar may be necessary. No matter which method you choose, aim for a smooth peanut-butter consistency, mix only what you can use soon, and respect the safety side of cement-based materials.
Mortar may not be glamorous, but when it is mixed correctly, it quietly holds walls, chimneys, steps, and garden projects together for years. That is a pretty impressive job for something that starts out looking like gray cake batter.
Real-World Experience: What Mixing Mortar Teaches You Fast
The first thing most people learn when mixing mortar is that the water bucket is both your best friend and your most suspicious coworker. A dry batch feels impossible at first, so the temptation is to pour in more water quickly. That usually creates a mix that spreads beautifully for about five minutes and then shrinks, sags, or weakens later. Experienced masons tend to add water slowly because they know the mix changes as the ingredients absorb moisture. What looks too dry in the first minute may become perfect after a proper mixing cycle.
Another practical lesson is that batch size matters. On paper, mixing a full bag seems efficient. In real life, especially for beginners, a full bag can become a race against the clock. Small batches give you time to butter bricks properly, clean joints, check alignment, and avoid panic troweling. Panic troweling is not an official trade term, but anyone who has watched mortar stiffen while holding one brick in the wrong direction understands it spiritually.
Temperature also changes everything. On a hot day, mortar can stiffen faster than expected, especially if the sun is hitting the mixing pan or the masonry units are bone dry. Lightly dampening brick or block before application can help prevent them from pulling water out of the mortar too quickly. On cold days, the opposite problem appears: mortar may take longer to set, and freezing conditions can ruin the curing process. Planning around weather is not being fussy; it is part of getting durable masonry.
For repair work, matching the existing mortar is often harder than mixing the new batch. Old mortar may have weathered for decades, so the color you see on the wall is not the color it had on day one. A test patch is worth the effort. Mix a small sample, apply it in an inconspicuous spot, let it cure, and compare it after it dries. This saves you from creating bright new joints that make an old wall look like it got dental veneers.
Tool cleanliness is another underrated habit. A dirty mixing tub with hardened crumbs from yesterday’s batch can make today’s mortar lumpy. A clean bucket, clean paddle, and clean trowel help the mortar spread more smoothly. It sounds obvious until you are picking hardened gray pebbles out of a joint and questioning your life choices.
The best experience-based tip is to watch the mortar, not the clock alone. Mixing times and working times are helpful, but texture tells the real story. Good mortar holds a ridge, sticks to the trowel, spreads without tearing, and supports the masonry unit without oozing everywhere. Once you recognize that feel, the process becomes much easier. Mortar mixing is part recipe, part observation, and part calm refusal to dump in too much water just because the batch looks stubborn.
Note: This article is written for general educational and web publishing purposes. For structural masonry, historic restoration, fireplaces, chimneys, retaining walls, or code-regulated projects, follow product instructions, local building requirements, and qualified professional guidance.