Building a rocking chair is one of those woodworking projects that sounds peaceful until you realize the chair has to do more than sit there looking rustic and charming. It must hold a person, rock smoothly, stay balanced, survive years of movement, and not dump anyone backward like a badly trained carnival ride. In other words, a rocking chair is furniture with a personalityand it will absolutely tell you if your measurements are sloppy.
The good news? You do not need to be a legendary chairmaker to build a strong, comfortable rocker. You do need a clear plan, careful joinery, patient shaping, and a healthy respect for the curves. This guide explains how to build a rocking chair from wood, including design choices, tools, materials, step-by-step construction, rocker layout, assembly, finishing, safety tips, and practical shop wisdom learned the dusty way.
For this project, we will focus on a classic wooden rocking chair suitable for indoor use or a covered porch. The design uses a solid seat frame, back posts, arms, slats, and curved runners. If you are newer to woodworking, choose a straightforward plan with square shoulders, dowels, screws hidden with plugs, or basic mortise-and-tenon joinery. If you are more experienced, you can add shaped arms, sculpted seats, bent-laminated rockers, or fancy details that make guests say, “You made that?” while secretly checking the price of rocking chairs online.
Why Building a Rocking Chair Is Different From Building a Regular Chair
A regular chair mostly needs to be sturdy, level, and comfortable. A rocking chair needs all of that plus movement control. The relationship between the seat height, back angle, leg length, center of gravity, and rocker curve determines whether the chair rocks smoothly or behaves like a wooden horse with trust issues.
The legs of a rocking chair are usually shorter than the legs of a standard chair because the rockers add height. The back should be angled enough for comfort, but not so far that the sitter feels like they are halfway to a nap and one bad lean from meeting the floor. The rocker curve should be fair, even, and matched on both sides. A small mismatch between the two runners can make the chair wobble or twist as it rocks.
Tools and Materials You Will Need
Recommended Tools
- Table saw or circular saw with guide
- Band saw or jigsaw for curved parts
- Router with roundover bit
- Drill and bits
- Clampsmore than you think, because woodworking law says you are always two clamps short
- Random orbital sander
- Chisels for fitting joints
- Measuring tape, square, bevel gauge, and pencil
- Cardboard, MDF, or hardboard for templates
- Safety glasses, hearing protection, and dust mask
Best Wood for a Rocking Chair
Hardwoods are ideal for an indoor rocking chair because they offer strength, durability, and a refined appearance. Oak, maple, cherry, walnut, ash, and beech are excellent choices. White oak is a favorite for Arts and Crafts-style chairs because it is tough, attractive, and traditional. Maple gives a clean modern look, while walnut adds instant heirloom energy without needing to shout about it.
For outdoor or covered porch use, cedar, cypress, teak, white oak, or properly protected pressure-treated lumber can work well. Avoid weak, knotty, or badly warped boards for structural parts. Rocking chairs experience repeated movement, so grain direction matters. Choose straight-grained stock for legs, posts, arms, and rockers whenever possible.
Basic Material List
- Hardwood boards for legs, arms, seat rails, back posts, and slats
- Thicker stock or laminated strips for the curved rockers
- Wood glue
- Dowels, screws, plugs, or tenon stock depending on your joinery
- Sandpaper from 80 to 220 grit
- Wood finish such as oil, polyurethane, varnish, lacquer, or outdoor spar urethane
Step 1: Choose or Draw a Reliable Rocking Chair Plan
Start with a real plan, not a heroic sketch on a napkin next to a coffee stain. A good rocking chair plan includes full-size patterns or scaled drawings, side elevation, front elevation, seat height, back angle, rocker curve, joinery details, and a cut list. If this is your first rocking chair, avoid overly sculptural designs with complex compound angles unless you enjoy learning humility through lumber.
A comfortable adult rocking chair commonly lands around 26 to 30 inches wide, 35 to 45 inches deep, and 38 to 48 inches high depending on style. Seat height often falls near 16 to 18 inches after the rockers are installed. These numbers are not laws carved into oak tablets, but they are useful starting points.
Before cutting expensive hardwood, make a rough side-view mockup from cardboard or scrap plywood. Sit near it, check the back angle, and imagine where your arms will rest. The chair should invite relaxation, not make the sitter feel like they are waiting outside a principal’s office.
Step 2: Make Templates for Curved Parts
Templates are the secret weapon of clean chair building. Use MDF, hardboard, or plywood to create patterns for the rockers, arms, back posts, and any curved seat parts. A smooth template helps you repeat parts accurately and reduces layout mistakes.
For the rockers, draw the curve using a grid method or a flexible wooden batten. Mark key points along the length of the rocker, then bend the batten through those points to create a fair curve. The curve should be smooth from front to back with no sudden flat spots. If the curve looks awkward on the template, it will look even more awkward under the finished chair.
Cut the template slightly outside the line, then sand carefully to the final shape. Any bump in the template can transfer to the workpiece, especially if you use a router pattern bit. Think of the template as the original recipe; if it is wrong, every cookie comes out weird.
Step 3: Mill and Cut the Parts
Mill your boards flat, square, and consistent in thickness. Rocking chair parts must fit tightly because the chair is under constant motion. A loose joint may seem harmless during assembly, but after months of rocking it can become a squeak, a wobble, or an embarrassing family story.
Cut the front legs, back posts, seat rails, arms, back slats, and seat supports according to your plan. Label every part clearly. Mark left and right pieces so you do not accidentally create two left arms unless you are building furniture for an octopus.
When cutting curved parts, stay just outside the layout line with a band saw or jigsaw. Then sand or flush-trim to the template. For matching parts such as the two rockers, cut them together or clamp them together during final shaping so they are identical.
Step 4: Build the Seat Frame
The seat frame is the foundation of the rocking chair. It usually includes two side rails, a front rail, a back rail, and internal supports or corner blocks. Joinery options include mortise-and-tenon joints, dowels, floating tenons, pocket screws hidden underneath, or screws covered with wood plugs.
Mortise-and-tenon joinery is traditional and strong. Dowels or floating tenons are easier for many home woodworkers and still provide excellent strength when accurately placed. Screws can work in simpler builds, especially when reinforced with glue and plugs, but avoid relying on screws alone for highly stressed joints.
Dry-fit the seat frame before adding glue. Check for square by measuring diagonally from corner to corner. If both diagonal measurements match, the frame is square. If not, adjust the clamps before the glue sets and the chair develops what carpenters politely call “character.”
Step 5: Shape and Install the Seat
You can build the seat as a solid wooden panel, a woven seat, a padded cushion base, or slats. A solid sculpted seat is beautiful and comfortable, but it requires more shaping. A flat seat with a cushion is easier and still works well for many designs.
If using a wooden seat, soften the front edge with a roundover or gentle bevel. A sharp front edge presses into the legs and makes sitting unpleasant. Slightly dish or contour the seat if you have the tools and confidence. Even a shallow curve can make the chair feel more refined.
Attach the seat to the frame in a way that allows for wood movement. Solid wood expands and contracts across the grain, so avoid trapping a wide panel too tightly. Use elongated screw holes or figure-eight fasteners where needed.
Step 6: Build and Attach the Back
The back of the rocking chair should support the sitter without forcing them into a stiff posture. A slight recline is comfortable, but too much angle can make the chair feel unstable during rocking. Many classic rockers use vertical or slightly curved slats between the lower back rail and top crest rail.
Cut the back posts and rails according to your plan. If the slats are curved, make a template so each slat matches. Dry-fit all slats before glue-up. Small spacing errors become very visible on the back of a chair because the eye loves symmetry and will complain silently forever.
Use strong joinery where the back posts meet the seat frame. This area carries a lot of stress when someone leans back. Glue alone is not enough if the joint is poorly fitted. A tight mechanical connection plus glue is the goal.
Step 7: Make and Install the Arms
Rocking chair arms are more than decorative rails. They help define comfort, provide support, and visually tie the front legs to the back posts. The arms should be wide enough to rest a forearm comfortably and high enough to feel natural when seated.
Shape the arms before installation. Round the edges, smooth the top surface, and remove sharp corners. A rocking chair is furniture people touch constantly, so the arms should feel pleasant. This is where a little extra sanding pays rent.
Attach the arms with dowels, screws and plugs, mortise-and-tenon joints, or shaped joinery depending on your plan. Clamp carefully and check that both arms sit at the same height. Uneven arms can make the chair look like it is raising one eyebrow.
Step 8: Create the Rockers
The rockers are the soul of the project. You can cut them from thick solid stock or make them with bent lamination. Solid rockers are simpler: trace the template, cut the curve, and shape both rockers as a matched pair. Bent-laminated rockers are made by ripping thin strips, applying glue, and clamping them around a curved form until dry. Lamination can create strong, graceful curves with less short grain than some solid-cut rockers.
Whichever method you choose, make both rockers identical. Clamp them together and sand the bottom edges at the same time. The bottom curve must be smooth and continuous. Any bump, twist, or flat spot will be felt every time the chair rocks.
Leave extra length at the front and back at first. You can trim the ends later once the chair is balanced. Many builders shape the final rocker tips only after test rocking the chair.
Step 9: Attach the Chair to the Rockers
Set the chair body on the rockers and check its position before drilling or gluing anything. The chair should rest with the sitter’s weight near the center of the rocker curve. If the chair leans too far back naturally, shift the body forward or adjust the leg-to-rocker placement. If it dumps forward, shift backward.
Use a flat floor for testing. Place temporary blocks or clamps to hold the chair in position. Sit carefully and test the motion. The ideal rocking chair moves smoothly, returns naturally, and does not feel like it wants to launch you into another ZIP code.
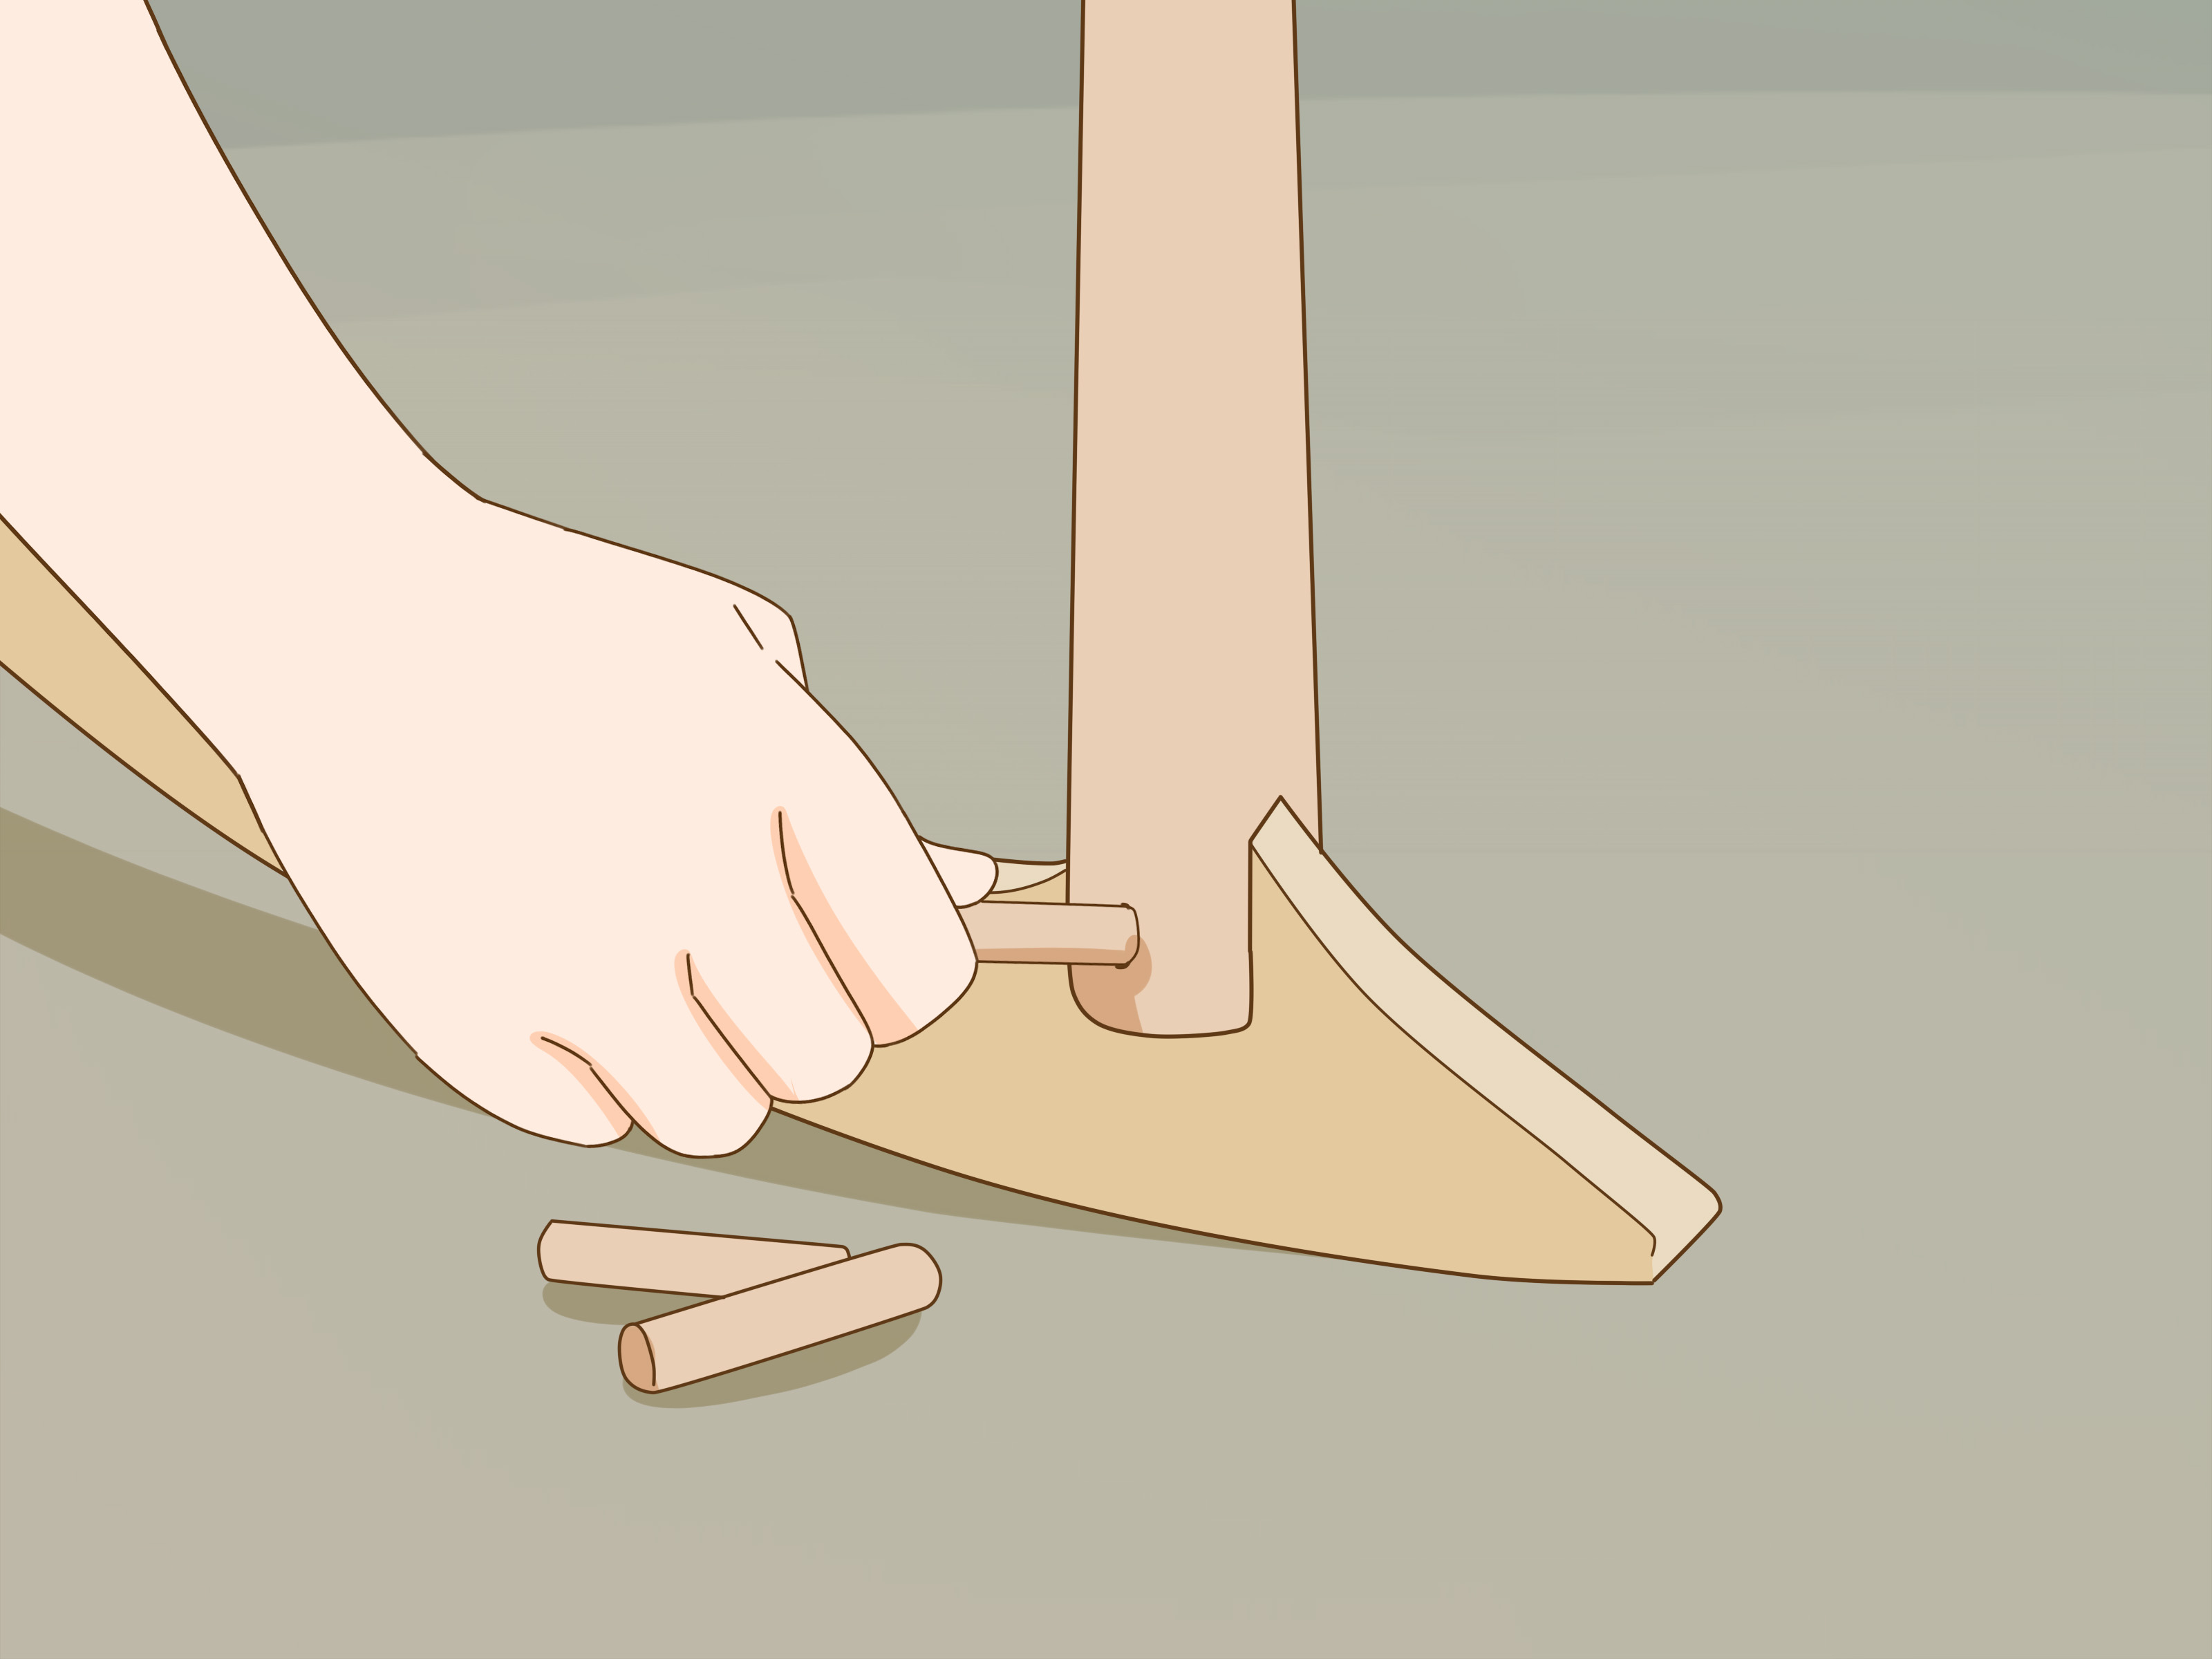
Once satisfied, mark the leg locations on the rockers. Depending on your design, the legs may fit into notches, mortises, dowel holes, or saddled joints. Reinforce these connections well. The joint between leg and rocker is under repeated stress, so accuracy matters.
Step 10: Sand Everything Like You Mean It
Sanding is where a good chair becomes a chair people want to touch. Start with 80 or 100 grit to remove tool marks, move to 120 or 150 grit, and finish around 180 or 220 grit depending on your finish. Do not skip grits unless you enjoy chasing scratches like tiny wooden ghosts.
Break all sharp edges with sandpaper or a small roundover bit. Pay special attention to arms, seat edges, back slats, and rocker tips. Check for glue squeeze-out before finishing because dried glue can block stain and leave pale spots.
Step 11: Apply the Finish
Choose a finish based on where the rocking chair will live. For indoor use, oil, oil-varnish blends, wipe-on polyurethane, lacquer, or shellac can all work. Oil brings out the warmth of the wood, while polyurethane adds more surface protection. For a porch rocker, use an exterior-rated finish such as spar urethane or outdoor oil, and keep the chair protected from standing water and harsh sun.
Apply thin coats, let each coat dry fully, and sand lightly between coats when the product instructions recommend it. Rushing finish is like pulling cookies from the oven too early: technically possible, emotionally disappointing.
Common Mistakes to Avoid
Using Weak Wood for Structural Parts
A rocking chair is not the place for cracked, knot-filled, mystery lumber from the damp corner of the garage. Use strong, stable wood for the legs, posts, rails, and rockers.
Making the Rockers Uneven
If the two rockers are not identical, the chair may wobble or twist. Shape them as a pair and test them on a flat surface before attaching.
Ignoring the Center of Gravity
The chair must feel balanced while occupied. Always test the rocker placement before final assembly.
Over-Angling the Back
A deeply reclined back might look comfortable, but on a rocker it can feel unstable. Keep the angle moderate unless your plan has already solved the balance problem.
Skipping the Dry Fit
Dry-fitting is not optional. It is the rehearsal before the glue bottle starts the countdown clock.
Safety Tips for Building a Rocking Chair
Wear eye and ear protection when cutting, routing, or sanding. Use a dust mask or respirator, especially when working with hardwood dust. Keep hands away from blades and bits, and use push sticks, featherboards, clamps, and proper guards whenever possible.
When routing curved pieces, secure the workpiece and take light passes. Curves can grab unexpectedly if you force the cut. When sanding, do not round over joint shoulders that need to fit tightly. Smooth is good; accidentally changing the geometry is not.
After assembly, test the chair carefully before regular use. Place it on a flat surface, sit slowly, and rock gently at first. Listen for creaks, watch for joint movement, and inspect the leg-to-rocker connections.
How Long Does It Take to Build a Rocking Chair?
A simple rocking chair may take a few weekends. A more advanced rocker with sculpted parts, bent-laminated runners, or traditional joinery can take many more hours. The timeline depends on your tools, experience, finish choice, and how many times you stare at the chair from across the shop pretending that counts as progress. It does, by the way. Visual inspection is real.
For a first build, give yourself time. Rocking chairs reward patience. Cutting corners may save an hour today and create a squeak that follows you for the next decade.
Extra Experience: Lessons Learned From Building a Rocking Chair
The first real lesson in building a rocking chair is that the project is less about one dramatic moment and more about many small decisions stacking up. A perfect rocker does not happen because of one heroic cut. It happens because the templates are smooth, the joinery is snug, the parts are labeled, the clamps are placed thoughtfully, and the builder stops occasionally to check whether the chair still makes sense.
One practical experience worth remembering is to build the chair in assemblies instead of treating it as one giant wooden puzzle. Make the seat frame first, then the back, then the arms, then the rockers. This keeps the process calmer and makes mistakes easier to catch. If the seat frame is out of square, you want to know before the back, arms, and runners join the party.
Another useful habit is to create test pieces for important joints. Before drilling dowel holes in the actual legs or cutting a mortise into a beautiful back post, practice on scrap from the same stock. This confirms your setup and helps you avoid the classic woodworking sentence: “Well, I guess this side faces the wall now.”
Templates also deserve more respect than beginners often give them. A rough template creates rough parts. Spend extra time shaping the rocker template until the curve looks natural. Run your hand along the edge with your eyes closed. Your fingers will feel tiny bumps that your eyes ignore. Those little bumps matter because the rocker curve is not just decorative; it controls motion.
During assembly, do not rush the dry fit. Put the chair together without glue and sit near it. Check the seat angle, arm height, back position, and general balance. The chair may look correct on the bench but feel awkward when imagined at human scale. Chairs are personal objects. They must fit bodies, not just drawings.
When attaching the rockers, sneak up on the final position. Temporary clamps, wedges, and painter’s tape can help mark locations before permanent fastening. Test the chair with careful pressure. A good rocker should start easily, travel smoothly, and stop naturally. If it feels too aggressive, the curve or chair position may need adjustment. If it barely rocks, the center of gravity may be too low or the rocker curve too flat.
Finishing teaches patience too. Many builders are so excited after final sanding that they flood on a heavy coat of finish. Thin coats are safer, cleaner, and more attractive. Let the grain show. A rocking chair has curves, shadows, and touch points; a thoughtful finish makes those details glow without turning the chair into a glossy bowling alley.
Finally, expect the completed chair to become more than furniture. People notice rocking chairs. They sit in them, rock twice, smile, and ask how long it took. The honest answer is usually, “Longer than I planned, but less than it deserved.” That is the charm of the project. Building a rocking chair teaches accuracy, patience, shaping, balance, and humility. It also gives you a place to sit afterward, which is generous of the chair considering everything you put it through.
Conclusion
Learning how to build a rocking chair is a rewarding challenge for any woodworker ready to move beyond basic boxes and flat panels. The project combines structure, comfort, motion, and style in one unforgettable build. Start with a reliable plan, choose strong wood, make accurate templates, use solid joinery, shape the rockers carefully, and test the balance before final assembly. The finished chair should look beautiful, feel comfortable, and rock smoothly enough to make every porch, nursery, reading corner, or living room feel a little more human.