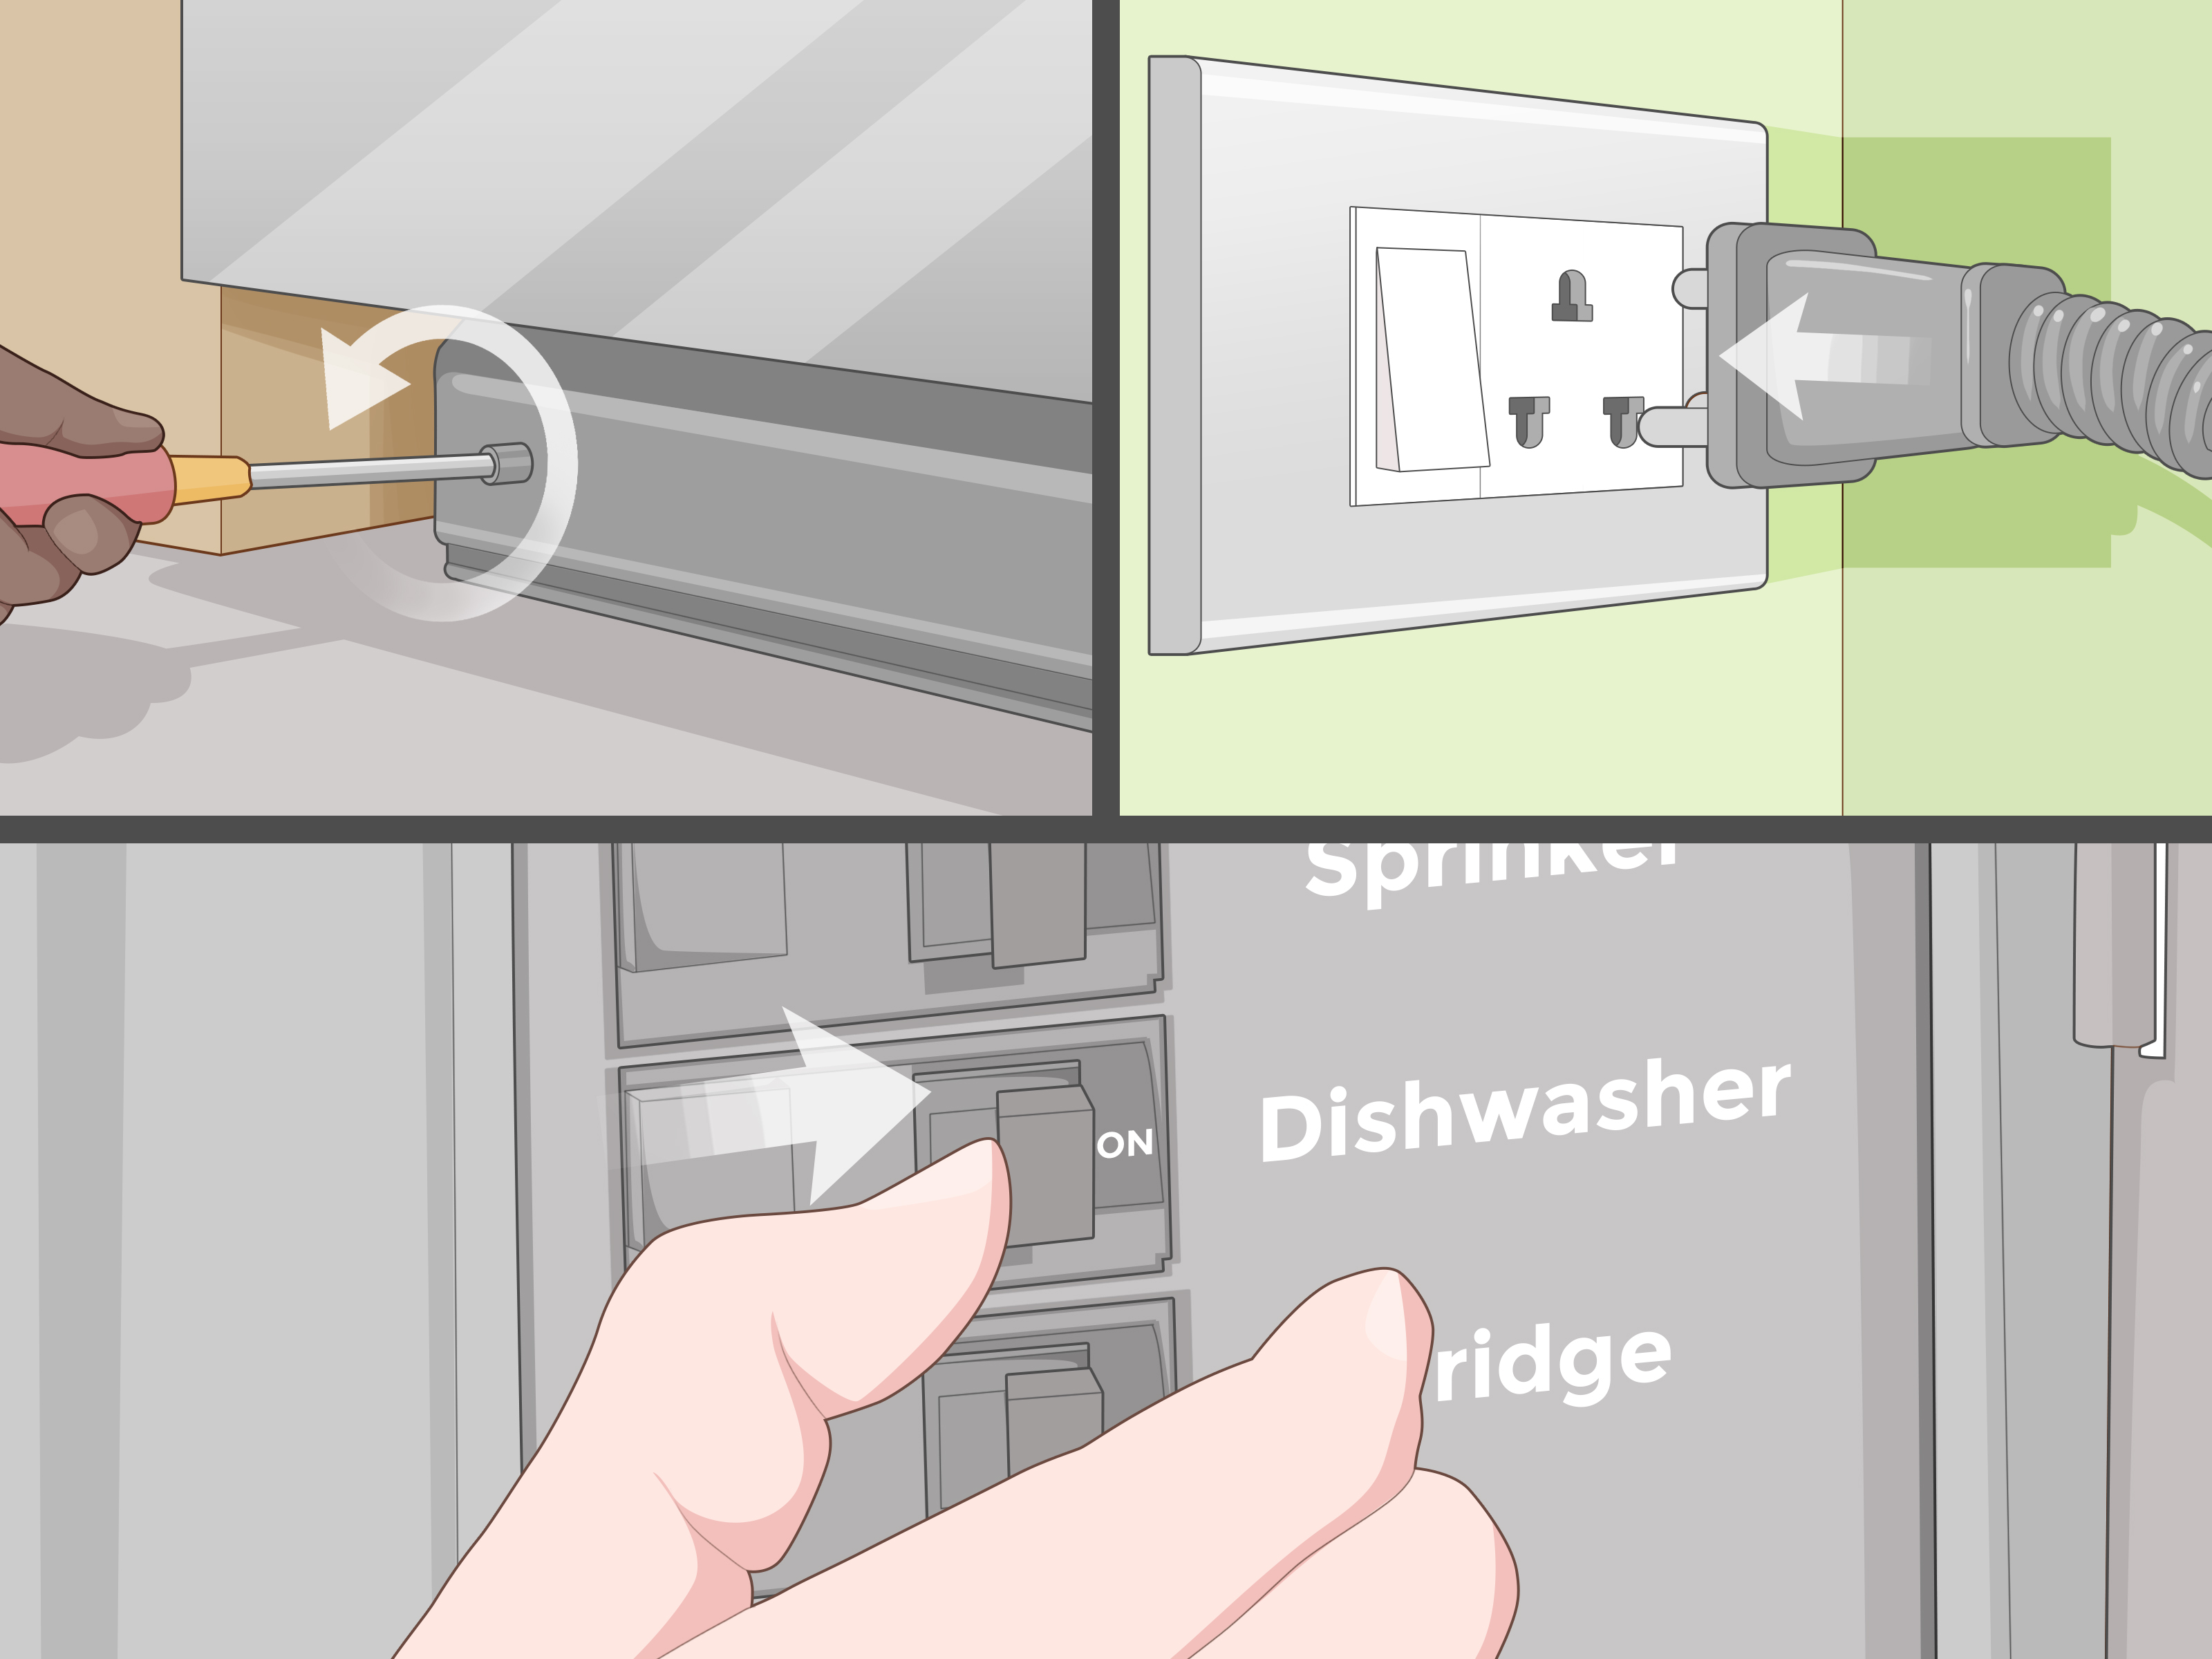
Note: This article is a homeowner-friendly overview designed to help you understand the process, prep the space, and talk confidently with an installer. Because dishwasher installation involves electricity and water, the final hookup should be handled by a qualified adult or a licensed installer, and your exact Samsung model manual should always take priority.
Installing a Samsung dishwasher sounds simple right up until you’re kneeling on the kitchen floor wondering why one hose is too short, one opening is too tight, and your garbage disposal is acting like it has trust issues. The good news? A successful dishwasher installation usually comes down to planning, fit, and patience, not magic. Whether you’re replacing an old machine or setting up a sleek new Samsung model in a kitchen refresh, the real secret is understanding the order of the job before anyone reaches for a wrench.
This guide walks through what a proper Samsung dishwasher installation involves, what to check before the unit slides under the counter, what the installer is actually doing behind the scenes, and the most common mistakes that can turn “new appliance day” into “why is there water under my sink day.”
Why Samsung Dishwasher Installation Is All About Preparation
A Samsung dishwasher is not just another big stainless-steel box that magically washes lasagna pans. It is a built-in appliance that depends on four things working together: the cabinet opening, the electrical supply, the water line, and the drain setup. Miss one of those, and the dishwasher might fit poorly, leak, drain badly, or refuse to start at all.
That is why the smartest installation strategy starts before the dishwasher even comes out of the box. In many kitchens, the space is close to standard size, but “close” is one of those words that can ruin an afternoon. A tight opening, uneven floor, bulky flooring transition, or awkward side wall can all create installation headaches. Samsung dishwashers are usually designed for standard built-in openings, but it still pays to measure the height, width, and depth of the cavity carefully.
In other words, do not eyeball it and hope for the best. Hope is not a measuring tool.
Before Installation: The Homeowner Checklist
1. Confirm the space
Start by measuring the opening under the countertop and compare it to your Samsung model’s installation guide. Most built-in dishwashers fit a standard kitchen opening, but real kitchens are rarely as symmetrical as showroom kitchens. Measure left, center, and right. Floors slope. Cabinets shift. Counters are sometimes lower than expected. A dishwasher that should fit on paper can still become a stubborn metal rectangle in real life.
2. Check the power setup
Samsung installation guidance commonly expects a grounded electrical connection on a dedicated dishwasher circuit. Some kitchens already have the proper setup nearby, while others may need an electrician to update the outlet or hardwire configuration. This is one part of the project where guessing is a terrible personality trait.
3. Verify the hot water supply
Your dishwasher needs a hot water shutoff valve that is accessible and in good working order. Samsung also notes that water temperature and water pressure matter for performance. If the water is too cool, cleaning suffers. If pressure is too low, filling and operation can become inconsistent. That means installation is not just about “connected” but about “connected correctly.”
4. Plan the drain route
The dishwasher drain line usually runs to either a sink drain tailpiece or a garbage disposal. The drain hose should be routed neatly, protected from kinks, and set up to reduce the chance of dirty water flowing back toward the machine. In many homes, that means using an air gap if local code requires it or creating a high loop under the counter if permitted. The drain path matters more than people think, which is why so many “brand-new dishwasher won’t drain” stories turn out to be installation issues, not dishwasher issues.
5. Make sure the right kit is on hand
Many dishwashers do not include every accessory needed for final hookup. Depending on the kitchen and the model, the installer may need a supply line, fitting, clamp, mounting hardware, and electrical connection components. This is a classic trap: people buy the dishwasher and forget the boring parts that make the dishwasher actually function.
What the Installation Process Usually Looks Like
If you want the honest version, installing a Samsung dishwasher is less like snapping together a gadget and more like orchestrating a tiny kitchen renovation in miniature. Here is the sequence a proper installation usually follows.
Step 1: Remove the old unit and clear the opening
If there is an existing dishwasher, it has to come out cleanly without damaging the floor, cabinets, or utility connections. Once the old unit is removed, the opening should be cleaned and inspected. This is often the moment when hidden issues reveal themselves: warped flooring, old supply lines, questionable wiring, or a drain connection that looks like it was last touched during the Bush administration.
Step 2: Prepare the new dishwasher
The new Samsung dishwasher is unpacked, checked for shipping damage, and fitted with any required mounting brackets or connection fittings according to the model’s guide. Samsung also advises inspecting the unit and keeping protective materials in place until the right moment. Nobody wants a pretty new front panel scratched before the first rinse cycle.
Step 3: Route the utilities safely
The water line, drain hose, and power connection are positioned so they do not get pinched or twisted when the dishwasher is slid into place. This matters a lot. A crushed hose can lead to poor draining or leaking. A pinched cable can create bigger problems nobody wants to discuss in a soaked kitchen.
Step 4: Slide the dishwasher in carefully
This sounds easy, but it is the part where many installations go sideways. The unit has to move into the cabinet opening while the hoses and power connection stay clear and untangled. Often, an extra set of hands helps here. A dishwasher may be sleek, but it is not exactly featherweight yoga equipment.
Step 5: Level the unit
This is one of the most important parts of a successful Samsung dishwasher installation. A dishwasher that is not level can affect door alignment, drainage, noise, and leak prevention. Samsung specifically emphasizes leveling both side-to-side and front-to-back. In practical terms, that means the machine should look straight, sit steady, and let the door operate smoothly without awkward rubbing or lopsided gaps.
Step 6: Secure it to the surrounding structure
Once the fit is right, the dishwasher is secured so it does not shift when the racks are pulled out or the door is opened. Depending on the countertop material and installation situation, this may involve top mounting or side mounting. The goal is stability, not improvisational cabinet engineering.
Step 7: Test before calling it done
A proper installation always ends with a test run. That includes checking for water leaks, confirming the machine powers on, making sure it fills and drains properly, and verifying that nothing rattles or shifts. This is also when installers often discover the most common overlooked problem: the garbage disposal knockout plug was never removed on a new disposal connection. One tiny missed step, one giant puddle of confusion.
The Most Common Samsung Dishwasher Installation Mistakes
Ignoring leveling
If the dishwasher is even slightly off, the door may not seal well, the racks may feel odd, and water movement inside the tub may not behave as expected. Leveling is not cosmetic. It is functional.
Letting the drain hose kink or sag
A drain hose that bends sharply, droops too low, or is routed carelessly can lead to slow draining, backflow, or standing water complaints. Homeowners often assume the machine is defective when the real issue is the hose path.
Forgetting the disposal knockout plug
If the dishwasher drains into a garbage disposal and the disposal is new, the inlet plug has to be removed. Forget that, and the dishwasher may act like it is draining into a brick wall. Because, well, it basically is.
Using old or worn connection parts
Reusing tired supply parts can save a few dollars and create a much more expensive leak later. New dishwasher day is not the best time to gamble on an old connection that has already lived a full and eventful life.
Skipping the test cycle
It is tempting to call the job finished once the front looks flush and beautiful. But the machine does not care how photogenic it is. It cares whether it fills, washes, drains, and stays dry on the outside. Run the test.
Samsung-Specific Tips That Make a Difference
Samsung dishwashers often include installation brackets, a kick plate, and model-specific guidance for water connection hardware and leveling. The exact details vary, so the installation guide packed with the product should always be the final authority. That said, several themes come up again and again in Samsung support guidance.
- The dishwasher should be inspected before installation for shipping damage or missing pieces.
- The hot water line, drain hose, and power cable should be kept free of twists, pinches, and kinks.
- Leveling is essential for both performance and leak prevention.
- The drain connection must follow local plumbing rules and should be secured properly.
- Testing the unit before wrapping up the job is part of doing the job right.
That last point deserves extra love. A dishwasher installation is not complete when the screws go in. It is complete when the machine successfully runs without drama.
Should You Install a Samsung Dishwasher Yourself?
For a confident adult with the right tools, the right manual, and experience around plumbing and electrical work, a replacement installation may feel manageable. But for many households, the smarter move is to hire a licensed installer or technician, especially when any part of the setup needs updating.
That is not laziness. That is strategy. A dishwasher touches water, electricity, cabinetry, flooring, and sometimes a garbage disposal connection. One sloppy shortcut can cause a leak you do not notice until the cabinet base is swollen, the subfloor is stained, and your kitchen smells like regret.
If the kitchen needs a new shutoff valve, revised electrical service, cabinet modification, or a first-time dishwasher connection, professional help is usually money well spent.
After Installation: What to Check in the First Week
Once the Samsung dishwasher is in place, keep an eye on it during the first few uses. Open the cabinet under the sink and inspect for drips around the supply valve and drain connection. Listen for unusual noises. Check that the dishwasher door opens smoothly and does not rub against surrounding cabinets. Make sure dishes come out clean and the tub drains fully after a cycle.
Also, do not ignore the boring but useful basics: use the right detergent, add rinse aid if your model recommends it, and make sure the dishwasher is loaded sensibly. Even the best installation cannot save a dishwasher from a serving bowl blocking the spray arm like it is starring in an action movie.
Conclusion
Installing a Samsung dishwasher is not just about sliding a machine under the counter and hoping it bonds emotionally with your plumbing. A good installation is a sequence: measure the opening, confirm the utilities, route everything correctly, level the unit, secure it properly, and test it before celebrating. When those steps are respected, a Samsung dishwasher can deliver the quiet, efficient performance homeowners expect.
The real takeaway is simple: the best dishwasher installation is the one that looks uneventful after it is done. No leaks. No mystery standing water. No crooked door. No under-sink jump scare. Just clean dishes and the satisfying feeling that your kitchen finally got its act together.
Real-World Experiences: What People Learn the Hard Way About Installing a Samsung Dishwasher
Talk to enough homeowners about dishwasher installation and you start hearing the same themes over and over. First, nearly everyone underestimates how much the floor matters. A kitchen floor that looks flat to the naked eye can still leave the dishwasher rocking slightly once it is in place. People often think the appliance is defective, when really it is just sitting on a floor with opinions.
Another common experience is discovering that the old dishwasher was basically being held in by habit and optimism. Once it comes out, people notice weird spacers, improvised brackets, aging valves, or hoses that look one strong sneeze away from retirement. That moment can be annoying, but it is also useful. It is better to discover those issues during installation than after a leak.
Many homeowners also say the most stressful part is not the dishwasher itself but the under-sink cabinet. It is a cramped little jungle of drain pipes, cleaning products, disposal hardware, and mysterious items no one remembers storing. Suddenly the dishwasher drain route has to share space with all of that. Neat routing and secure connections seem minor until you are trying to make everything fit without rubbing, sagging, or tangling.
Then there is the famous “why won’t it drain?” panic. This happens often enough to deserve its own kitchen drama category. In many cases, the fix is not exotic at all. It might be a kinked hose, an incorrect drain loop, or a disposal knockout plug that was never removed. Homeowners are relieved, mildly embarrassed, and then deeply annoyed that such a tiny detail caused such a large emotional event.
There is also a strong split between people who are thrilled they hired a pro and people who are thrilled they prepared like a pro even if someone else handled the final hookup. That is probably the sweet spot for most households. If you measure carefully, clear the cabinet, confirm the connections, and know your model requirements, the actual installation goes more smoothly for everyone involved.
And finally, almost everyone agrees on the best post-installation feeling: that first clean cycle with no leaks, no error lights, and no suspicious puddles. It is a small victory, but a deeply satisfying one. The dishwasher hums quietly, the kitchen looks finished, and suddenly you feel like the kind of person who has a very respectable, highly organized life. Even if there is still a junk drawer five feet away proving otherwise.