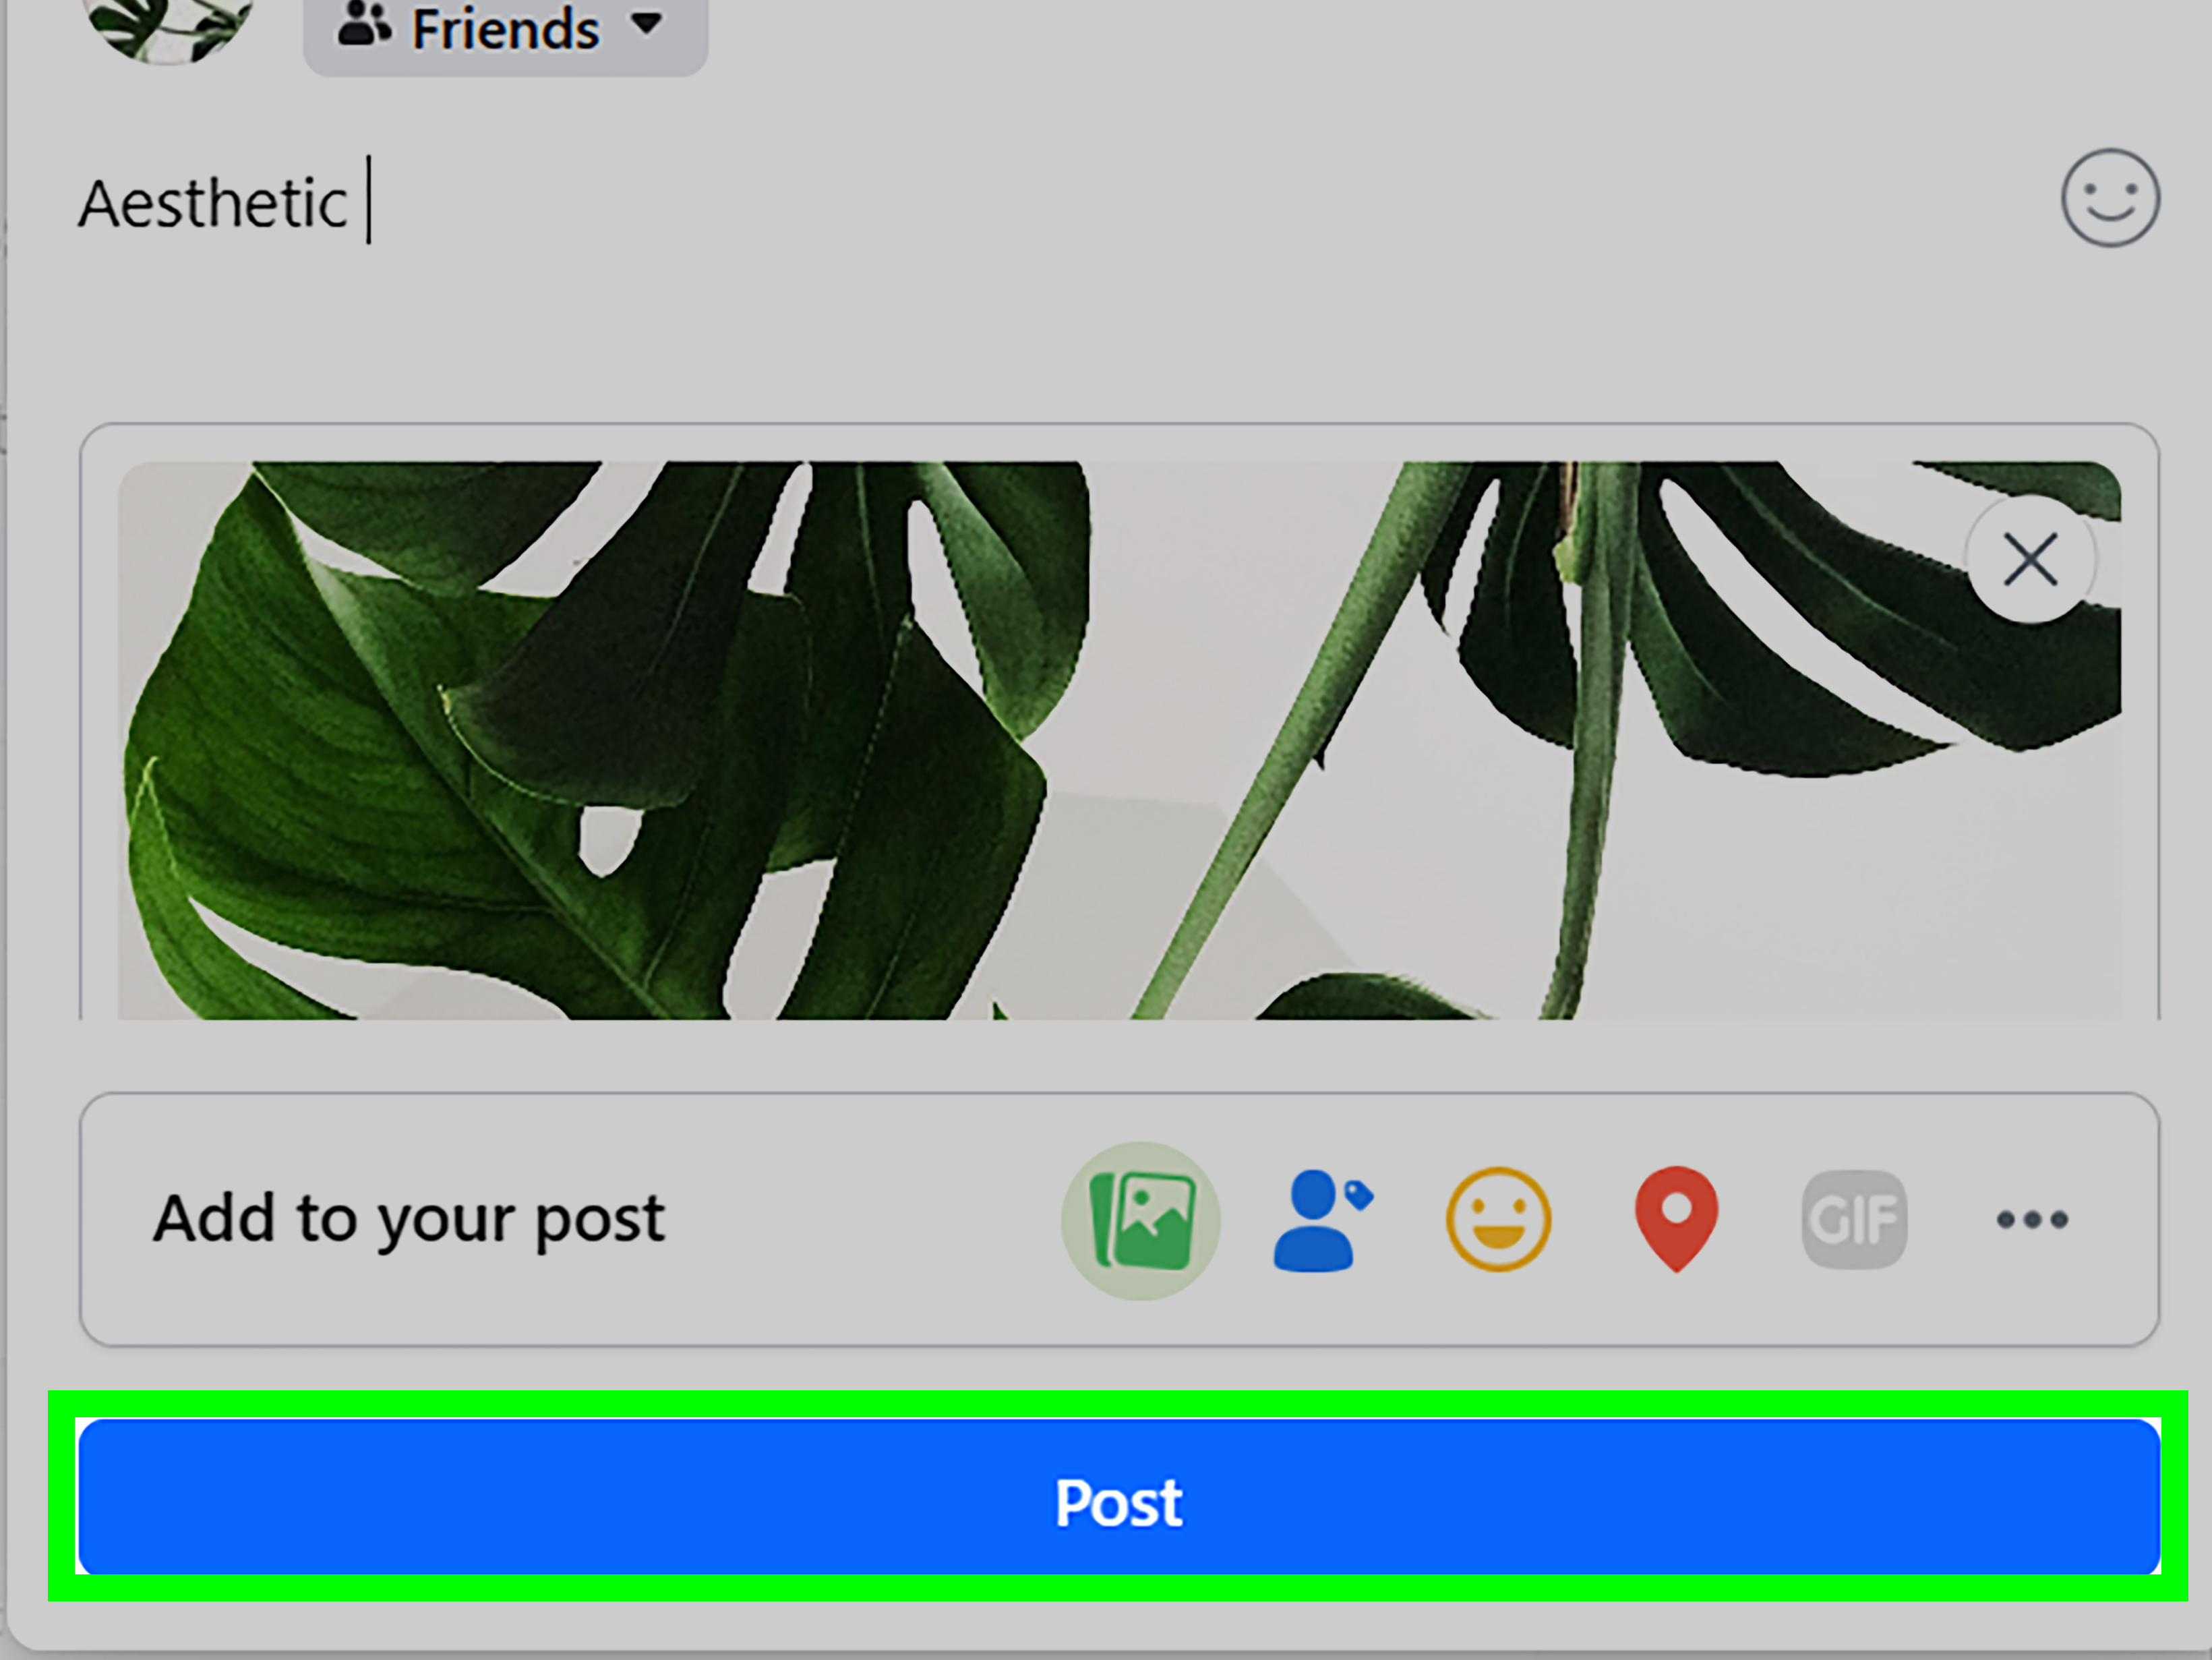
Posting one great photo to Facebook is easy. Posting a whole bunch of great photos without making the post look like a digital junk drawer? That takes a little more finesse. The good news is that Facebook makes it pretty simple to upload multiple photos from both the mobile app and a desktop browser. The even better news is that you do not need a secret degree in social media wizardry to figure it out.
Whether you want to share vacation highlights, birthday chaos, your dog’s suspiciously photogenic yawn, or a step-by-step project update, knowing how to post multiple photos to Facebook can make your content look more organized, more engaging, and far less “I panic-uploaded 27 pictures in a row.” In this guide, you will learn exactly how to upload multiple photos on Facebook using iPhone, Android, and desktop, plus how to organize them, edit them, and avoid common headaches along the way.
This article also covers smart posting tips, privacy settings, album options, and real-life posting experiences so your photo post works for actual humans, not just the mysterious social media algorithm goblin living in the walls.
Why post multiple photos in one Facebook post?
A single image can be powerful, but a group of photos tells a fuller story. If you are sharing an event, a trip, a before-and-after project, or a family update, multiple images help people see the bigger picture. Instead of flooding your friends’ feeds with separate posts, you can keep everything in one neat package.
Posting multiple photos to Facebook also makes your content look more intentional. It lets you combine wide shots, close-ups, funny extras, and detail images in one place. For personal accounts, that means cleaner storytelling. For creators, small businesses, or anyone using a Facebook Page or professional mode, it can also make updates feel more polished and easier to manage.
How to post multiple photos to Facebook on mobile
If you use Facebook mostly on your phone, this is probably the method you will use most often. The Facebook app on iPhone and Android lets you select several photos at once and upload them in a single post.
Step-by-step: Facebook app on iPhone or Android
- Open the Facebook app.
- Tap What’s on your mind? at the top of your Feed or profile.
- Tap Photo or Photo/Video.
- Select multiple photos from your phone’s gallery.
- Tap Next or Done, depending on your device.
- Add a caption, tag friends, choose an audience, or add a location if you want.
- Tap Post.
That is the basic process. Nice, simple, and blissfully free of smoke signals.
Tips for posting multiple Facebook photos on mobile
Choose your order carefully. The first few photos matter most because they shape the preview people see in the Feed. Lead with your strongest image, not the blurry one where your thumb is starring as a guest model.
Use related images together. A Facebook photo post works best when the pictures connect. A vacation album teaser, recipe steps, outfit details, or event highlights all make sense together. Randomly mixing a sunset, a grocery receipt, and your cousin’s shoe is technically legal, but emotionally confusing.
Keep the caption focused. You do not need a novel under every photo upload. A short story, clear context, or one fun observation usually works better than a wall of text.
Check your privacy before posting. If the photos are personal, make sure the audience is set to the right group, such as Friends, Specific friends, or Only Me.
Can you add more photos before posting?
Yes. While you are creating the post, Facebook usually gives you the option to add or remove photos before you publish. This is handy when you realize halfway through that you forgot the best picture and accidentally included three nearly identical photos of a plate of pasta.
How to post multiple photos to Facebook on desktop
If your pictures are already on your computer, posting from desktop can be faster. It is especially useful when you are uploading event photos, product shots, screenshots, or edited images that live in a folder on your laptop.
Step-by-step: Facebook in a desktop browser
- Go to Facebook and log in.
- Click What’s on your mind? from your Feed or profile.
- Click Photo/Video.
- In the file picker, select multiple photos.
- On Windows, hold Ctrl while clicking files. On Mac, hold Command.
- Click Open.
- Add your caption, audience, tags, or location.
- Click Post.
Desktop posting is great when you want more control over file selection. You can quickly grab images from a folder, select a group, and upload them all at once. It also feels less cramped than tapping around on a phone, especially if you are working with a lot of images.
When desktop is the better choice
Desktop is often better when your photos were edited on a computer, when you want to organize files before uploading, or when you are posting to a Facebook Page through Meta Business Suite. It is also useful for people who write longer captions, manage branded content, or just prefer a keyboard over thumb acrobatics.
How to create a Facebook album instead of a standard photo post
Sometimes a regular multi-photo post is enough. Other times, an album is the smarter move. If you are sharing a larger collection of pictures from a wedding, trip, graduation, party, or ongoing project, creating a Facebook album helps keep everything organized.
When to use an album
- When you have a lot of photos from one event
- When you want the collection to stay organized on your profile
- When you want to add more photos later
- When you want viewers to browse the images as a grouped set
How to create an album on Facebook
On mobile, go to your profile, open Photos, then tap Create Album. On desktop, go to your profile, select Photos, then choose the option to create a new album. From there, upload the pictures, name the album, write a description, and choose the audience.
An album works especially well for memory-heavy posts because it keeps things tidy. It is the difference between “Here are my vacation highlights” and “Please enjoy 43 photos posted in pure emotional disorder.”
Can you add multiple photos to an existing Facebook post?
In many cases, yes. If you already shared a post and later want to include more pictures, Facebook allows you to edit your own post and add media. That can be useful if someone sends you better photos after the event, or if you forgot to include the image everyone actually cares about.
How to add more photos to an existing post
- Find the post on your profile or timeline.
- Click or tap the three-dot menu in the corner.
- Select Edit Post.
- Use the media option to add more photos.
- Save your changes.
Keep in mind that editing an older post can slightly change how it appears or feels, so it is smart to double-check the caption and image order before you save. If the post is important, treat the edit like a mini cleanup rather than a random attachment party.
Best practices for posting multiple photos on Facebook
1. Start with your best image
The opening image does a lot of heavy lifting. It influences whether people stop scrolling, click the post, or keep cruising toward cat videos. Choose a sharp, interesting image that clearly represents the full set.
2. Tell one story per post
A strong Facebook photo post has a theme. Maybe it is “weekend camping trip,” “kitchen renovation progress,” or “our school event highlights.” The tighter the theme, the easier it is for people to connect with the post.
3. Avoid near-duplicates
You may adore all 17 versions of the same sunset. Your audience probably does not. Pick the best few and leave the rest in your camera roll where they can live peacefully.
4. Add context in the caption
Even a short caption helps. Tell people what they are seeing, why it matters, or what happened. A little context can turn a collection of photos into a story worth engaging with.
5. Use tagging and location carefully
Tagging friends, Pages, or locations can make a post more useful and more interactive, but it should feel natural. Do not tag people just because they once stood near a sandwich in the same county.
6. Check the audience setting every time
Facebook remembers previous privacy choices, which is helpful until it is not. Before posting family photos, work images, or event pictures, verify who can actually see the post.
Common problems when uploading multiple photos to Facebook
Photos will not upload
This usually comes down to a weak internet connection, app issues, or temporary glitches. Try switching from mobile data to Wi-Fi, restarting the app, or refreshing the browser. If the images are very large, patience may also be required, which is annoying but still cheaper than therapy.
Photos upload in the wrong order
This can happen if you select them too quickly or if the app arranges them differently than expected. Review the preview before posting. On desktop, it helps to organize files in your folder first. On mobile, take an extra second to confirm the sequence.
The post looks cluttered
That usually means too many mixed-quality photos or no clear focal point. Trim the set, lead with a stronger image, and remove anything repetitive. A tighter photo group almost always performs better than a chaotic one.
Privacy is wrong after posting
You can usually edit the audience after the post is live. Open the post options, choose the privacy setting, and switch it to the correct audience. This is useful when you accidentally post vacation photos publicly and suddenly a stranger in Ohio knows more about your beach lunch than necessary.
How Facebook photo posts differ for personal profiles, Pages, and professional mode
For personal profiles, the process is straightforward: create a post, add multiple photos, choose your audience, and publish. For Pages and profiles in professional mode, you may also use Meta Business Suite, especially on desktop, which gives you more control over drafting, scheduling, and managing content.
If you run a business, creator account, or public-facing profile, it is smart to think beyond just uploading images. Consider the goal of the post. Are you sharing behind-the-scenes photos, event recaps, product details, or brand storytelling? Multiple photos can work beautifully when each image adds a useful piece of the message.
Real-world examples of strong Facebook multi-photo posts
Example 1: Event recap
A school, club, or local business can post five to eight photos from an event: one crowd shot, one speaker photo, one close-up detail, one candid moment, and one group wrap-up image. This tells the story without overwhelming people.
Example 2: Product showcase
A small business can post several images of one product from different angles, plus one lifestyle shot showing it in use. That works much better than posting a single photo and hoping customers imagine the rest.
Example 3: Personal update
If you just got back from a trip, post a few highlight images instead of every single thing you saw. Think “best moments,” not “complete archaeological record.” Your friends will thank you silently.
Experience-based insights: what posting multiple photos on Facebook is really like
In real life, posting multiple photos to Facebook is less about the button-tapping process and more about the choices you make before hitting publish. Most people do not struggle because Facebook is impossible to use. They struggle because they are standing in line for coffee, trying to upload twelve photos one-handed, while also deciding which image makes them look normal and not like they were caught mid-sneeze. The interface is usually the easy part. Picking the right photos is where the drama lives.
One common experience is realizing that mobile is fast, but not always ideal for careful editing. On a phone, it is easy to select multiple photos quickly, write a short caption, and post in under a minute. That is great for casual updates. But when people care more about presentation, desktop often feels calmer. You can see filenames, review the images more comfortably, and upload from a folder that you have already organized. For travel photos, event coverage, or branded content, desktop usually wins the “least likely to make you regret your choices” award.
Another real-world lesson is that fewer photos often get a better response than more photos. A lot of people assume that if ten photos are good, then twenty-five must be amazing. Usually, no. Most strong Facebook posts feel intentional because they include only the images that add something. The best approach is to choose photos that each play a role. One establishes the setting, one shows people, one captures emotion, one adds detail, and one wraps things up. That structure feels natural even if you never say it out loud.
People also discover that captions matter more than they expect. A group of nice images can still feel flat without context. But a simple caption like “A few favorite moments from Saturday’s community cleanup” or “Kitchen remodel progress, and yes, we survived the tile aisle” instantly makes the post more engaging. The caption does not need to perform Shakespearean miracles. It just needs to give the photos a reason to exist together.
Privacy is another area where experience teaches fast. Many users have had the moment of posting a family photo set, then realizing the audience was set to Public because of a previous post. That is why checking privacy before posting becomes a habit for experienced users. It takes about two seconds and can save a lot of awkwardness later.
There is also the issue of order. When a multi-photo post works well, it usually has flow. The first image grabs attention, the middle images build the story, and the final one gives a sense of completion. When the order is bad, the whole post feels random. People may not consciously say, “This sequence lacks narrative discipline,” but they will feel it. That is why experienced Facebook users often preview the post twice before publishing.
And perhaps the most relatable experience of all: after posting, you suddenly notice the one photo you should have removed. The half-closed eyes. The strange crop. The background object that looks deeply suspicious but is actually just a lamp. That is when knowing you can edit an existing Facebook post becomes surprisingly comforting. Not heroic, but comforting.
In the end, posting multiple photos to Facebook is at its best when it feels easy for you and clear for your audience. That usually means choosing quality over quantity, keeping the story focused, checking the audience setting, and using mobile or desktop based on the situation. The tools are simple. The smart part is how you use them.
Final thoughts
If you have been wondering how to post multiple photos to Facebook on mobile and desktop, the process is thankfully straightforward. On mobile, you create a post, tap Photo, select multiple images, and publish. On desktop, you create a post, choose Photo/Video, multi-select your files, and post. If you need more structure, create an album. If you forgot a great image, edit the existing post and add it later.
The secret is not just knowing where to tap or click. It is knowing how to make the post feel clean, intentional, and worth viewing. Use your best image first, keep the photo set focused, add a caption that gives context, and always check your privacy settings. Do that, and your Facebook photo posts will feel much more polished whether you are posting from your couch, your desk, or the back seat of a car while pretending you are not still uploading vacation pictures three weeks late.