Pop-up tents are magical. You unzip a bag, blink twice, andpoofyou’ve got a shelter.
Folding them back up, however, can feel like trying to convince a spring-loaded pizza box to become a pancake.
If you’ve ever wrestled one in a parking lot while strangers politely pretended not to watch, welcome home.
This step-by-step guide walks you through the most common pop-up tent folding methods, explains what’s happening
(so you’re not just copying moves like a confused origami apprentice), and includes simple “picture” diagrams
you can follow. By the end, you’ll be able to fold your pop-up tent quickly, pack it neatly, and keep it in good
shape for your next trip.
What Counts as a “Pop-Up Tent” (and Why It Matters)
“Pop-up tent” is a big umbrella term (ironically, umbrellas are also pop-up and also hate being folded politely).
Most pop-ups fall into one of these categories:
- Round-disc pop-ups (often sold as instant camping tents, kids’ play tents, or compact shelters)
- Beach pop-up shelters (spring-steel frames, sometimes with sand pockets)
- Privacy/shower pop-ups (tall cylinders that twist into discs)
- Instant cabin tents (hub-and-pole “instant setup” style that still requires folding poles)
The “classic” trickfolding into overlapping circlesworks for most round-disc pop-up styles.
Instant cabin tents usually fold more like traditional tents (collapse hubs, fold poles, roll or accordion).
Don’t worry: this guide covers both.
Before You Fold: Do These 60-Second Prep Steps
Folding goes smoother when the tent isn’t full of pine needles, sand, or last night’s chip crumbs.
Do this first:
- Remove everything: sleeping bags, stakes, toys, snacks, your dignityeverything.
- Shake out debris: zip doors half-closed so you don’t turn your tent into a leaf confetti cannon.
- Wipe moisture: if it’s wet, towel it off. (Packing wet fabric is how you grow a science project.)
- Unclip guylines/sand pockets: anything tugging on the frame will fight you during folding.
- Find the straps: many pop-ups have built-in elastic or fabric tieslocate them now.
Pro tip: If it’s windy, position the tent low to the ground while you fold. A gust can turn your
pop-up into a runaway hula hoop with dreams of freedom.
The Universal Method (Most Round-Disc Pop-Up Tents)
If your tent packs into a round, flat bag and has a springy wire frame, this is your section.
The goal is to guide the frame into a controlled twist so it stacks into smaller circles.
You’re not “breaking” itspring steel is designed for this.
Step 1: Flatten the Tent Into a Neat Oval
Close the door(s) and lay the tent on its side. Press the top down so the tent becomes a flatter, wider shape.
For many pop-ups, you’ll end with something like an oval “taco shell.”
Press down evenly
Aim for a flat oval
Step 2: Bring the Top and Bottom Together (Make a “Taco”)
Hold the tent at two opposite sides of the oval. Bring the sides together so the tent folds in half.
You want the frame stackedlike you’re closing a big book.
Fold the oval in half
Like closing a book
Step 3: Twist Into a Figure-Eight
Here’s the secret: you’re going to twist the stacked frame so it naturally wants to coil into circles.
With the folded “taco” held upright, rotate your hands in opposite directionsone hand slightly forward, the other slightly back.
The frame will start forming a figure-eight shape.
Twist gently
Let the frame coil
You should see a figure-eight
Step 4: Stack the Loops Into 2–3 Circles
Once you have a figure-eight, push one loop over the other so they stack.
Most pop-up tents end as three smaller circles layered together (sometimes two, depending on size).
Keep the fabric tucked inward so it doesn’t bulge out like it’s trying to escape.
Stack loops
Aim for 2–3 circles
Step 5: Strap It and Bag It (Without a Wrestling Match)
Wrap the built-in straps or elastic around the folded disc before letting go. This prevents the “pop”
the sudden moment your tent remembers it’s a tent and tries to resume its natural habitat: the open air.
Then slide it into the carry bag.
If the bag feels too small: it probably isn’t. The most common issue is trapped fabric or an uneven stack.
Re-stack the circles so they’re aligned, then try again.
How to Fold a Beach Pop-Up Shelter (Spring Frame + Sand Pockets)
Beach shelters often use the same spring-steel concept, but sand pockets, stakes, and curved floors add drama.
The folding motion is similaryour job is to remove “anchors” and control the fabric.
Step-by-Step
- Empty sand pockets completely. A spoonful of sand becomes a five-pound weight when you’re wrestling nylon.
- Brush off sand and zip the doors/windows partway closed.
- Flatten the shelter into an oval, keeping the floor tucked inward.
- Fold in half like the universal method, then twist into a figure-eight.
- Stack into circles and strap.
Wind hack: Fold with the shelter’s back panel facing the wind. It reduces the “parachute effect”
and helps you keep control.
How to Fold a Privacy or Shower Pop-Up Tent (Tall Cylinder Style)
Privacy tents usually pop up into a tall cylinder and fold down into a flat disc. The main difference is where you
“grab” and twist: you’ll typically work around the midpoint rather than the base.
Step-by-Step
- Remove the floor mat (if separate) and any hanging storage pockets.
- Zip doors closed most of the way so fabric doesn’t balloon out.
- Compress the cylinder by pushing the top down toward the ground until it becomes shorter and wider.
- Find the midline (about halfway up). Hold opposite sides firmly.
- Twist into a figure-eight and stack into circles.
- Secure straps and bag.
Privacy tents can feel extra “springy” because they’re taller, meaning more fabric tries to puff outward.
If it keeps fighting you, focus on getting the frame stacked firstthen worry about tucking fabric.
How to Fold an Instant Cabin Pop-Up Tent (Hub-and-Pole “Instant Setup”)
Instant cabin tents aren’t usually the twist-into-circles type. They pop up fast because the poles are pre-attached
to hubs, but they typically fold down into a long, rectangular bag (not a disc).
Step-by-Step
- Remove stakes and guylines. Keep stakes in a separate pouch so they don’t poke holes in fabric.
- Open doors and windows briefly to release trapped air, then partially close them again.
- Collapse the roof hub: most models have a central hub or push-button mechanismrelease it so the roof drops.
- Bring corner hubs inward: walk corners toward the center to reduce the tent footprint.
- Lay it flat on the ground like a big blanket with poles on top.
- Fold into thirds (or quarters) to match the bag length, keeping poles aligned.
- Roll or accordion-fold tightly, then strap and bag.
Why “fold to bag length” matters: If you fold randomly, you’ll create a bulky lump that makes the bag
feel impossibly small. Matching the bag length first makes everything else easier.
Troubleshooting: When the Tent Refuses to Fold (Common Problems)
Problem: “It keeps springing back open.”
This usually means you haven’t secured the first twist. Try flattening more thoroughly, then commit to the figure-eight.
Also: strap it before you relax your grip. The tent senses fear.
Problem: “The circles won’t stack evenly.”
Uneven stacking is often trapped fabric or a twisted door panel. Pause and tuck the fabric inward as you stack.
Keep the frame edges aligned like dinner platesnice and tidy.
Problem: “The bag is too small.”
Ninety percent of the time, the bag is fine and the fold is sloppy (no judgmentwe’ve all been there).
Re-stack the circles, tighten the straps, and slide it in edge-first. If your bag has a zipper, unzip it fully.
Problem: “I’m scared I’ll break the frame.”
Pop-up frames are designed to twist. The key is controlled pressure, not brute force.
If you’re forcing it, stop and reset. When done correctly, the frame almost folds itself.
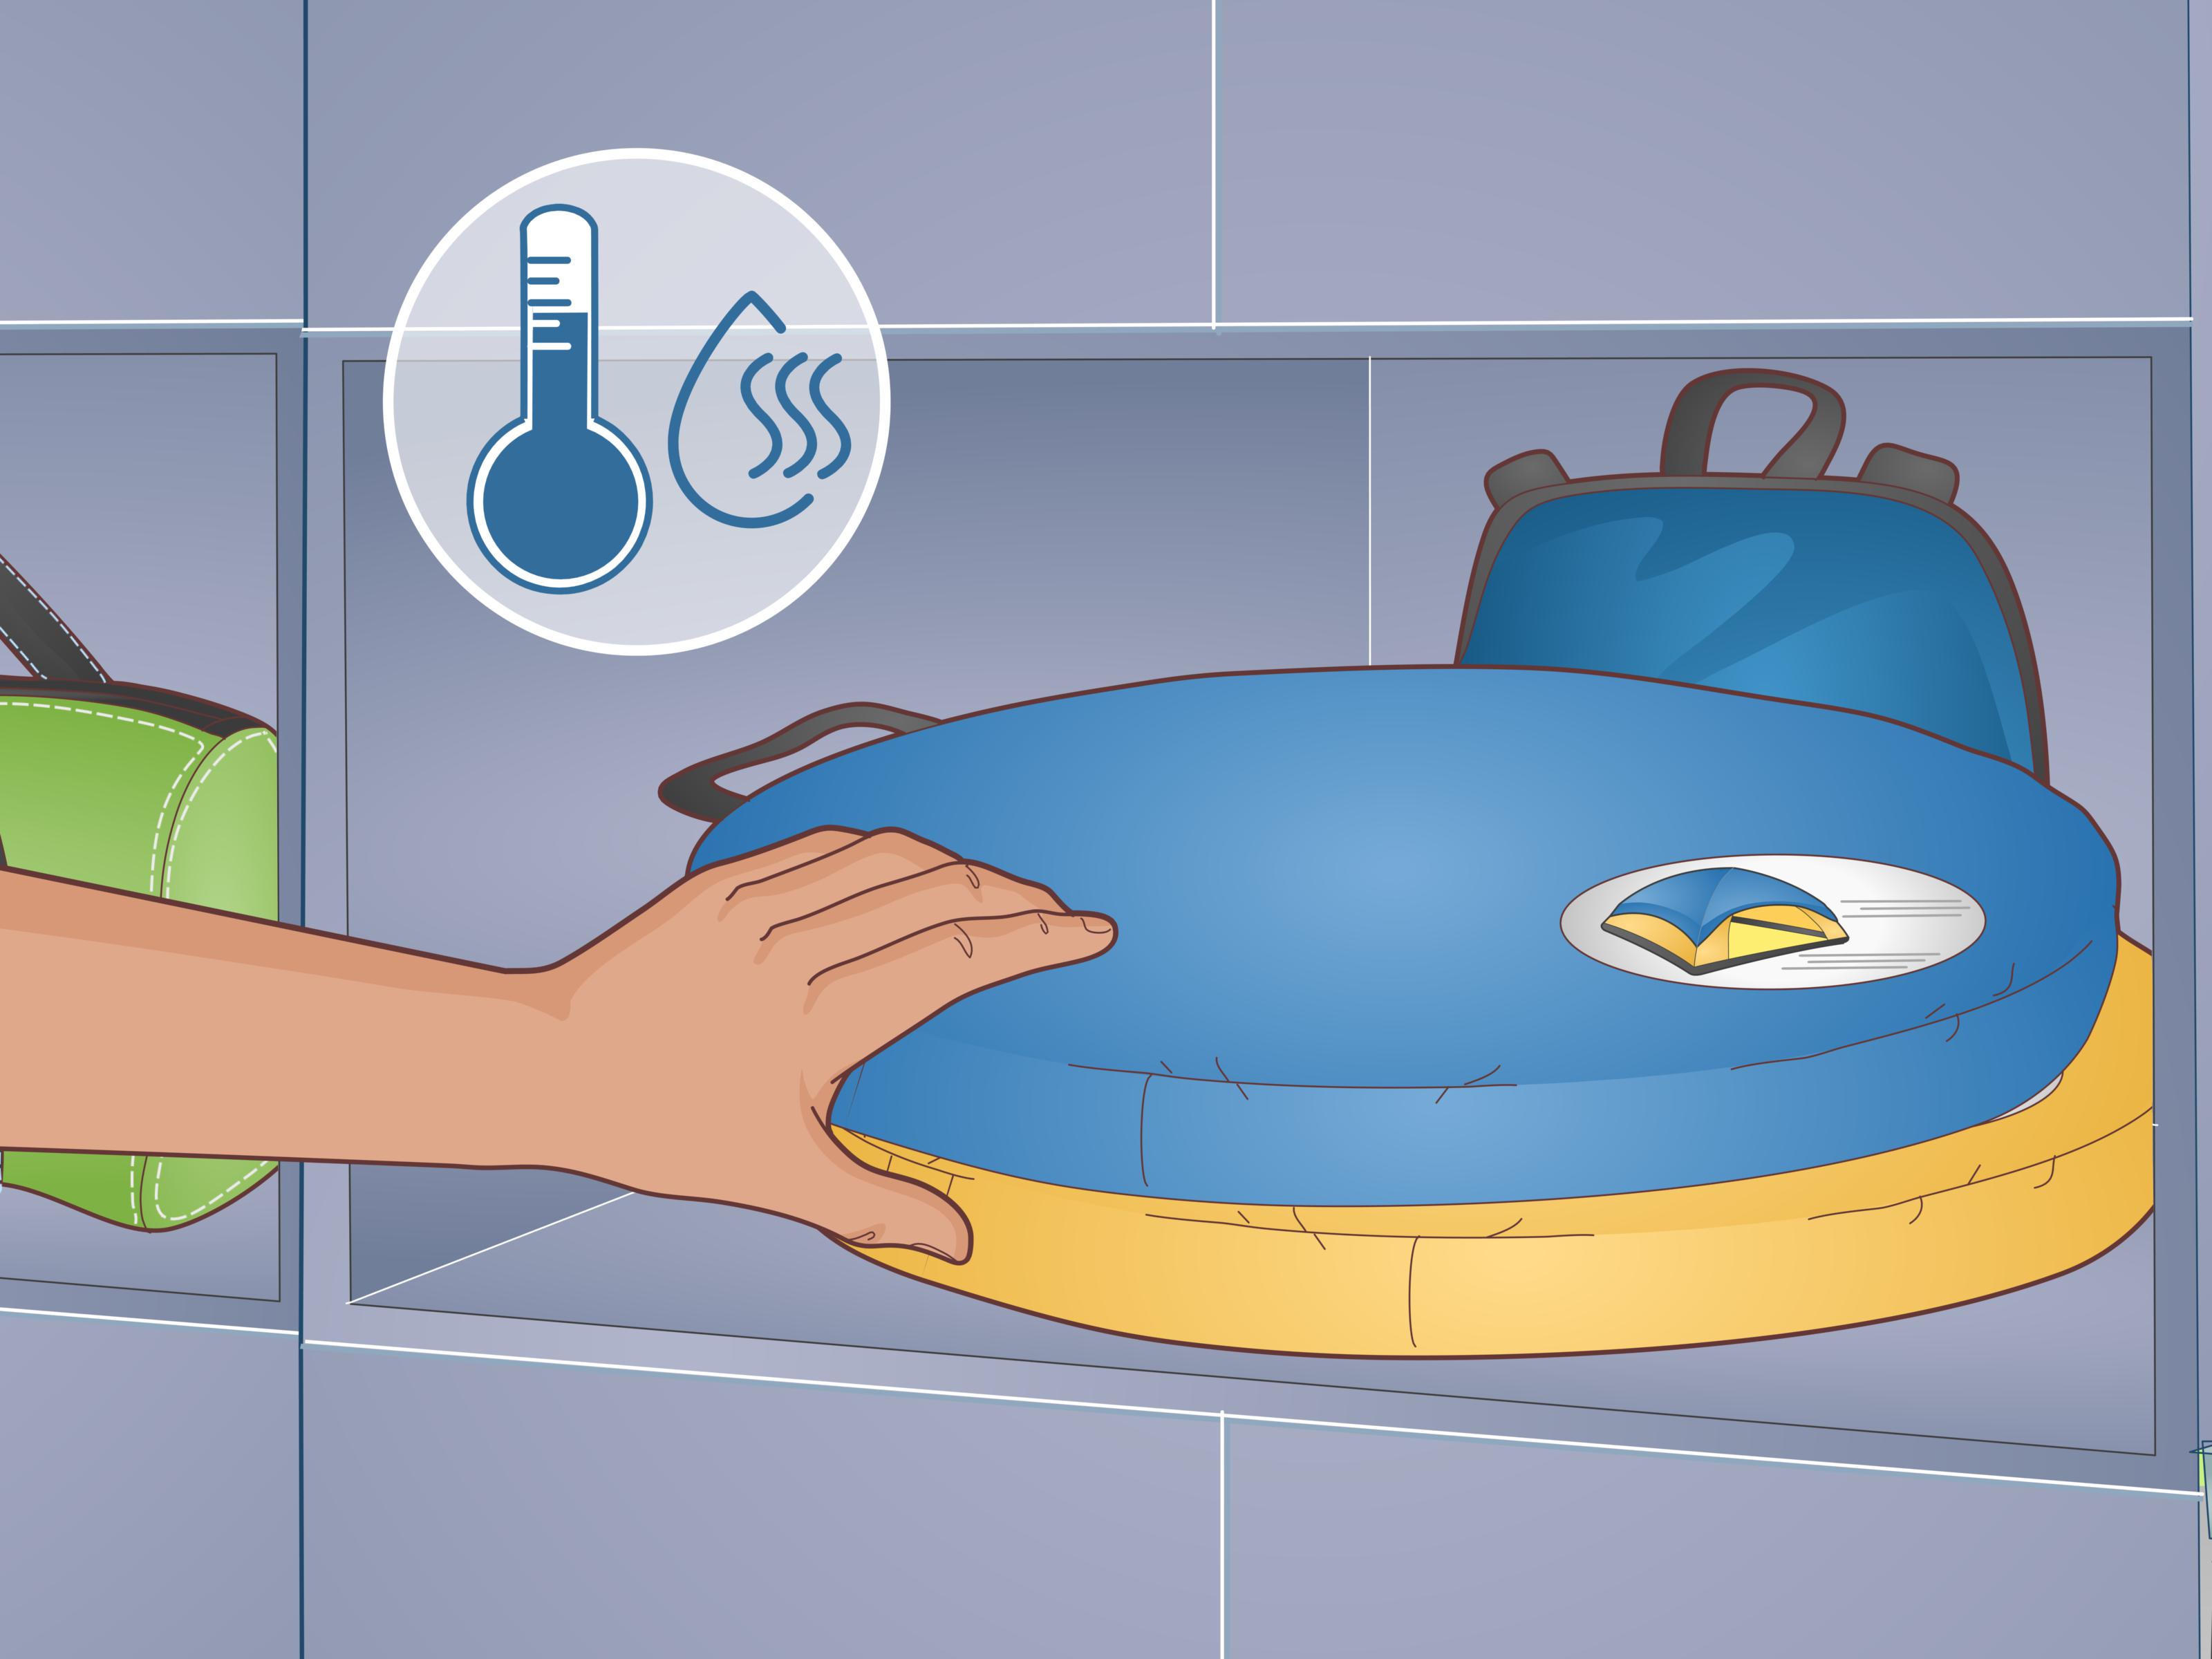
Care Tips: Keep Your Pop-Up Tent Easy to Fold (and Not Smelly)
Folding is only half the battle. A well-cared-for tent is easier to pack, lasts longer, and won’t smell like “mystery basement.”
- Dry before storing: even “water-resistant” fabrics can trap moisture in seams and corners.
- Clean gently: use mild soap and water; avoid harsh detergents that can damage coatings.
- Store loosely when possible: long-term, a cramped disc in a hot garage can stress fabric and coatings.
- Avoid prolonged UV exposure: sunlight slowly weakens tent materials (especially if left up for days).
- Check stitching and zippers: snaggy zippers make folding miserable because fabric catches.
Quick reality check: If you must pack it damp (rain happens), unpack and dry it as soon as you get home.
Your future self will thank you, and your tent won’t develop a personality.
Quick “Do This, Not That” Folding Checklist
- Do: flatten first, then twist. Not that: twist while it’s still puffed up like a balloon.
- Do: tuck fabric inward as you stack circles. Not that: let mesh panels bulge out and snag.
- Do: strap before you let go. Not that: set it down “for a second” and watch it expand.
- Do: practice once at home. Not that: learn for the first time in a windy parking lot.
Frequently Asked Questions
How long should it take to fold a pop-up tent?
Once you know the motion, most disc-style pop-ups fold in 30–90 seconds. The first few attempts can take
several minutes, mostly because your hands are learning the twist-and-stack rhythm.
Is it okay to fold it differently than the original fold?
For spring-steel disc pop-ups, the frame naturally wants to coil in a particular way. Minor variations are fine,
but if you fight the natural coil every time, you’ll make folding harder and may stress the frame over the long term.
When it folds smoothly, you’re doing it “right enough.”
Can I roll a pop-up tent instead of twisting it?
Disc-style pop-ups generally don’t roll well because the frame is a continuous spring. Rolling usually creates a bulky
spiral that doesn’t fit the bag. Instant cabin tents, on the other hand, are often designed to roll or accordion-fold.
Conclusion
Folding a pop-up tent isn’t about strengthit’s about sequence. Flatten it, fold it into a manageable shape,
twist into a figure-eight, then stack into neat circles and strap it before it springs back to life.
After a couple practice runs, you’ll go from “Why is this happening to me?” to “I am the pop-up tent whisperer.”
If you want the easiest win: practice once at home, dry it before storage, and always secure the straps while you still
have control. Your tent will last longer, pack smaller, and stop trying to embarrass you in public.
Extra: Real-World Folding Experiences (500+ Words of Been-There Tips)
Let’s talk about the part nobody includes in the neat, cheerful instruction diagrams: folding pop-up tents in the real world.
Real life has wind, sand, curious kids, impatient dogs, and that one friend who says, “Just shove it in the bag,” like the bag
is a magical portal to another dimension.
Experience #1: The Windy Parking Lot Ballet. Folding in calm weather is easy. Folding in a parking lot with
wind gusts is interpretive dance. The biggest lesson: get the tent low. If you try to twist while it’s upright and airy,
it catches wind like a sail. Instead, kneel on the edge (gently), flatten it like you mean it, and keep one hand on the frame
at all times. When you feel the tent start to lift, pause and re-flatten. Think “calm, controlled coil,” not “octopus fight.”
Experience #2: The Beach Sand Problem (a.k.a. Nature’s Glitter). Sand gets everywhereinside seams, under floors,
and into zippers with the enthusiasm of a toddler discovering markers. The trick is to shake and brush before you fold.
If you fold first, sand gets trapped in layers, making the disc thicker and the bag tighter. Also, if your beach shelter has sand
pockets, empty them completely. A half-full pocket makes the frame uneven when you try to stack circles, and suddenly you’re
attempting to fold an object that has both a spring and a lopsided weight. That’s not folding; that’s physics class.
Experience #3: “It Won’t Fit” Usually Means “It’s Lumpy.” The first time many people fold a pop-up, they end up
with a disc that looks like a lopsided hamburger. Then the bag feels too small and you start bargaining with the universe.
The fix is almost always a re-stack: align the circles, tuck stray mesh inward, and compress with your forearms while you secure
the straps. A neatly stacked disc slides into the bag. A lumpy disc tries to unionize and refuse labor.
Experience #4: Wet Tent Regret Is Real. Maybe you broke camp in the rain. Maybe you thought, “It’ll dry later.”
And maybe later became “next month.” If you pack a pop-up wet and leave it, mildew can form in corners and seams. The best habit:
if you must pack damp, set a reminder to unpack and dry it the same day. Hang it or pop it open in a garage, wipe it down, and let it
fully dry. It’s boring, but it saves you from that unmistakable smell that says, “Hello, I am now a biology experiment.”
Experience #5: Practice Once, Become a Legend Forever. The difference between frustration and confidence is usually
one practice session at home. Pop it open, fold it down, repeat. On attempt one, your hands will feel awkward. On attempt two, you’ll
start to “feel” where the frame wants to go. By attempt three, you’ll twist into a figure-eight without thinkinglike tying your shoes.
And when you do it smoothly in public, someone will inevitably say, “Wow, how did you do that?” and you’ll get to smile like a person
who has conquered the spring-steel beast.
Real-world folding is messy, windy, sandy, and occasionally comedic. But once you understand the sequence and give yourself permission
to reset (instead of forcing it), pop-up tents go back in their bags without drama. Most of the time.