Sticky tack is the tiny hero of dorm rooms, classrooms, home offices, and “I swear I’ll frame this poster later” decorating. But when it leaves a greasy shadow on your wall, suddenly that heroic little blob looks like it has committed a property crime. The good news? Most sticky tack stains can be removed without repainting the whole room, as long as you use the right method for your wall finish.
Why Sticky Tack Leaves Stains in the First Place
Sticky tack, poster putty, mounting putty, reusable adhesivewhatever name is on the packageusually works by staying soft, flexible, and slightly oily. That soft texture is exactly why it can hold a postcard to the wall without a nail. Unfortunately, the same oils and plasticizers can slowly migrate into porous paint, matte finishes, wallpaper, or unsealed surfaces.
The longer sticky tack sits in one spot, the higher the chance it will leave a mark. Heat, sunlight, humidity, and dust can make the stain more noticeable. A freshly painted wall is also more vulnerable because paint needs time to fully cure. If you stuck a concert poster to a wall three days after painting it, the wall may not be “dramatic”it may simply be uncured.
Before cleaning, identify what you are dealing with:
- Surface residue: little bits of putty still stuck to the wall.
- Greasy shadow: a slightly darker, oily mark where the tack was placed.
- Paint damage: lifted paint, dull patches, or torn drywall paper.
- Wallpaper staining: discoloration or softening around the tack spot.
If the wall is painted with satin, semi-gloss, or gloss paint, you usually have more cleaning room. If it is flat or matte paint, proceed like you are handling a sleeping cat: gently, patiently, and with respect for sudden disaster.
Before You Start: The Wall-Saving Rules
Every successful sticky tack stain removal job starts with restraint. Do not attack the wall with a wet sponge, a rough scrub pad, and the emotional energy of someone who just lost a security deposit. Start dry. Start small. Test first.
Gather Your Supplies
- Clean microfiber cloths or white cotton cloths
- A fresh piece of sticky tack or poster putty
- Plastic scraper, old credit card, or flexible putty knife
- Cornstarch, baking soda, or talcum powder
- Mild dish soap
- Warm water
- Small bowl
- Cotton swabs
- Citrus-based adhesive remover or rubbing alcohol, only for stubborn spots
- Touch-up paint, if the stain has permanently soaked into the surface
Patch Test First
Choose a hidden area behind furniture or near the baseboard. Try your cleaning method there and let it dry completely. A wall can look fine while damp and then reveal a pale ring, shiny patch, or dull scuffed area after drying. That is your wall saying, “Please stop before we both regret this.”
Avoid These Common Mistakes
- Do not soak the wall. Too much water can damage paint or drywall.
- Do not use abrasive pads on flat paint.
- Do not mix cleaners, especially bleach with ammonia, vinegar, or other household products.
- Do not use lighter fluid or strong solvents indoors unless the product label allows it and the area is well ventilated.
- Do not scrub in a huge circle around the stain, or you may create a cleaner-looking halo that is somehow more annoying than the original mark.
Method 1: Roll Off the Residue and Absorb the Oil
This is the gentlest way to remove sticky tack stains from walls, and it should be your first move. It works best when there are still tiny bits of tack on the surface or when the stain looks oily rather than dirty.
Step 1: Roll, Don’t Pull
Use your fingers to roll the remaining sticky tack into itself. Pulling straight outward can lift weak paint or tear paper surfaces. Rolling keeps the pressure sideways and controlled. If small pieces remain, press a clean piece of sticky tack onto the residue and lift it away repeatedly. Think of it as using one tiny blob to arrest another tiny blob.
Step 2: Use a Plastic Edge for Stubborn Bits
If residue is flattened into the paint texture, use a plastic scraper, old gift card, or flexible putty knife. Hold it nearly flat against the wall and nudge the residue gently. Never dig into the paint. The goal is to persuade, not excavate.
Step 3: Apply an Absorbent Powder
For a greasy sticky tack stain, sprinkle a small amount of cornstarch, baking soda, or talcum powder over the mark. If the wall is vertical, press the powder on with a dry cloth or make a very dry paste with a drop or two of water. Let it sit for at least 30 minutes. For older stains, leave it for several hours.
Step 4: Brush Away and Repeat
Use a clean, dry microfiber cloth to brush away the powder. If the mark looks lighter, repeat the process. Oil stains often fade gradually rather than disappearing in one dramatic movie-montage moment.
Best For
- Fresh sticky tack marks
- Flat or matte painted walls
- Wallpaper that should not be washed
- Light greasy shadows
When to Stop
If the powder no longer lifts oil and the stain remains unchanged, move to mild cleaning. If the paint starts looking dull or powdery, stop and consider touch-up paint instead.
Method 2: Clean with Mild Soap and Warm Water
If dry removal does not finish the job, mild soap and warm water are the next safest option. This method works well on washable painted walls, especially eggshell, satin, semi-gloss, and gloss finishes. It can also help remove dust and surface grime that make tack stains look darker.
Step 1: Mix a Gentle Cleaning Solution
Add a few drops of mild dish soap to a small bowl of warm water. You do not need a bubble bath for your wall. Too much soap leaves residue, and residue attracts dirt. A faintly soapy solution is enough.
Step 2: Wring Out the Cloth
Dip a white cloth or soft sponge into the solution, then wring it until it is damp, not dripping. This matters because water can creep into paint layers, drywall paper, seams, and wallpaper edges.
Step 3: Dab the Stain
Press the damp cloth onto the stain and dab gently. If the paint finish is durable, use small circular motions with light pressure. Do not scrub aggressively. Sticky tack stains are often oily, and scrubbing too hard can polish the paint surface, creating a shiny patch called burnishing.
Step 4: Rinse and Dry
Use a second cloth dampened with plain water to remove soap residue. Then blot dry with a clean towel. Let the wall air-dry completely before judging the result. Many marks look darker while damp and lighter once dry.
Optional: Try a Tiny Baking Soda Paste
For a slightly tougher mark on durable paint, mix baking soda with just enough water to make a soft paste. Apply it with a fingertip or cotton swab, dab lightly, and rinse well. Baking soda is mildly abrasive, so use it carefully on flat paint. If your wall finish is delicate, skip this step and preserve your peace.
Best For
- Washable painted walls
- Light sticky tack stains mixed with dust
- Eggshell, satin, semi-gloss, and gloss paint
- Walls that have fully cured after painting
When to Stop
If the paint color transfers onto your cloth, stop. If the cleaned spot becomes shiny or pale, stop. At that point, the problem is not just stain removal; it is paint repair.
Method 3: Use a Citrus Adhesive Remover or Rubbing Alcohol for Stubborn Stains
When sticky tack leaves a deep oily mark, a mild adhesive remover may help dissolve the residue. This is the strongest of the three methods, so treat it as a last resort. It can work beautifully on sturdy painted surfaces, but it can also damage delicate paint, wallpaper, or unfinished drywall if used carelessly.
Step 1: Choose the Right Product
A citrus-based adhesive remover is often used for sticky residue from tape, labels, gum, and glue. Rubbing alcohol can sometimes help with surface adhesive film, but it may dull or soften certain paints. Avoid harsh solvents unless the product label specifically says they are safe for painted walls.
Step 2: Apply Cleaner to the Cloth, Not the Wall
Put a tiny amount of cleaner on a clean white cloth or cotton swab. Do not spray directly onto the wall. Direct spraying can cause runs, and those runs can leave streaks that look like your wall has been crying. Understandable, but not ideal.
Step 3: Dab the Stain
Gently dab the sticky tack stain. Let the cleaner sit only as long as the product directions allow. Then blot with a clean dry cloth. Repeat lightly if needed. Do not keep rubbing until the wall gives up its secrets.
Step 4: Wash the Area with Mild Soap
After using an adhesive remover, clean the spot with mild dish soap and warm water. This removes leftover solvent or citrus oil. Rinse with a barely damp cloth and dry thoroughly.
Step 5: Touch Up If Needed
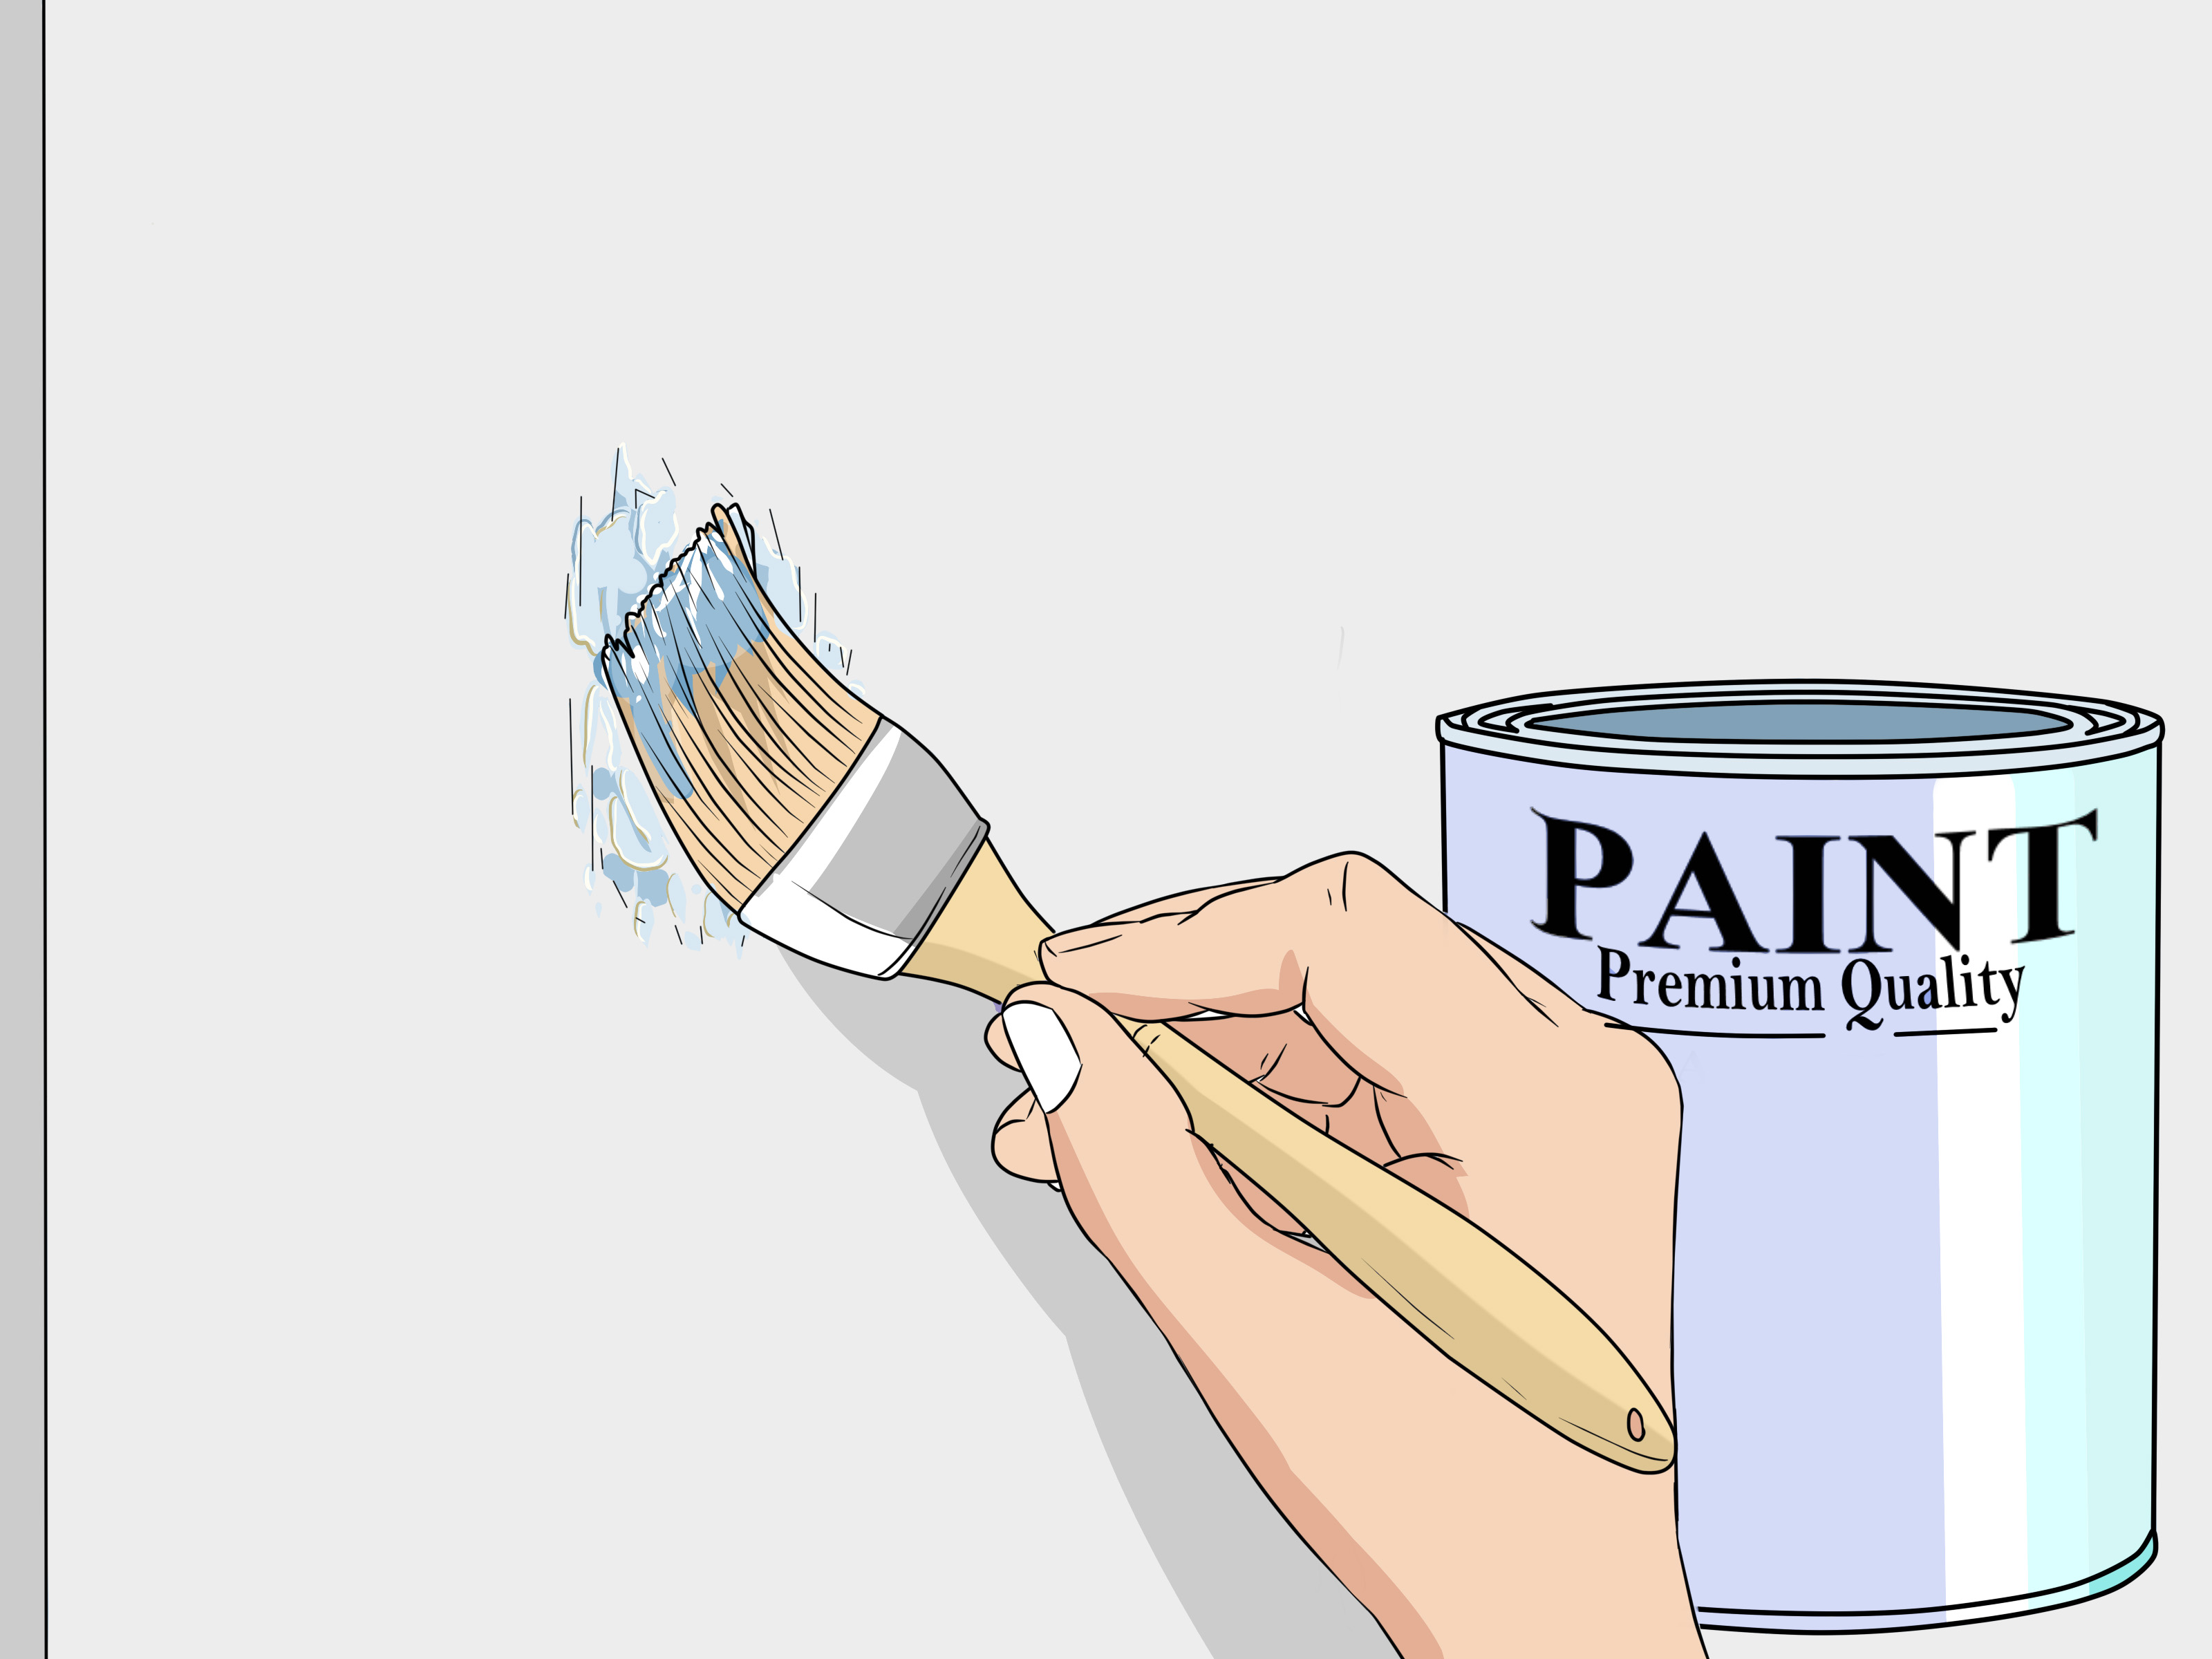
If a sticky tack stain has soaked into porous paint, cleaning may only lighten it. In that case, touch-up paint is the cleanest fix. Use the same paint color and sheen if available. Feather the paint outward with a small brush or mini roller so the repair blends into the surrounding wall.
Best For
- Older sticky tack stains
- Washable, fully cured painted walls
- Residue that mild soap cannot remove
- Small stains where a controlled cotton swab application is possible
When to Stop
If the paint softens, becomes tacky, loses color, or looks glossier than the surrounding area, stop immediately. Rinse gently, dry the wall, and plan for touch-up paint.
How to Remove Sticky Tack Stains from Different Wall Types
Flat or Matte Paint
Flat paint hides wall imperfections nicely, but it is not a fan of scrubbing. Start with the dry rolling method and absorbent powder. Use soap and water only with a nearly dry cloth. Avoid magic erasers, rough sponges, and repeated rubbing unless you are comfortable touching up the paint.
Eggshell or Satin Paint
Eggshell and satin finishes are more forgiving. You can usually use mild soap, warm water, and light circular motions. Still, test first. These finishes can develop shiny spots if scrubbed too aggressively.
Semi-Gloss or Gloss Paint
These finishes are the easiest to clean because they resist moisture and stains better than flatter paints. Mild soap and water usually work well. A small amount of adhesive remover may be safe after testing, but rinse thoroughly afterward.
Wallpaper
Wallpaper is tricky because moisture can loosen adhesive, blur ink, or damage texture. For washable vinyl wallpaper, use a barely damp cloth with mild soap. For paper, grasscloth, silk-screened, hand-painted, or delicate wallpaper, stick to dry methods and absorbent powder. If the tack has left an oil spot, professional cleaning or replacement may be safer than DIY chemistry.
Unpainted Drywall or Plaster
Unpainted drywall is porous and easily damaged. Avoid liquid cleaners and solvents. Remove surface residue gently, absorb oil with powder, and consider sealing and painting the area if a stain remains.
What If the Stain Will Not Come Out?
Sometimes sticky tack stains are not sitting on the wall; they are in the finish. If oil has migrated into porous paint, the mark may keep reappearing even after cleaning. This is especially common on old flat paint, cheap builder-grade paint, and walls where tack stayed for months or years.
In that case, do this:
- Clean the area gently and let it dry completely.
- Lightly sand only if the paint surface is rough or damaged.
- Apply a stain-blocking primer over the mark.
- Touch up with matching paint.
If the touch-up patch stands out, repainting the whole wall may be easier than trying to blend one small area. That sounds dramatic, but one wall is often faster than playing “spot the patch” every morning while drinking coffee.
How to Prevent Sticky Tack Stains Next Time
The best way to remove sticky tack stains is to prevent them from happening. Yes, that is annoying advice, but it is also true.
Use Sticky Tack Only on Suitable Surfaces
Sticky tack performs best on smooth, non-porous, fully cured painted surfaces. Avoid using it on fresh paint, delicate wallpaper, porous brick, raw plaster, or textured surfaces that can trap oils.
Do Not Leave It Up Forever
Temporary adhesive should be temporary. Remove and replace sticky tack every few weeks or months, especially in warm rooms. The longer it stays, the more likely it is to leave an oily mark.
Choose Wall-Safe Alternatives
For posters, try wall-safe tape, removable strips, poster rails, magnetic frames, cork boards, or lightweight frames with damage-free hanging strips. Follow the manufacturer’s instructions exactly, especially removal directions. Many wall-safe products fail when people yank them straight outward instead of stretching or peeling them slowly as directed.
Keep Posters Lightweight
Heavy items need real hanging hardware. Sticky tack is not a structural engineer. It is putty with confidence.
of Real-World Experience: What Usually Works, What Usually Fails, and What Nobody Tells You
After dealing with sticky tack stains in rentals, dorm rooms, classrooms, offices, and kids’ bedrooms, one pattern becomes obvious: the stain is rarely the only problem. The real challenge is that every wall has a personality. Some walls are tough and washable. Others behave like they were painted with powdered sugar and regret.
The most reliable first step is always dry removal. Rolling the sticky tack off slowly prevents unnecessary damage. Many people panic and start washing immediately, but water can spread oily residue or create a larger damp patch. A dry microfiber cloth and a little patience often solve half the problem before any cleaner enters the scene.
Absorbent powder is underrated. Cornstarch looks too simple to work, which is probably why people skip it. But on fresh greasy marks, it can make a visible difference. Press it lightly onto the stain, leave it alone, and let it do its quiet little kitchen-science job. The hardest part is not poking at it every five minutes. For older stains, one round may not be enough. Two or three rounds over a day can lighten the mark without risking paint damage.
Dish soap and warm water work best when the wall is washable and the cloth is barely damp. A common mistake is using too much soap. More soap does not mean more cleaning power; it often means more residue. Then dust sticks to the residue, and the wall looks dirty again a week later. A few drops in a bowl of water is plenty.
Magic erasers deserve a cautious mention. They can remove marks quickly, but they are mildly abrasive. On glossy trim or durable paint, they may be useful. On flat paint, they can create a pale or shiny spot that is more noticeable than the sticky tack stain. The wall may become clean, technically, but now it has a bald patch. That is not victory; that is a plot twist.
Citrus adhesive remover can be effective, but control is everything. Apply it to a cotton swab or cloth, not directly to the wall. Keep the treated area small. Clean afterward with mild soap and water. If you leave oily cleaner behind, you may trade one stain for another, which is like solving a mosquito problem by inviting raccoons.
The toughest cases are old stains on flat white walls. Sometimes the oil has gone too deep. At that point, scrubbing harder only damages the paint. A stain-blocking primer and touch-up paint may be the professional-looking answer. If you rent, ask your landlord or property manager what paint color and sheen were used. If you own the home, label leftover paint cans with the room name and date. Future you will want to send present you a thank-you card.
The biggest lesson is simple: gentle methods are not slow because they are weak; they are slow because they are trying not to wreck the wall. Sticky tack stains can be annoying, but with the right orderdry removal, absorption, mild washing, then careful adhesive removeryou can usually improve or remove the mark without turning a tiny spot into a weekend repainting project.
Conclusion
Removing sticky tack stains from walls is all about working from gentle to stronger methods. Start by rolling off residue and absorbing oil with powder. If the mark remains, clean carefully with mild dish soap and warm water. For stubborn adhesive or oily stains on durable paint, use a small amount of citrus adhesive remover or rubbing alcohol after a patch test. If the stain has soaked into the paint, stop scrubbing and touch it up properly.
The wall does not need a battle. It needs a calm plan, a soft cloth, and maybe a tiny pep talk. Sticky tack may be small, but it has ambition. Luckily, now you have better tools.
Important note: Always test any cleaning method in a hidden spot first. Use good ventilation with cleaning products, follow product labels, and never mix household cleaners.