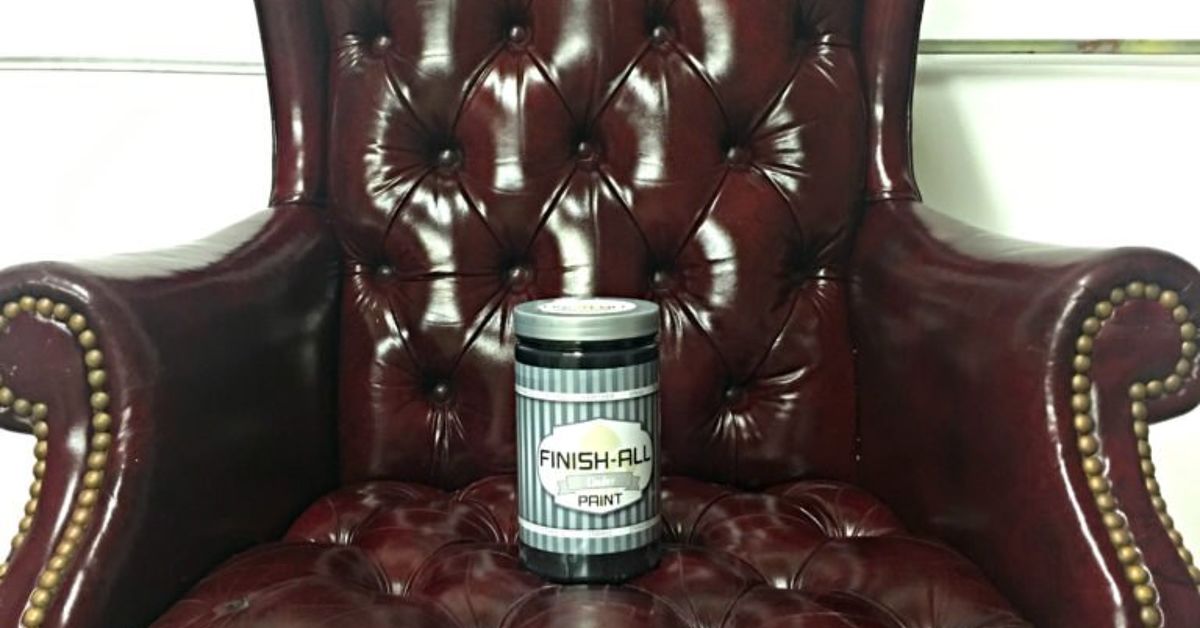
Painting a leather chair sounds like one of those DIY ideas that begins with confidence, a playlist, and a suspiciously cheap thrift-store find. Then, halfway through, you realize leather is not drywall, your brush is leaving streaks, and the chair is silently judging you. The good news? You absolutely can paint a leather chair if you use the right products, prepare the surface correctly, and avoid treating leather like a wooden fence on a Saturday afternoon.
The secret is flexibility. Leather bends, stretches, absorbs oils, and develops creases. Regular wall paint or craft paint may look fine for five heroic minutes, but it can crack, peel, or turn your chair into something that feels like a stale tortilla. For a long-lasting result, you need leather paint, proper cleaning, deglazing, light coats, and a protective finish.
This guide walks you through how to paint a leather chair from start to finish, including supplies, prep steps, application techniques, drying tips, common mistakes, and practical experience from real-world projects. Whether your chair is faded, scratched, outdated, or simply begging for a dramatic makeover, here is how to do it without turning your furniture into a crime scene.
Can You Really Paint a Leather Chair?
Yes, you can paint a leather chair, but not every chair is an ideal candidate. Smooth finished leather, vinyl-coated leather, and faux leather can often be recolored successfully with the right preparation. Very dry, cracked, peeling, suede, nubuck, or heavily damaged leather may need repair, conditioning, or professional restoration before paint enters the chat.
The best results usually come from chairs with solid structure and surface wear rather than deep deterioration. If the chair is comfortable, sturdy, and only looks tired, painting can give it a second life. If the leather is flaking off in sheets, painting over it is like putting frosting on toast crumbs. It may look okay briefly, but it will not hold together for long.
What Kind of Paint Should You Use on a Leather Chair?
Use flexible leather paint or leather colorant designed for upholstery, shoes, bags, or automotive seats. These products are usually acrylic-based or polyurethane-based and made to bond with leather while moving with the material. That flexibility is what helps prevent cracking when someone sits down, shifts around, or performs the classic “I’m just going to lean back dramatically” maneuver.
Best Paint Options for Leather Furniture
For most DIY leather chair projects, choose one of these options:
- Acrylic leather paint: Great for detailed work, color changes, accent areas, and smaller leather furniture projects.
- Leather colorant kits: Often better for full-chair recoloring because they usually include prep products, color, and finish.
- Leather repair paint: Useful when the chair has scuffs, faded areas, or worn edges that need color restoration.
- Airbrush leather paint: Ideal for smoother, more professional coverage on large surfaces.
Avoid standard latex wall paint, spray paint not designed for leather, chalk paint without proper testing, and thick craft paint. Some DIYers use alternative paint mixtures on upholstery, but for leather furniture that people will actually sit in, flexible leather-specific products are the safer bet.
Supplies You Need to Paint a Leather Chair
Gather everything before you begin. Nothing kills DIY momentum faster than realizing your chair is half-prepped and your only applicator is a napkin from last night’s takeout.
Basic Materials
- Leather cleaner or mild soap solution
- Clean microfiber cloths
- Leather preparer and deglazer
- Cotton pads or lint-free cloths
- Fine-grit sandpaper or sanding pad, if needed
- Flexible leather paint or leather colorant
- Small brushes, sponge applicators, or airbrush
- Painter’s tape
- Drop cloth or plastic sheeting
- Leather filler for cracks or scratches
- Leather finisher or sealant
- Disposable gloves
- Mask or respirator if using strong solvents
Work in a well-ventilated space. Deglazers and alcohol-based prep products can smell strong, and your living room does not need to become a tiny chemical weather system.
Step-by-Step Guide: How to Paint a Leather Chair
Step 1: Inspect the Chair
Before cleaning or painting, inspect the entire chair. Look at the seat cushion, arms, backrest, seams, piping, corners, and any spots that receive heavy friction. Check for peeling, deep cracks, sticky residue, wax buildup, or old conditioners. These areas affect how well paint bonds.
If the chair has removable cushions, remove them. If the legs, nailhead trim, buttons, or wood frame should not be painted, protect them with painter’s tape. Take before photos, too. Not only are they useful for tracking progress, but they also make you feel like a furniture-restoration wizard later.
Step 2: Clean the Leather Thoroughly
Cleaning is not optional. Leather collects body oils, dust, pet hair, lotion, food crumbs, and mysterious household film. Paint will not adhere well to a greasy or dirty surface. Vacuum crevices first, then wipe the chair with leather cleaner or a lightly damp microfiber cloth and mild soap solution.
Do not soak the leather. Water saturation can damage leather and slow the project. Wipe gently, rinse residue with a clean damp cloth if needed, and dry the chair completely. Pay special attention to arms and headrest areas, where oils build up most.
Step 3: Deglaze the Surface
Deglazing removes factory finish, waxes, oils, and topcoat layers so the new paint can bond properly. This is one of the most important steps in painting a leather chair. Apply leather preparer and deglazer to a cotton pad or lint-free cloth, then wipe the surface in small sections.
The goal is not to drown the leather. Use controlled passes and keep the cloth moving. The surface may look slightly duller after deglazing, which is normal. That dullness means the glossy barrier has been reduced and the paint has something to grip.
Always test deglazer in a hidden area first. Some finishes react differently, and it is better to discover that under a cushion than directly in the middle of the chair back, where every guest will see it forever.
Step 4: Repair Scratches, Cracks, and Worn Spots
If the chair has shallow scratches, paint may cover them. If it has deeper cracks, gouges, or missing color, repair them before painting. Use leather filler according to the product directions. Apply thin layers, let each layer dry, and sand lightly until the repaired area sits flush with the surrounding leather.
Do not overfill cracks. A thick blob of filler under paint will stand out like a speed bump. Several thin applications are better than one impatient mountain of repair compound.
Step 5: Lightly Sand If Needed
Some leather surfaces benefit from light sanding after cleaning and deglazing, especially if the finish is glossy or the repaired areas need smoothing. Use a fine-grit sanding pad and gentle pressure. You are not trying to remove the leather surface; you are only creating a little tooth for adhesion.
After sanding, wipe away dust with a clean cloth. Any dust left behind can create rough paint texture, and nobody wants a chair that feels like it exfoliates your pants.
Step 6: Test the Paint Color
Test your leather paint on a hidden section before committing to the full chair. Let it dry completely and check the color in daylight and indoor lighting. Leather paint can dry slightly different from how it looks wet, and dark leather may influence lighter colors unless you use a base coat.
If you are changing a black or dark brown chair to cream, tan, pale gray, or another light color, expect to apply more coats. A white or neutral base coat may help the final color appear brighter and more even.
Step 7: Apply the First Thin Coat
The first coat should be thin. Very thin. So thin your inner impatient decorator may complain. That is a good sign. Thick coats dry unevenly, fill the grain, and crack more easily. Use a sponge for broad areas, a small brush for seams and edges, or an airbrush for the smoothest finish.
Work the paint into creases, piping, and corners without letting it puddle. If you see streaks on the first coat, do not panic. The first coat is usually about adhesion, not beauty. Beauty arrives later, wearing better shoes.
Step 8: Let Each Coat Dry
Allow each coat to dry according to the paint manufacturer’s instructions. Drying time depends on the product, room temperature, humidity, and how thinly you apply the paint. A hair dryer on a low or cool setting may speed drying for some products, but avoid high heat unless the product specifically allows it.
Touch the surface gently before applying another coat. If it feels tacky, wait longer. Painting over tacky layers can trap moisture and lead to peeling or uneven texture.
Step 9: Build Color With Multiple Light Coats
Most leather chairs need several light coats for even coverage. Two coats may work for refreshing a similar color, while a dramatic color change may require four, five, or more. Apply each coat in a different direction when possible to reduce streaks.
For high-wear areas such as armrests and seat cushions, keep the finish flexible by resisting the urge to create a thick painted shell. Leather should still feel like leather when you are done, not like a plastic patio chair pretending to have culture.
Step 10: Seal the Painted Leather
Once the color looks even and fully dry, apply a leather finisher or sealant. This protects the paint from scuffs, moisture, and everyday wear. Finishers come in matte, satin, semi-gloss, and gloss. For most leather chairs, satin or matte looks natural, while gloss can make the chair look more polished or modern.
Apply the finisher in thin, even coats. Let each coat dry completely. Multiple light coats usually create better protection than one heavy coat. After sealing, allow the chair to cure before regular use. Dry to the touch does not always mean fully cured.
How Long Does Painted Leather Last?
A properly painted leather chair can last for years, especially if it is cleaned, prepped, painted, and sealed correctly. Durability depends on the leather condition, product quality, number of coats, curing time, and daily use. A decorative chair in a reading nook will usually age better than a recliner used nightly by a snack-loving family, two dogs, and someone who believes jeans with metal rivets are formalwear.
Expect occasional touch-ups on high-friction areas. This is normal. Seat edges, armrests, and piping take the most abuse. Keep a small amount of leftover paint in a labeled container for future repairs.
Common Mistakes to Avoid
Skipping Prep
Prep is the difference between a polished makeover and paint that peels like a bad sunburn. Clean and deglaze thoroughly before painting.
Using the Wrong Paint
Regular paint is too rigid for leather furniture. Use paint made for leather or flexible upholstery surfaces.
Applying Thick Coats
Thick paint hides leather grain, dries poorly, and cracks faster. Thin coats are the golden rule.
Sitting Too Soon
Give the finish time to cure. Sitting on a freshly painted chair too early can cause tackiness, transfer, dents, or regret.
Ignoring Test Areas
Always test cleaners, deglazers, paint, and finishers in hidden spots. Leather is dramatic. Give it a rehearsal before opening night.
How to Care for a Painted Leather Chair
After painting, clean the chair gently. Use a soft cloth and mild leather-safe cleaner. Avoid harsh solvents, abrasive sponges, ammonia-based cleaners, and heavy oils. Do not scrub aggressively. Painted leather has a protective topcoat, but it still deserves respectful treatment.
Keep the chair away from direct sunlight when possible. UV exposure can fade color and dry leather over time. If the chair sits near a window, consider curtains, blinds, or periodic rotation. Also avoid placing it directly beside heat vents or radiators.
If the finish begins to dull, check whether your product line offers a compatible maintenance topcoat. Do not randomly apply wax, furniture polish, or oil. Those products may interfere with future touch-ups.
Should You Paint or Dye a Leather Chair?
Painting and dyeing are different. Leather dye penetrates the leather fibers and is often best for absorbent, unfinished, or aniline leather. Leather paint or colorant sits closer to the surface and is more common for finished leather furniture. Many modern leather chairs already have protective coatings, so dye may not absorb evenly unless the surface is heavily prepared.
If you want to restore a chair to a similar color, a leather colorant kit may be ideal. If you want a bold design, painted accent, or major color transformation, leather paint is usually more practical. When in doubt, test first or consult the product manufacturer.
Can You Paint Faux Leather or Vinyl Chairs?
Yes, many leather paints and vinyl paints work on faux leather or vinyl, but adhesion depends on the surface coating. Faux leather that is peeling badly should not be painted until loose material is removed and the surface is stabilized. If the top layer is separating from the backing, paint will not magically reattach it. Sadly, paint is talented, but it is not a relationship counselor.
Use products labeled for vinyl or faux leather when working with synthetic materials. Clean thoroughly, test adhesion, and seal with a compatible finish.
Real-Life Experience: What Painting a Leather Chair Teaches You
Painting a leather chair is one of those projects that rewards patience more than raw enthusiasm. The first lesson is that the chair will show you exactly where you rushed. If you skip cleaning around seams, the paint may bead. If you forget to deglaze the armrests, the finish may rub sooner there. If you apply a thick coat because you want instant coverage, the texture may look heavy and artificial. The chair is not being difficult; it is simply giving feedback in furniture language.
One practical experience that stands out is the importance of lighting. A chair can look evenly painted in a dim garage and then reveal streaks the moment you move it near a sunny window. Good lighting helps you see thin spots, brush marks, and uneven sheen before the final sealant goes on. Natural daylight is especially helpful when working with browns, blacks, creams, and grays because undertones can shift dramatically.
Another experience is that seams take more time than flat areas. Beginners often focus on the large seat and back panels, then realize the piping, folds, and cushion edges are where the project becomes fussy. A small brush is essential here. Sponge applicators are excellent for broad surfaces, but they cannot reach every crease cleanly. Plan extra time for these details because they make the difference between “custom refinished chair” and “I attacked this with paint during a caffeine event.”
Color choice also matters more than people expect. Going from dark leather to a much lighter shade is possible, but it requires more coats and careful base work. Going from tan to chocolate brown, burgundy, navy, charcoal, or black is usually easier. If you want a trendy light beige chair, prepare for extra effort. Lighter colors show streaks, lint, and uneven prep more clearly than deeper shades.
The best projects usually happen when you let each stage fully dry. Cleaning, repairing, painting, and sealing all need time. The chair may look ready before it is ready. This is where many DIYers lose the battle. They sit too soon, move cushions too early, or stack items on the seat before the finish cures. A little patience prevents tacky spots and pressure marks.
Finally, painting a leather chair teaches you that perfection is not always the goal. Leather has grain, wrinkles, and character. A painted leather chair should still look like a real piece of furniture, not a plastic-wrapped showroom prop. Minor variations can make the finished chair feel rich and natural. The goal is a durable, attractive, usable surface that gives your chair a second act. And honestly, any project that saves a good chair from the landfill deserves applause, preferably while sitting somewhere else until the finish cures.
Conclusion
Learning how to paint a leather chair is not complicated, but it does demand the right process. Clean the chair, deglaze the finish, repair damage, apply flexible leather paint in thin coats, and seal everything with a compatible protective topcoat. The biggest mistake is rushing. The best results come from patience, testing, and respecting the fact that leather moves more than wood or metal.
With the right products and a steady hand, a faded leather chair can become a stylish statement piece. It can go from “basement furniture with emotional baggage” to “designer-looking accent chair” without requiring a full replacement. Just remember: prep like a professional, paint like a minimalist, seal like you mean it, and let the chair cure before anyone gets too comfortable.