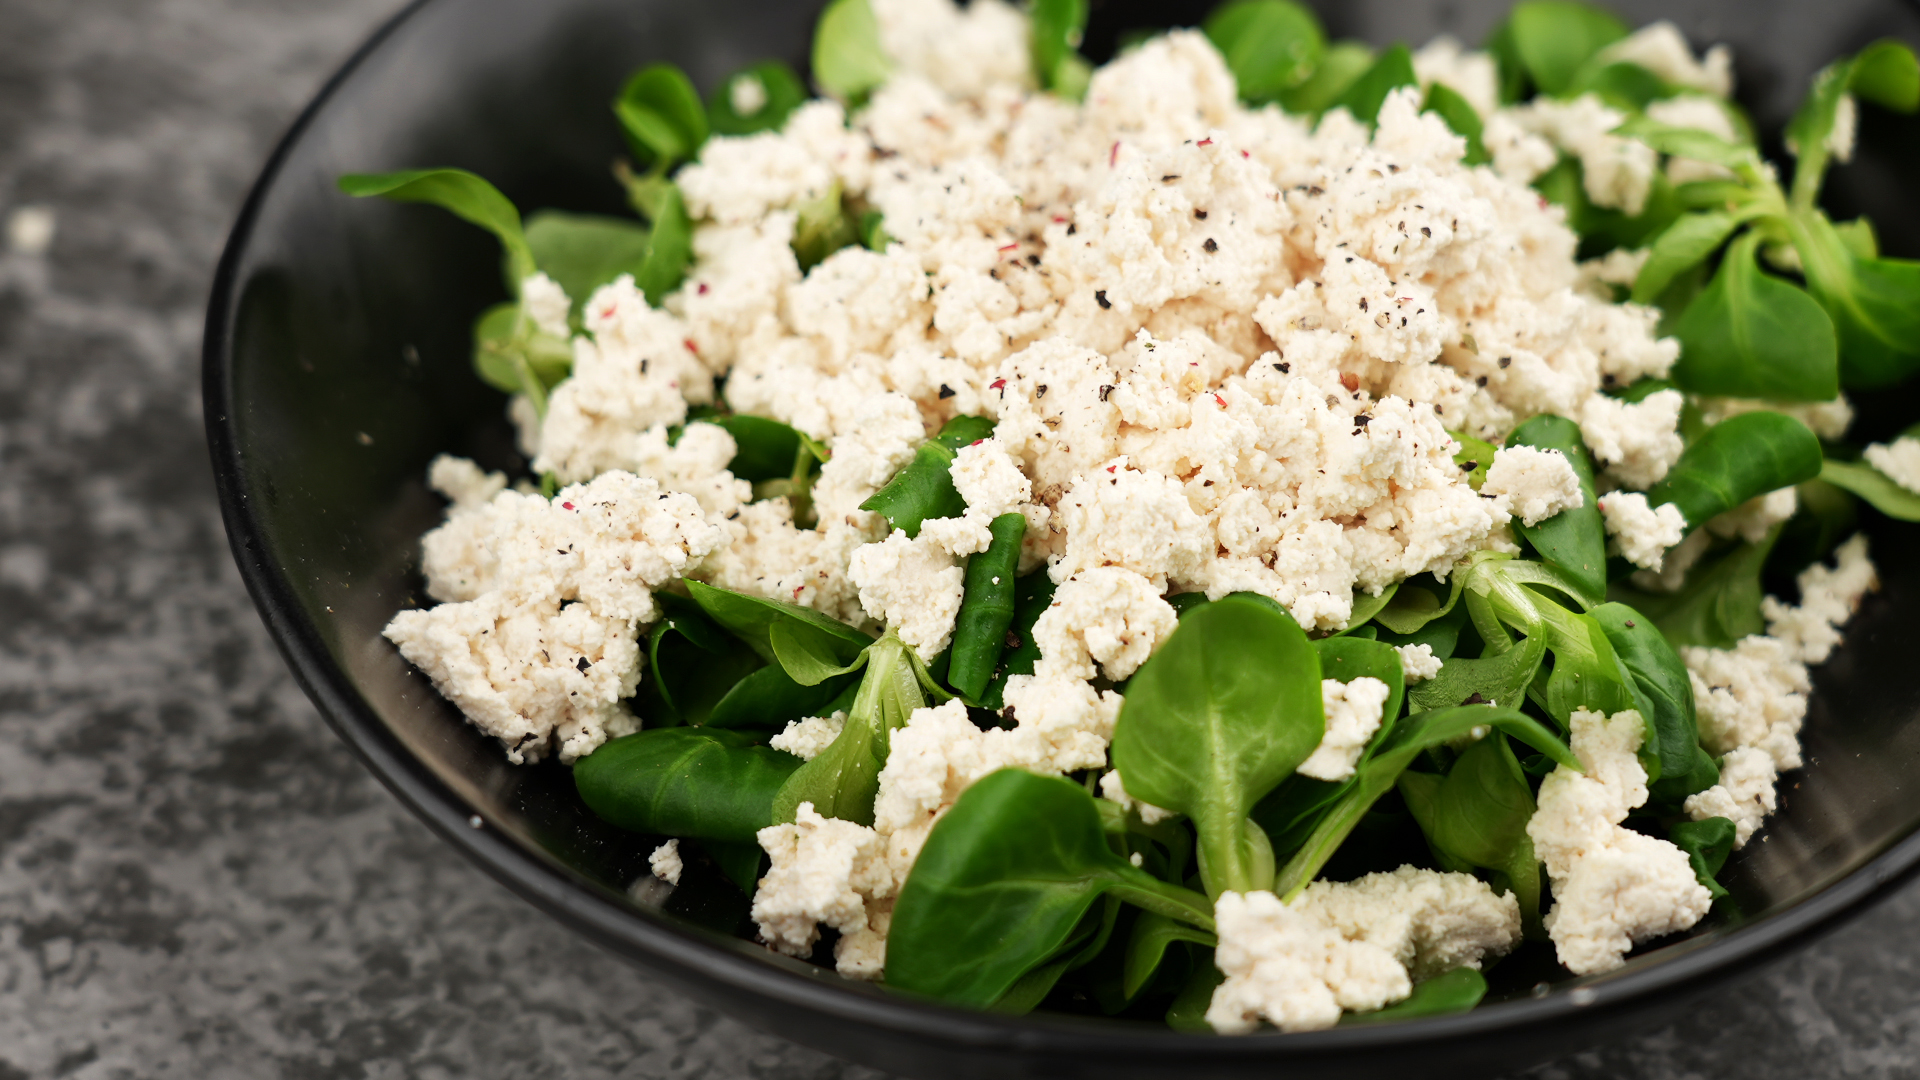
Cottage cheese has a funny reputation: it’s either “grandma’s diet food” or “my high-protein bestie,” and there is no in-between.
But homemade cottage cheese? That’s a different creaturefresh, lightly tangy, and customizable enough to make store-bought tubs feel like they’re
doing the bare minimum.
In this guide you’ll learn three legit ways to make cottage cheese at homeranging from “closest to classic small-curd”
to “I need curds in under an hour,” plus the little tricks that make the difference between
pillowy curds and sad dairy confetti.
Before You Start: Milk, Tools, and Food Safety
Pick the right milk (this is not the moment for “whatever’s in the back of the fridge”)
For most home cooks, regular pasteurized milk is the sweet spot: it behaves well, tastes clean, and is widely available.
If you can, avoid ultra-pasteurized (UP) or UHT milk for the cultured/rennet methodsthose higher heat treatments can make proteins less cooperative,
which can mean weak curds or a disappointing set.
Whole milk makes a richer, creamier cottage cheese, especially if you plan to “cream” it at the end.
Low-fat or skim can work, but the texture will be leaner and the flavor less indulgent (still tastyjust less “spoonable luxury”).
About raw milk (quick, important, and not a vibe for everyone)
If you’re using raw milk, understand the risksespecially for kids, older adults, pregnant people, and anyone immunocompromised.
The safest move is to use pasteurized milk. If you do start with raw milk, many Extension resources recommend pasteurizing it at home using
a controlled time-and-temperature approach and very clean equipment.
Tools you’ll actually use
- Large heavy pot (thick-bottomed helps prevent scorching)
- Thermometer (non-negotiable for consistent curds)
- Long spoon (gentle stirring matters)
- Knife for cutting curds (long blade preferred)
- Colander + cheesecloth (or a very fine mesh strainer)
- Big bowl (to catch wheyyes, you can use it)
Sanitation in one sentence
Wash your tools thoroughly, rinse well, and keep everything cleanfresh cheese is delicious, but it’s also more sensitive than a toddler who missed nap time.
Method 1: Cultured + Rennet (Closest to Classic Cottage Cheese)
This is the method when you want that “real” cottage cheese experience: distinct curds, gentle tang, and a texture that can be
small-curd or large-curd depending on how you cut and stir.
It takes longer, but the payoff is big: better structure, cleaner flavor, and more control.
Ingredients
- Milk (regular pasteurized; whole or 2% for best creaminess)
- Mesophilic starter culture or a small amount of cultured buttermilk (as a starter)
- Liquid rennet (diluted in cool, non-chlorinated water)
- Non-iodized salt (to taste)
- Optional: cream or half-and-half for “creaming”
Step-by-step
-
Warm the milk.
Heat the milk gently to the target range used for mesophilic cultures (commonly around the mid-80s °F).
Stir slowly so you don’t foam it up like a cappuccino. -
Add culture, then wait.
Sprinkle culture over the surface (or stir in your starter), then let it rest so the bacteria can start acidifying the milk.
This is where the future tang is born. -
Add diluted rennet.
Stir gently for about half a minute, then stop. Cover the pot and leave it undisturbed.
In several hours, the milk should set into a soft gellike custard that’s trying its best. -
Cut the curd.
Use a long knife to cut a grid pattern. Smaller cubes generally lead to smaller curds; bigger cuts tend to yield larger curds.
Let the cut curds rest a few minutes so they firm up. -
Cook the curds slowly.
Warm the pot gradually while stirring gently. Think “slow dance,” not “blender setting.”
As temperature rises, curds tighten and release whey. -
Drain.
Pour into a cheesecloth-lined colander and let whey drain until the curds look like curds (not soup). -
Rinse and cool (key for that cottage-cheese bite).
Many traditional processes rinse the curds with cool water to stop acidification and keep the texture springy.
This step helps prevent the final cheese from becoming too sour. -
Salt and cream (optional but highly recommended).
Salt to taste. If you want that classic “creamed” cottage cheese, fold in a splash of cream or half-and-half.
Add it gradually until it looks the way you like.
Flavor and texture upgrades
- Small-curd style: cut smaller, stir a bit more while cooking, and don’t over-rinse.
- Large-curd style: cut bigger, stir more gently, and keep the curds intact during draining.
- Extra creamy: cream the curds at the end and chill fully before judging texture.
- More tang: let it culture slightly longer before draining (but don’t push it into sour territory unless that’s your thing).
Time reality check: this method is not fast. But if you’ve ever wondered why one brand tastes “fresh and milky” and another tastes “aggressively tart,”
it’s because tiny changes in culture, time, temperature, and curd handling matter.
The home version lets you be the boss of those variables.
Method 2: Quick Acid-Set (Vinegar or Lemon Juice)
This is the “I want homemade cottage cheese today, not in the next geological era” option.
You heat milk, add acid, and watch curds form like a magic trick you can eat.
Technically, the curds are closer to a simple farmer cheese/paneer-style setbut you can break them into curds and “cream” them
to mimic cottage cheese’s familiar vibe.
Ingredients
- Milk (pasteurized; whole milk gives the nicest mouthfeel)
- White vinegar or fresh lemon juice
- Salt
- Optional: cream, half-and-half, or plain yogurt to dress the curds
Step-by-step (fast, friendly, and forgiving)
-
Heat the milk.
Warm milk until it’s very hot and just below a full boil. Stir occasionally so it doesn’t scorch. -
Add acid off-heat.
Remove the pot from heat, drizzle in vinegar or lemon juice, and stir gently.
Curds should start forming within a minute or two. -
Rest.
Let it sit for several minutes so curds gather and separate from the whey. -
Strain.
Pour into a cheesecloth-lined colander and drain until the curds are no longer dripping like they just got out of a pool. -
Rinse (optional).
A quick rinse with cool water can mellow sharp acidity and cool the curds faster. -
Make it “cottage.”
Break the drained cheese into small curds with a fork. Salt to taste.
For a classic creamed feel, fold in a little cream or a spoonful of plain yogurt.
When this method is perfect
- You want a quick homemade protein snack with minimal equipment.
- You’re testing the waters before buying cultures/rennet.
- You want curds for cooking (lasagna filling, pancakes, savory spreads).
Texture expectations (honest talk)
Acid-set curds can be slightly tighter and more “crumbly” than cultured-rennet curds.
The fix is simple: don’t overheat or over-stir, and dress the curds at the end so they feel creamy and cohesive.
Method 3: Buttermilk/Yogurt Culture (Old-School, No Rennet)
Before home cooks had access to tiny bottles of rennet and neat packets of starter culture, cottage cheese often started as
soured milk. This approach leans into that tradition, but with modern guardrails: use pasteurized milk,
inoculate with a cultured starter (buttermilk or plain yogurt), and control the process.
Ingredients
- Pasteurized milk (avoid UHT if possible)
- Cultured buttermilk or plain yogurt with live active cultures
- Salt
- Optional: cream or half-and-half for dressing
Step-by-step
-
Inoculate the milk.
Stir a small amount of cultured buttermilk or yogurt into warm-ish milk (think comfortably warm, not hot).
Cover the pot. -
Incubate until set.
Keep it in a draft-free, warm place until the milk thickens into a soft gel (this can take many hours).
You’re looking for a clean set: it should wobble slightly when the pot is nudged. -
Cut gently.
Cut the gel into cubes. Let it rest briefly so the cuts hold shape. -
Warm slowly.
Heat gradually while stirring gently. The curds will firm and shrink as whey releases. -
Drain and cool.
Drain through cheesecloth, then cool the curds. A brief rinse can help stop tang from building too far. -
Salt and dress.
Salt to taste; add cream if you want that classic creamed cottage cheese feel.
Why you’d choose this method
- You want a rennet-free approach that still feels “real.”
- You enjoy a slightly more tangy, cultured flavor.
- You like the idea of a method that’s been feeding people for ageswithout needing specialty supplies.
Troubleshooting: Fixing Curds, Texture, and Tang
“My milk won’t curdle.”
- Acid-set method: milk may not be hot enough, or you may need a bit more acid. Add small splashes and wait 30–60 seconds between additions.
- Cultured methods: the milk may be too cool, the culture weak/old, or the milk type (UHT/UP) may be fighting you.
“My curds are rubbery.”
Usually this means the curds got too hot or cooked too long.
Next time, heat more slowly and stir gentlycurds want patience, not panic.
“It tastes too sour.”
- Drain sooner (less acid development).
- Rinse the curds with cool water to slow fermentation.
- Chill promptly after salting/dressing.
“It’s watery.”
- Drain longer before dressing.
- Use a finer cloth/strainer.
- Chill uncovered for 15–20 minutes (then cover) to let steam escape, especially if the curds are still warm.
Storage (because fresh cheese doesn’t come with preservatives and it knows it)
Refrigerate promptly in a sealed container and keep your fridge cold (40°F or below is the standard safety target).
For best quality, enjoy homemade cottage cheese within a few daysespecially the acid-set version.
If it smells “off,” develops mold, or tastes sharply unpleasant beyond normal tang, toss it.
How to Serve Homemade Cottage Cheese (Beyond “Eat It With a Spoon”)
Yes, you can absolutely eat it straight from the bowl like the high-protein goblin you were born to be.
But homemade cottage cheese also plays extremely well with others.
Sweet ideas
- Honey + cinnamon + sliced peaches (summer shortcut to happiness)
- Pineapple + toasted coconut (vacation energy, no passport)
- Blend until smooth for a cheesecake-ish spread
Savory ideas
- Olive oil + flaky salt + black pepper (simple, grown-up, addictive)
- Everything bagel seasoning + tomatoes
- Whip it smooth and use as a high-protein dip base (add herbs, lemon, garlic)
Cooking uses
- Lasagna filling (mix with herbs and a little grated cheese)
- Pancakes or muffins for moisture + protein
- Egg dishes (stir a spoonful into scrambled eggs for creaminess)
Kitchen Diary: of Real-Life Cottage Cheese Lessons
The first time I made cottage cheese, I expected a cinematic momentmilk transforms, angels sing, I suddenly understand sourdough starters.
What I got instead was a pot of hot milk and the sinking realization that dairy does not care about my hopes and dreams.
Cottage cheese rewards confidence, but it absolutely demands attention.
Lesson one: thermometers are not optional. I used to treat temperature ranges like polite suggestions (“close enough” energy).
With cottage cheese, five degrees can be the difference between curds that form neatly and curds that look like they’re trying to escape the pot.
Once I started actually hitting the target tempswarming slowly, holding steady, not blasting the burner like I’m searing a steakeverything got easier.
The milk behaved. The curds looked like curds. The whey separated like it had a plan.
Lesson two: stirring is a personality test. If you stir like you’re angry at the universe, your curds will turn into tiny tough pebbles.
Gentle stirring feels almost too lazy, but it’s the move. Especially in the cultured/rennet method, the curds are delicate when they first form.
I learned to stir like I’m escorting fragile balloons through a crowded doorway: slow, careful, with a little respect.
Lesson three: the rinse step is a secret weapon. I skipped rinsing once because I was impatient and thought,
“How important could it be?” Turns out: pretty important. Without a rinse/cool-down, the curds keep acidifying and the final cheese can swing too tangy
not “pleasantly bright,” but “why is it yelling at me?” Rinsing also helps the curds keep that springy cottage-cheese bite instead of turning pasty.
Now I think of rinsing as hitting the brakes at the perfect time: it locks in texture and keeps flavor balanced.
Lesson four: dressing the curds is where your style shows up. Add cream and you get classic, scoopable comfort.
Add a spoonful of plain yogurt and it’s lightly cultured, almost like it’s wearing a probiotic cardigan.
Add salt early and the flavor gets deeper; add it late and you can fine-tune without overdoing it.
After a few batches, you start realizing homemade cottage cheese isn’t one recipeit’s a template.
Finally, the biggest surprise: homemade cottage cheese changes how you taste store-bought.
You start noticing curd size, tang level, creaminess, and how watery it gets after a day in the fridge.
The home version tastes fresher and more “milk-forward,” and it’s weirdly satisfying to know you made it from scratch with nothing more
than milk, a little science, and the willingness to babysit a pot for a while.
If your first batch isn’t perfect, congratulationsyou’ve officially joined the club.
Make a second batch with one tiny adjustment (temperature, draining time, dressing choice) and you’ll feel the progress immediately.
Conclusion
If you want cottage cheese that feels like the “real deal,” go with cultured + rennet.
If you want fast curds with minimal gear, the vinegar/lemon method is your weekday hero.
And if you like a traditional approach without specialty ingredients, the buttermilk/yogurt culture method gives you that old-school tang and charm.
No matter which route you choose, the winning combo is the same: clean tools, gentle heat, patient draining, and seasoning that makes you want to come back
for “just one more bite” (the lie we tell ourselves every time).