A missing window screen can turn a pleasant summer breeze into an open invitation for mosquitoes, flies, leaves, and that one moth determined to circle your reading lamp until sunrise. Fortunately, learning how to make a window screen is one of the more approachable home improvement projects. You do not need a professional workshop, advanced carpentry skills, or a heroic tolerance for complicated instructions.
With an aluminum screen frame kit, suitable mesh, vinyl spline, and a few basic tools, you can build a custom window screen that fits your opening, keeps insects outside, and looks far better than a roll of mesh attached with duct tape. Yes, the duct tape solution technically blocks bugs. It also announces to the neighborhood that your home renovation budget has entered witness protection.
This guide explains how to build a window screen from scratch in 14 practical steps. It also covers screen materials, measuring techniques, common mistakes, installation hardware, maintenance, and experience-based tips that can save you from cutting the frame twicewhich is difficult when the second cut needs to make the aluminum longer.
General guidance synthesized from reputable U.S. DIY resources.
Should You Repair or Build a New Window Screen?
Before buying a complete window screen kit, inspect what you already have. If the aluminum frame is straight, the corners are solid, and the only problem is torn mesh, you can usually reuse the frame and simply install new screening. Small isolated holes may even be repairable with an adhesive screen patch.
A new frame makes more sense when the original screen is missing, severely bent, badly corroded, cracked at the corners, or too warped to sit securely in the window track. A bowed frame can create gaps where insects enter, while loose corner joints can allow newly installed mesh to sag.
Manufacturer-specific windows deserve extra attention. Some Pella, Andersen, and other branded window systems use particular frame profiles, clips, colors, or mounting arrangements. A universal DIY screen can still work in many openings, but compare the original screen and hardware before assuming every rectangular frame is interchangeable.
Manufacturer-specific replacement systems and frame compatibility:
Tools and Materials You Will Need
Gather everything before you begin. Screen-making becomes much less entertaining when you are holding a half-assembled frame and realize the spline roller is still at the hardware store.
- Aluminum window screen frame kit or individual frame rails
- Four compatible corner connectors
- Fiberglass, aluminum, polyester, pet-resistant, or specialty screen mesh
- Correctly sized vinyl or rubber spline
- Spline roller with convex and concave wheels
- Tape measure
- Fine-tip permanent marker or pencil
- Hacksaw with a fine-tooth blade or a suitable miter saw blade
- Miter box or square-cutting guide
- Metal file or deburring tool
- Utility knife with a fresh blade
- Scissors
- Flathead screwdriver
- Small clamps or painter’s tape
- Work gloves and safety glasses
- Screen springs, pull tabs, clips, plungers, or other retention hardware
Choosing the Best Window Screen Material
Fiberglass mesh is the easiest material for most first-time DIY projects. It is flexible, affordable, and forgiving. If it wrinkles during installation, you can remove the spline and reposition the mesh without permanently creasing it.
Aluminum mesh is stronger and resists sagging, but it can kink if folded or mishandled. Once aluminum develops a sharp crease, it tends to remember that crease forever, like a relative who still mentions the lamp you broke in 1998.
Polyester and pet-resistant screens are thicker and more resistant to claws, pushing, and everyday abuse. They are useful for homes with dogs, cats, energetic children, or adults who occasionally forget that the screen is closed.
Fine insect mesh uses a tighter weave to help block gnats, no-see-ums, and other small insects. The tradeoff may be slightly less airflow and visibility. Solar screen can reduce glare and sunlight on exposed windows, although its denser construction also darkens the view.
Material properties and specialty mesh selection:
How to Make a Window Screen in 14 Steps
Step 1: Examine the Window Opening
Open the window and identify exactly where the screen will sit. Look for a recessed track, exterior lip, clips, tension springs, plunger holes, turn buttons, or another retention system. Also determine whether the screen installs from inside or outside.
Do not measure only the glass. The screen must fit the dedicated screen opening or track, which may be larger than the visible glass area. Take a few photos of the corners and hardware before removing an old screen. Those photos can prevent a great deal of creative guessing later.
Step 2: Measure the Finished Screen Size
If you have an original screen that fits correctly, measure its outside width and height. This is usually the most reliable template. Measure in at least two or three places because old frames and window openings may not be perfectly square.
If there is no original screen, measure the inside width and height of the screen channel. Record the smallest width and smallest height. Subtract the clearance recommended by your frame-kit manufacturer so the finished screen can enter the track without rattling or falling out.
Write the finished dimensions as width first, then height. For example, a screen measuring 28 inches wide and 42 inches high should be labeled 28 × 42 inches. Double-check both numbers before touching the saw.
Step 3: Confirm That the Opening Is Square
Measure diagonally from the upper-left corner to the lower-right corner. Then measure from the upper-right corner to the lower-left corner. If the two diagonal measurements are equal, the opening is square. A small difference may be manageable, but a substantial difference can prevent a rigid rectangular screen from fitting correctly.
You can also test the opening with a framing square. When an older window is noticeably out of square, consider making a cardboard or thin wood template before cutting the aluminum.
Step 4: Select the Frame Profile and Retention Hardware
Match the frame thickness, width, finish, and corner style to the window. Common residential kits use narrow roll-formed aluminum rails, but profiles vary. A frame that is too thick may not enter the track, while one that is too thin may wobble in windy weather.
Choose the hardware before assembling the frame. Options include top-tension springs, pull tabs, plunger latches, wire loops, clips, hangers, and turn buttons. Top-tension springs are convenient for many standard openings because they can hold the screen without requiring holes in the window frame.
Step 5: Calculate the Frame-Rail Lengths
Your target measurements describe the finished outside dimensions, not necessarily the lengths of the aluminum rails. Plastic or metal corner connectors extend the assembled frame, so their allowance must be subtracted before cutting.
Follow the instructions supplied with your window screen frame kit. Some common kits require subtracting a total of 1 1/2 inches from each finished dimension, but connector designs differ. For a hypothetical 24 × 36-inch finished frame using that allowance, you would cut two rails at 22 1/2 inches and two rails at 34 1/2 inches.
When tension springs occupy the ends of the vertical rails, the kit may require an additional deduction. Manufacturer instructions win every argument here.
Measuring, corner allowances, framing components and retention hardware:
Step 6: Mark Every Cut Clearly
Place the frame rails on a stable surface with the spline grooves facing the same direction. Mark each cut with a fine-tip marker and a small square. Label the two width pieces and two height pieces to prevent accidental mix-ups.
Measure twice from the same end of the rail. Confirm that you are cutting on the waste side of the mark. A dark, thin line is better than a wide marker stripe that leaves you wondering which edge represents reality.
Step 7: Cut the Aluminum Frame Pieces
Secure each rail in a miter box or clamp it carefully to a workbench. Use a fine-tooth hacksaw to make a straight 90-degree cut. Let the blade do the work rather than forcing it, which can crush or distort thin aluminum framing.
Wear safety glasses because small metal particles are not the kind of sparkle anyone wants near an eye. Support the offcut so it does not twist the rail as the cut is completed.
Step 8: Deburr and Clean the Cut Ends
Use a metal file to remove sharp edges, burrs, and loose aluminum fragments. The corner connectors should slide into the rails without excessive force. If a connector refuses to enter, inspect the opening for a crushed edge rather than attacking it with a hammer.
Wipe away metal filings before assembly. A clean frame protects your hands and reduces the chance that a sharp fragment will damage the screen mesh.
Step 9: Install Springs, Pull Tabs, or Latches
Some retention hardware must be inserted into the hollow frame rails before the corners are installed. Follow the layout of the old screen or the instructions for your window.
Tension springs commonly go along the top or one side of the frame, while pull tabs are usually positioned where they can be reached during removal. Make sure tabs face inward toward the room rather than outward toward the neighborhood squirrels.
Step 10: Assemble the Window Screen Frame
Insert a corner connector into each end of the first rail, then attach the adjoining rails. Continue until all four corners are connected. Press the joints together by hand or tap them gently with a rubber mallet.
Keep every spline groove facing the same side. Lay the assembled frame on a flat surface and measure the outside width, outside height, and both diagonals. Adjust the joints until the frame is square.
Some screen rails have a slight factory bow designed to counteract the inward pull created by tensioned mesh. Do not automatically reject a rail because it is not perfectly straight before assembly.
Step 11: Dry-Fit the Empty Frame
Place the empty frame in the window before adding mesh. It should enter the opening without scraping, sit securely against the stops, and engage the intended springs or latches.
If it does not fit now, mesh will not perform a miracle later. Correct the frame size, hardware position, or squareness before continuing. Dry-fitting is the five-minute step that can prevent an hour of muttering.
Step 12: Cut and Position the Screen Mesh
Return the frame to a clean, flat work surface with the spline groove facing upward. Unroll the screen over it, placing the natural curve of rolled fiberglass mesh downward so the material lies flatter.
Cut the mesh with at least 1 to 2 inches of overlap on every side. Some installers prefer several extra inches for easier gripping, especially on larger frames. Align the vertical and horizontal strands with the frame edges so the finished screen does not look as though it is slowly sliding downhill.
Clamp or tape the mesh lightly to the frame without covering the spline groove. The screen should be smooth but not aggressively stretched.
Step 13: Roll In the Screen and Spline
Use the convex wheel of the spline roller to press the mesh gently into the first groove. Then place the spline over the recessed mesh and use the concave wheel to seat it fully.
Continue around the frame in one direction. Hold the mesh straight and apply light, even tension as you work. Press the spline carefully into each corner with the roller or the blunt tip of a flathead screwdriver.
Do not pull the screen drum-tight. Excessive tension can bow the frame inward, separate the corners, or create uneven mesh. If wrinkles appear, lift the spline from the affected area, straighten the screen, and roll it again. Fiberglass is forgiving; it understands that everyone deserves a second attempt.
The spline diameter must match the frame groove and mesh thickness. Standard fiberglass may use spline close to the groove width, while thicker pet-resistant, solar, or heavy-duty material may require a smaller diameter.
Screen positioning, rolling direction, spline sizing and tension guidance:
Step 14: Trim, Inspect, and Install the Screen
Cut the spline where its ends meet and press the joint firmly into the groove. With a sharp utility knife, trim the excess mesh along the outside edge of the spline. Angle the blade away from the newly installed screen and move slowly.
Inspect the corners, check that the spline is fully seated, and confirm that the mesh is smooth. A slight amount of flexibility is normal. Large waves, loose corners, or a visibly bowed frame indicate uneven tension.
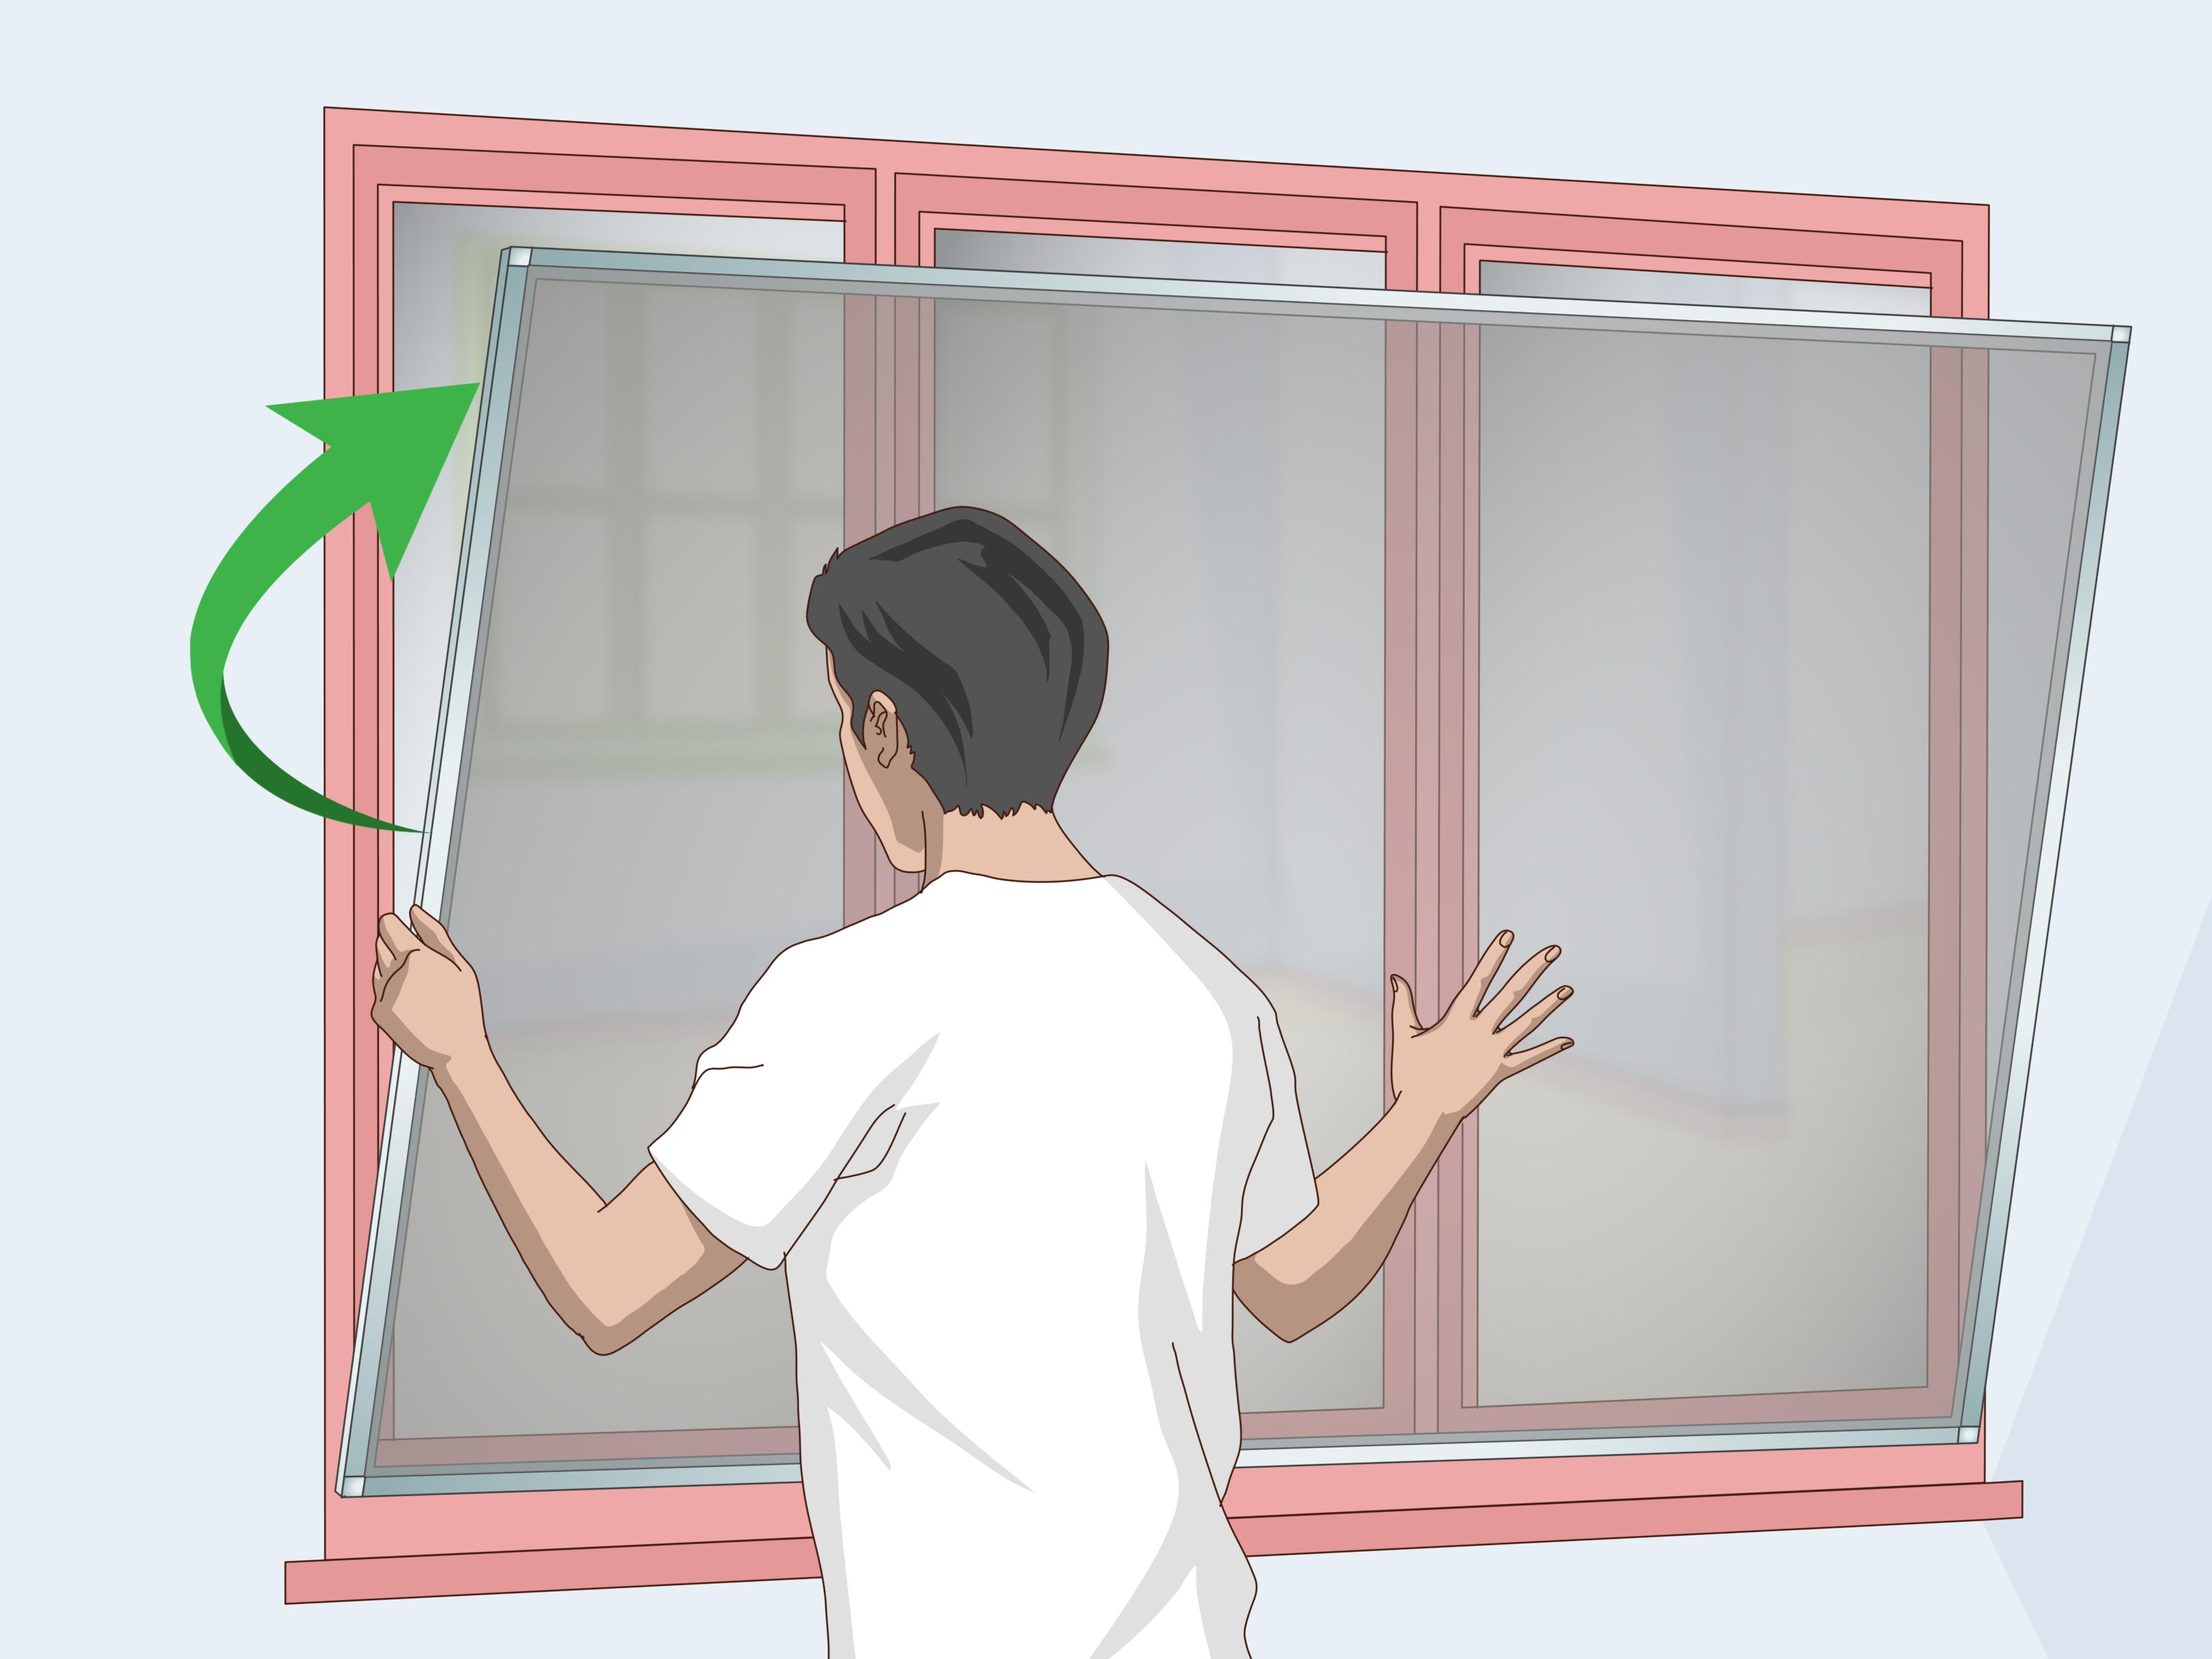
Install the screen in the window, engage the clips or springs, and check all four sides for gaps. Open and close the sash to confirm that the new screen does not interfere with normal window operation. Congratulations: fresh air may now enter, while uninvited winged guests must reconsider their evening plans.
Finishing and trimming procedures:
Common Window Screen Building Mistakes
Cutting the Rails to the Finished Dimensions
This produces a frame larger than intended because the corner connectors add length. Always subtract the exact connector allowance specified for your kit.
Using the Wrong Spline Size
Spline that is too small may work loose. Spline that is too large may be extremely difficult to install or could distort the frame. Save a sample of the original spline, measure the groove, and account for the thickness of specialty mesh.
Pulling the Mesh Too Tight
A window screen should be smooth, not tuned like a banjo. Overstretching is one of the most common causes of inward-bowed frames.
Allowing the Mesh Pattern to Drift
Misaligned strands may not affect insect protection, but they make the finished project look crooked. Straighten the weave before installing the first side of spline.
Trimming Toward the New Screen
One slip can slice the mesh you just installed. Keep the blade on the waste side of the spline groove and angle it outward.
Skipping the Dry Fit
An empty frame is easy to resize or rebuild. A completely screened frame is far less cooperative. Always test the assembled frame before installing the mesh.
How to Maintain a DIY Window Screen
Remove dust, pollen, and cobwebs at least once a year. Lay the screen on a flat outdoor surface, rinse it gently, and clean it with mild soap and a soft brush or sponge. Avoid high-pressure spray, which can loosen spline or stretch the mesh.
Inspect the corners and hardware whenever you reinstall the screen. Replace brittle spline, bent springs, loose pull tabs, or damaged clips before they fail. In climates with severe snow or ice, removable screens may last longer when stored indoors during winter. Keep them upright or flat in a dry area where they will not be crushed by holiday decorations, bicycles, or mysterious garage objects no one remembers purchasing.
Maintenance practices:
Experience-Based Lessons for Better Window Screens
The most valuable lesson in making a custom window screen is that accuracy matters more than speed. Beginners often rush through the measuring stage because cutting and assembling feel like the “real” work. In practice, careful measurements determine whether every later step succeeds. A frame that is 1/8 inch too large may refuse to enter the track, while one that is significantly too small can fall out when the wind picks up. Recording measurements in a notebook, marking width and height clearly, and checking the old screen orientation can prevent surprisingly expensive little errors.
Another practical lesson is to carry a piece of the old frame and spline to the hardware store whenever possible. Screen rails that look identical from several feet away may have different widths, groove shapes, or corner connections. Spline sizes are even harder to judge by eye. The difference between two diameters may seem tiny until one falls out and the other requires the arm strength of a competitive weightlifter. Physical samples remove much of the uncertainty.
Fiberglass mesh is usually the friendliest material for a first project. It can be repositioned, does not permanently hold every accidental bend, and cuts easily. Aluminum mesh can create a crisp, durable screen, but it rewards patient handling. Sliding a tool across aluminum or folding the roll carelessly may leave a visible crease. A good approach is to practice rolling a short section of spline into a scrap frame before working on the final screen.
Frame tension is another area where hands-on experience improves results. New DIYers frequently assume tighter is always better. They pull hard on the mesh, admire its impressive drum-like surface, and then notice the center of the frame has bowed inward. The better technique is to keep the mesh flat and straight while allowing the spline to create most of the tension. On a large frame, a temporary center support or spreader bar can help preserve the correct width.
The order in which the sides are screened can also affect the result. Start with one long side, then secure the opposite long side with gentle tension. Complete the two shorter ends afterward. Work progressively rather than tightening one corner as much as possible. If the frame begins to distort, stop immediately, remove the latest section of spline, and reduce the tension. Continuing usually makes the problem worse.
Fresh utility-knife blades make a noticeable difference. A dull blade drags across fiberglass, leaves fuzzy edges, and encourages extra force. Extra force near a finished screen is a poor combination. Use light passes, keep your free hand away from the cutting path, and replace the blade when trimming becomes difficult.
Hardware placement deserves equal care. Pull tabs should be accessible after installation, springs should face the correct track, and clips must not interfere with the moving sash. Taking a photo of the old screen before disassembly is one of the simplest ways to remember the correct arrangement. When no original screen exists, temporarily attach the proposed hardware and test the bare frame before committing.
Finally, accept that the first screen may take longer than expected. The second one will usually be much faster because the measurements, spline choice, saw setup, and installation rhythm are already established. Keep the first completed frame as a labeled template for future replacements. A few extra minutes spent documenting the dimensions today can save you from solving the same rectangular puzzle again several years from now.
Conclusion
Learning how to make a window screen is a useful DIY skill that combines simple materials with careful measuring and patient assembly. The essential process is straightforward: measure the opening, account for the corner connectors, cut the frame square, install the correct hardware, fit the mesh, roll in the spline, trim the excess, and test the finished screen.
The difference between an acceptable screen and a professional-looking one usually comes down to small decisions. Match the frame profile, use the correct spline, keep the mesh aligned, avoid excessive tension, and dry-fit the frame before screening it. Follow those principles, and your custom window screen should provide fresh air, a clear view, and far fewer insects attempting to become roommates.