A manual can opener looks simple until it is clamped onto a can at the wrong angle and begins chewing the lid like a tiny metal beaver. The knob refuses to turn, the opener slips off, and dinner suddenly feels like an engineering exam.
Fortunately, learning how to use a manual can opener is easy once you understand how its two small wheels work together. One wheel cuts the metal, while the toothed gear grips the can’s rim and pulls the opener forward. With correct alignment, steady pressure, and a little attention to sharp edges, you can open most cans in less than a minute.
This step-by-step guide explains how to operate a traditional handheld can opener, how smooth-edge models differ, what to do when the opener slips, and how to clean the tool afterward. No heroic grip strength is required.
Before You Open the Can
Identify Your Type of Manual Can Opener
Most manual can openers fall into one of two categories:
- Traditional top-cut can openers puncture the lid just inside the raised rim. They usually have two handles, a sharp cutting wheel, a toothed gear, and a turning knob.
- Smooth-edge or side-cut can openers separate the lid along the outer seam. They often sit flat or horizontally on top of the can and may include small gripping jaws for lifting the lid.
The following 10 steps focus primarily on the familiar two-handled, top-cut model. If your opener is labeled “smooth edge,” “safety opener,” or “side cut,” consult its instructions because its cutting wheel may need to sit outside the rim rather than over the lid. Manual openers vary in their locking mechanisms and cutting positions, so forcing every model into the same orientation is a reliable way to create frustration.
Inspect the Can Before Opening It
Do not open or eat food from a can that is bulging, leaking, punctured, severely rusted, or badly dented, especially when the damage affects a seam. A can that spurts liquid or foam when opened should also be treated as unsafe. Never taste suspicious food to “check” whether it is okay; some dangerous toxins cannot be identified by taste, smell, or appearance. When in doubt, throw it out. Your can of beans is not worth turning dinner into a medical documentary.
How to Use a Manual Can Opener in 10 Steps
Step 1: Wash Your Hands
Wash your hands with soap and warm water before handling the can, opener, or food. This basic food-safety habit reduces the chance of transferring dirt and microorganisms to the can’s surface or contents.
Make sure the can opener is also clean. Check the cutting wheel and toothed gear for dried tomato sauce, tuna residue, rust, or mysterious kitchen archaeology. If the opener is dirty, wash and dry it before use.
Step 2: Clean the Top of the Can
Wipe the lid and upper rim with a clean, damp cloth. If the can is visibly dusty, greasy, or sticky, wash the top with soap and water and dry it.
This matters because the cutting wheel can push surface debris toward the opening. Cans travel through factories, warehouses, trucks, stores, and kitchen cabinets before reaching your countertop. The lid may look harmless while carrying dust that does not belong in your chili.
Step 3: Place the Can on a Stable Surface
Set the can upright on a dry, flat countertop or sturdy cutting board. Avoid holding the can in midair while opening it. A stable surface lets you apply pressure without tipping the container or spilling its contents.
If you are opening a small can, such as tomato paste, place a folded nonslip shelf liner or damp kitchen towel underneath it. This can stop the can from skating across the counter as though it has somewhere important to be.
Step 4: Open the Can Opener’s Handles
Spread the handles apart. This separates the cutting wheel from the toothed gear and creates enough space for the can’s raised rim to fit between them.
Look closely at the opener before attaching it. The sharp wheel should be positioned to pierce the lid, while the toothed gear should grip the underside or outside of the rim. Understanding this arrangement makes alignment much easier.
Step 5: Position the Cutting Wheel on the Lid
Place the cutting wheel on top of the lid, just inside the raised rim. The toothed gear should rest against the outside or underside of that rim. On a conventional top-cut opener, the tool normally approaches from the side of the can, with the handles extending outward.
Do not place the cutting wheel in the center of the lid. It needs the rigid rim for guidance. Also, do not assume that the popular “lay the opener flat on top” technique works with every model. That orientation is appropriate for some side-cutting and specialty openers but not all traditional designs.
Step 6: Squeeze the Handles Together
Close the handles firmly until the cutting wheel punctures the lid. You may hear or feel a small pop as the metal gives way. Keep the handles squeezed so the opener remains attached.
You need firm pressure, not a wrestling move. If the handles require extreme force, stop and check the alignment. The wheel may be sitting too far from the rim, the opener may be upside down, or the blade may be dull.
Step 7: Turn the Knob Clockwise
Hold the closed handles securely with one hand. With the other hand, turn the knob clockwise using a smooth, steady motion. The gear should pull the can forward while the cutting wheel slices around the lid.
For right-handed use, many people hold the handles in the left hand and turn the knob with the right. Left-handed users may find an ambidextrous or left-handed model more comfortable, although some standard openers can be operated from either side with practice.
Do not crank as fast as possible. Turning too aggressively can cause the opener to jump off the rim, leave uncut sections, or splash liquid from a full can.
Step 8: Continue Around the Entire Lid
Keep turning until the cutting wheel returns to its starting point. You may feel less resistance when the circle is complete. Some people stop just before the lid separates completely, leaving a small section attached as a hinge. This can make the lid easier to control, but the attached edge will still be sharp.
If the opener skips a section, move backward slightly, realign the wheel with the uncut metal, and turn forward again. A dependable manual opener should remain latched onto the rim and create a consistent cut without repeatedly slipping or grinding.
Step 9: Release the Opener and Remove the Lid
Stop turning and carefully separate the handles. Lift the can opener away without dragging the cutting wheel through the food.
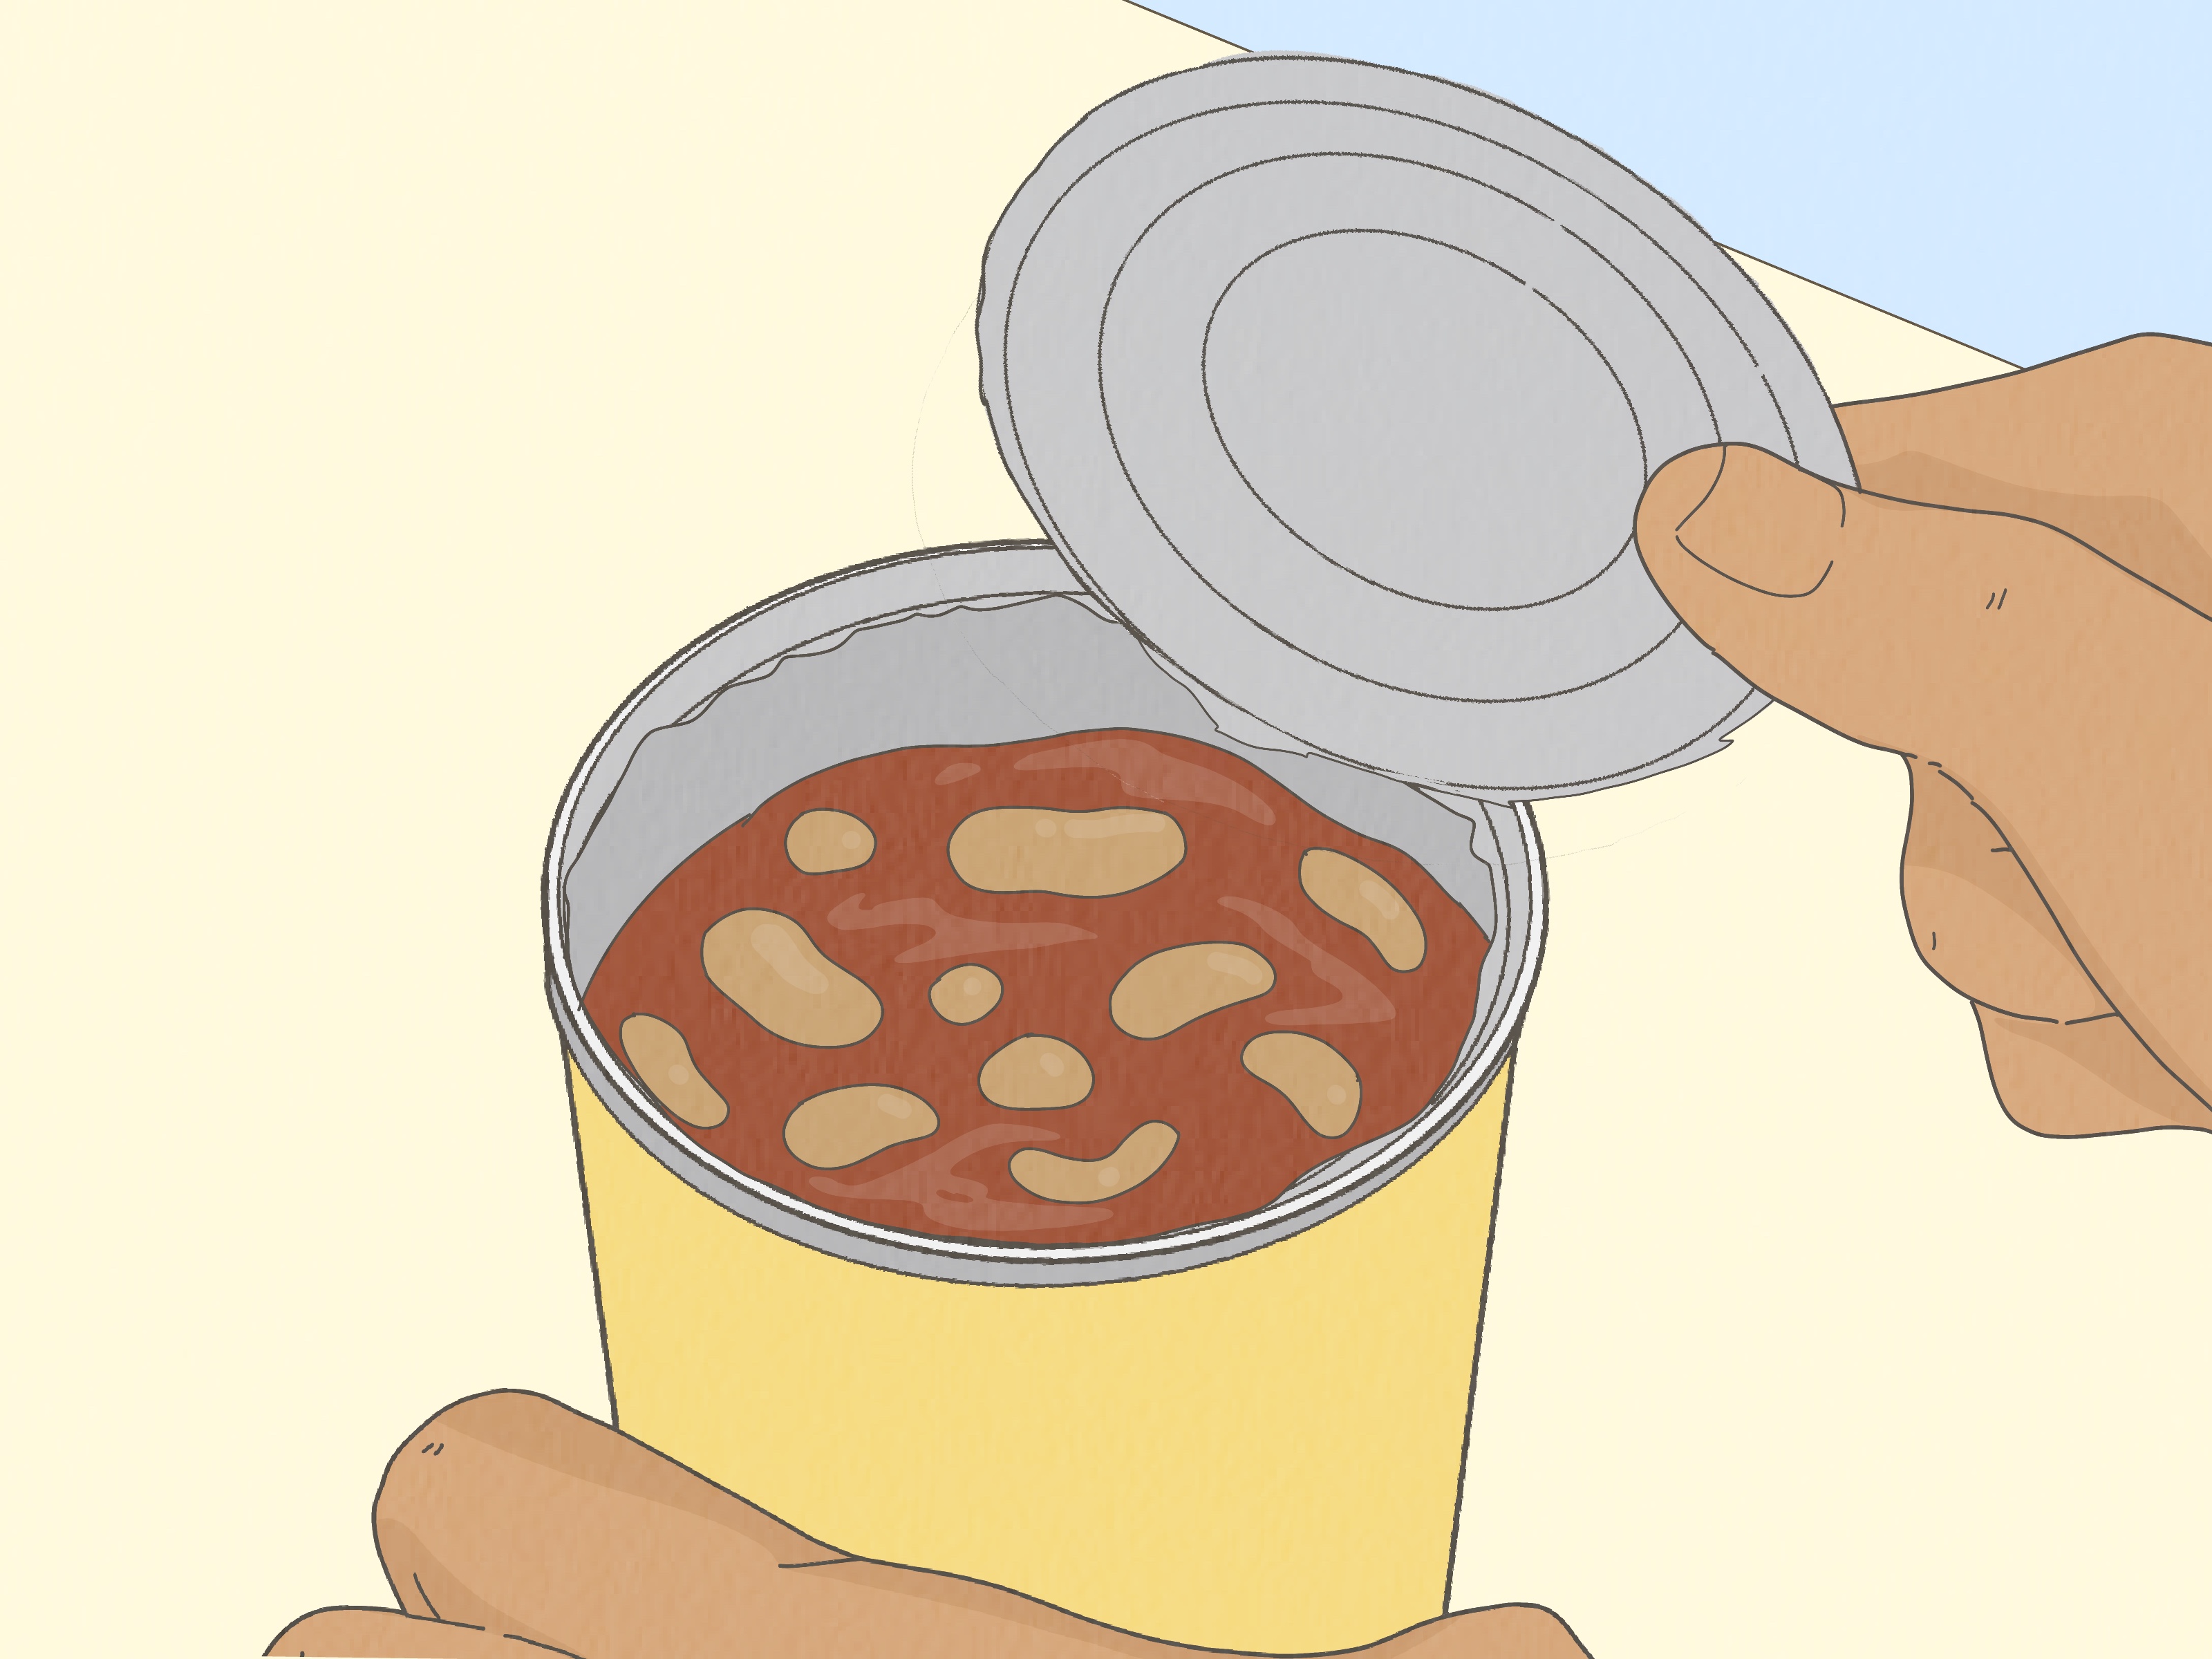
Remove the lid using a fork, butter knife, magnetic lid lifter, or the opener’s built-in gripping mechanism. Avoid reaching into the can with your fingers. Traditional openers can leave sharp edges on both the lid and the can.
If the lid falls into the food, do not grab it with your bare hand. Use clean tongs or a fork to lift it out. Wash the utensil afterward, especially if the outside of the lid touched the food.
Step 10: Empty the Can and Clean the Opener
Pour, spoon, or drain the contents according to your recipe. If you are not using all the food, transfer the remainder to a clean, covered storage container and refrigerate it promptly according to the product’s storage instructions.
Wash the manual can opener after use unless the manufacturer recommends a different cleaning method. Scrub the cutting wheel and toothed gear with hot, soapy water and a small dish brush or clean toothbrush. Rinse thoroughly and dry completely before returning the opener to a drawer. Trapped moisture encourages rust, which is not the seasoning anyone requested.
How to Use a Smooth-Edge Manual Can Opener
A smooth-edge opener works differently from a conventional top-cut model. Instead of slicing downward through the lid, it usually cuts through or separates the seam around the side of the can.
- Place the opener flat against the top or outer rim, following the directional markings on the tool.
- Turn the knob until the mechanism grips the seam.
- Continue turning for one complete trip around the can.
- Reverse the knob slightly or release the handles, depending on the model.
- Use the opener’s lid grippers or small pliers to lift the top away.
Because the seam is separated rather than cut through the center of the lid, these openers often create smoother edges. Some designs also keep the cutting mechanism from touching the food. However, “smooth edge” does not mean “completely harmless.” Handle every newly opened can carefully and follow the manufacturer’s directions.
Common Manual Can Opener Problems
The Can Opener Keeps Slipping Off
Slipping usually means the cutting wheel and gear are not properly straddling the rim. Open the handles, reposition the tool closer to the raised edge, and clamp it again. Also check that the countertop and your hands are dry.
If correct alignment does not solve the problem, inspect the gear teeth. Worn, greasy, or food-covered teeth may fail to grip the can.
The Knob Is Difficult to Turn
A stiff knob may indicate dried food in the gears, corrosion, poor alignment, or a bent can rim. Clean the mechanism thoroughly and test the opener on an undamaged can.
If the opener still feels as though it is grinding gravel, replace it. An opener should cut smoothly without requiring painful hand pressure.
The Cutting Wheel Leaves Uncut Sections
Skipping can happen when you release pressure on the handles, turn the knob unevenly, or use a dull blade. Keep the handles firmly closed and use a steady speed.
Recurring skips, jagged cuts, visible metal flakes, or persistent rust are signs that the opener may be worn out. Replacing a damaged opener is safer and far less annoying than performing three laps around the same can.
The Lid Drops Into the Food
Try stopping just before the final section is cut, leaving a narrow hinge. Lift the lid with a fork or butter knife and bend it upward carefully. Alternatively, choose a locking opener with a magnet or lid-lifting mechanism.
The Can Has an Unusual Rim
Some cans have thick seams, square corners, tapered sides, or pull tabs that interfere with a standard opener. Try another section of the rim rather than forcing the blade through a dent or tab. Specialty cans may require a safety opener or another compatible design.
Manual Can Opener Safety Tips
- Never run a finger along a freshly cut lid or rim.
- Do not let children use a sharp can opener without close adult supervision.
- Keep the can upright while cutting to reduce spills.
- Discard lids immediately in a way that prevents hands from contacting their edges.
- Do not use a rusty, cracked, loose, or severely worn opener.
- Never open a bulging or leaking can merely to investigate what is inside.
- Do not taste food from a suspicious container to determine whether it is safe.
For safer disposal, place the lid inside the empty can only when it fits without requiring you to push it down with your fingers. Another option is to wrap the lid in paper before putting it in the trash.
How to Clean and Maintain a Manual Can Opener
Clean It After Every Use
Even when the blade does not appear to touch the food, small amounts of liquid can splash into the cutting wheel and gears. Wash the opener after each use, particularly after opening tuna, beans, tomatoes, pet food, or other moist products.
Use a Small Brush
A sponge often slides over the surface without reaching the narrow spaces around the gear. A toothbrush or compact dish brush is better for removing residue from the teeth, wheel, hinge, and handle joint.
Dry It Thoroughly
Shake off excess water, wipe the opener with a clean towel, and leave it open to air-dry. Do not close and store it while moisture remains around the blade.
Check the Manufacturer’s Instructions
Some manual can openers are dishwasher-safe, while others should only be hand-washed. Rubber handles, locking mechanisms, and enclosed gears may be damaged by high dishwasher temperatures. When the care instructions say “hand wash,” believe them; the dishwasher is not a courtroom in which you need to challenge the evidence.
Replace a Worn-Out Opener
Replace the tool when the blade becomes dull, the gears develop significant rust, the handles become loose, or the opener regularly grinds and skips. Commercial food-safety guidance also recommends replacing worn blades that develop grooves.
Experience Notes: What Real Kitchen Use Teaches You
Alignment Matters More Than Hand Strength
One of the most common beginner experiences is squeezing the handles harder when the opener refuses to work. That reaction feels logical: if the lid is not opening, apply more power. In practice, the problem is usually positioning rather than strength.
When the rim sits correctly between the cutting wheel and gear, the first puncture requires only moderate pressure. The knob then turns with steady resistance. When the wheel is too far inward or the gear is resting on top of the rim, the opener may crush the metal without moving forward. Repositioning it by a fraction of an inch often solves the problem immediately.
Full Cans Reward a Slower Pace
Opening a can of thick tomato paste is forgiving. Opening a can filled to the top with broth, fruit juice, or beans is less so. Fast cranking can shake the can and send liquid over the rim as soon as the seal breaks.
A better habit is to slow down near the final inch of the cut. Keep the can upright, reduce turning speed, and hold the handles steady. This gives you more control when the lid releases. It also prevents the classic countertop puddle that appears exactly three seconds after you finished cleaning the kitchen.
A Cheap Opener Can Work WellUntil It Does Not
An inexpensive opener with a sharp wheel and properly meshed gears may perform perfectly for years. Price alone does not determine whether a tool can open a can. The more noticeable differences are often handle comfort, knob size, locking ability, and durability.
However, a worn opener announces its retirement through behavior. It begins skipping sections, squeezing the rim instead of cutting it, or demanding more pressure with every use. People often adapt by making several passes around the can, but that creates more jagged metal and increases frustration. Once an opener consistently grinds instead of slicing, replacement is usually the sensible choice.
Cleaning Immediately Is Easier Than Cleaning Later
Another lesson becomes obvious after opening tomato sauce or pet food: residue dries quickly around small gears. When the opener is rinsed and brushed immediately, cleaning takes less than a minute. When it is returned to the drawer dirty, the residue hardens into a stubborn layer that is much more difficult to remove.
Immediate cleaning also makes it easier to notice rust, bent parts, and food trapped near the blade. Drying the opener in the open position allows air to reach the hinge and cutting mechanism rather than trapping moisture between the handles.
Different Can Openers Require Different Muscle Memory
Someone accustomed to a traditional top-cut opener may initially struggle with a smooth-edge model. The safety opener can feel incorrectly positioned because it attaches to the outer seam instead of puncturing the lid from above. Conversely, someone familiar with a side-cut design may place a conventional opener too flat and wonder why the gear cannot grip.
The practical lesson is simple: study the mechanism before applying pressure. Locate the blade, locate the gear, and determine which side of the rim each component must contact. Thirty seconds of inspection can prevent five minutes of metal-on-metal disagreement.
Comfort Features Become Important During Batch Cooking
Opening one can rarely tests your hands. Opening six cans for chili, soup, meal preparation, or a large family recipe is different. Small knobs and thin metal handles can become uncomfortable quickly, especially for users with reduced grip strength.
Large turning knobs, cushioned handles, locking mechanisms, and one-handed ratcheting designs can reduce strain. People who regularly experience wrist pain, arthritis, or limited dexterity may benefit from a specialized manual opener or an automatic model rather than forcing themselves to use a traditional tool. The best can opener is not the one that looks most impressive in the drawer; it is the one you can operate safely and comfortably.
Conclusion
Learning how to use a manual can opener comes down to three essentials: correct alignment, steady turning, and respect for sharp metal. Inspect and clean the can, place it on a stable surface, fit the rim between the cutting wheel and gear, squeeze the handles, and turn the knob at a controlled pace. Once the cut is complete, remove the lid with a utensil or built-in lifter rather than your fingers.
Just as importantly, clean and dry the opener after every use. A well-maintained cutting wheel should grip securely and travel around the lid without slipping, grinding, or leaving repeated gaps. When the blade becomes dull or rusty, let the opener retire with dignity. It has served enough canned tomatoes.
With a little practice, opening a can becomes the quick, forgettable kitchen task it was always supposed to benot a tiny mechanical crisis five minutes before dinner.