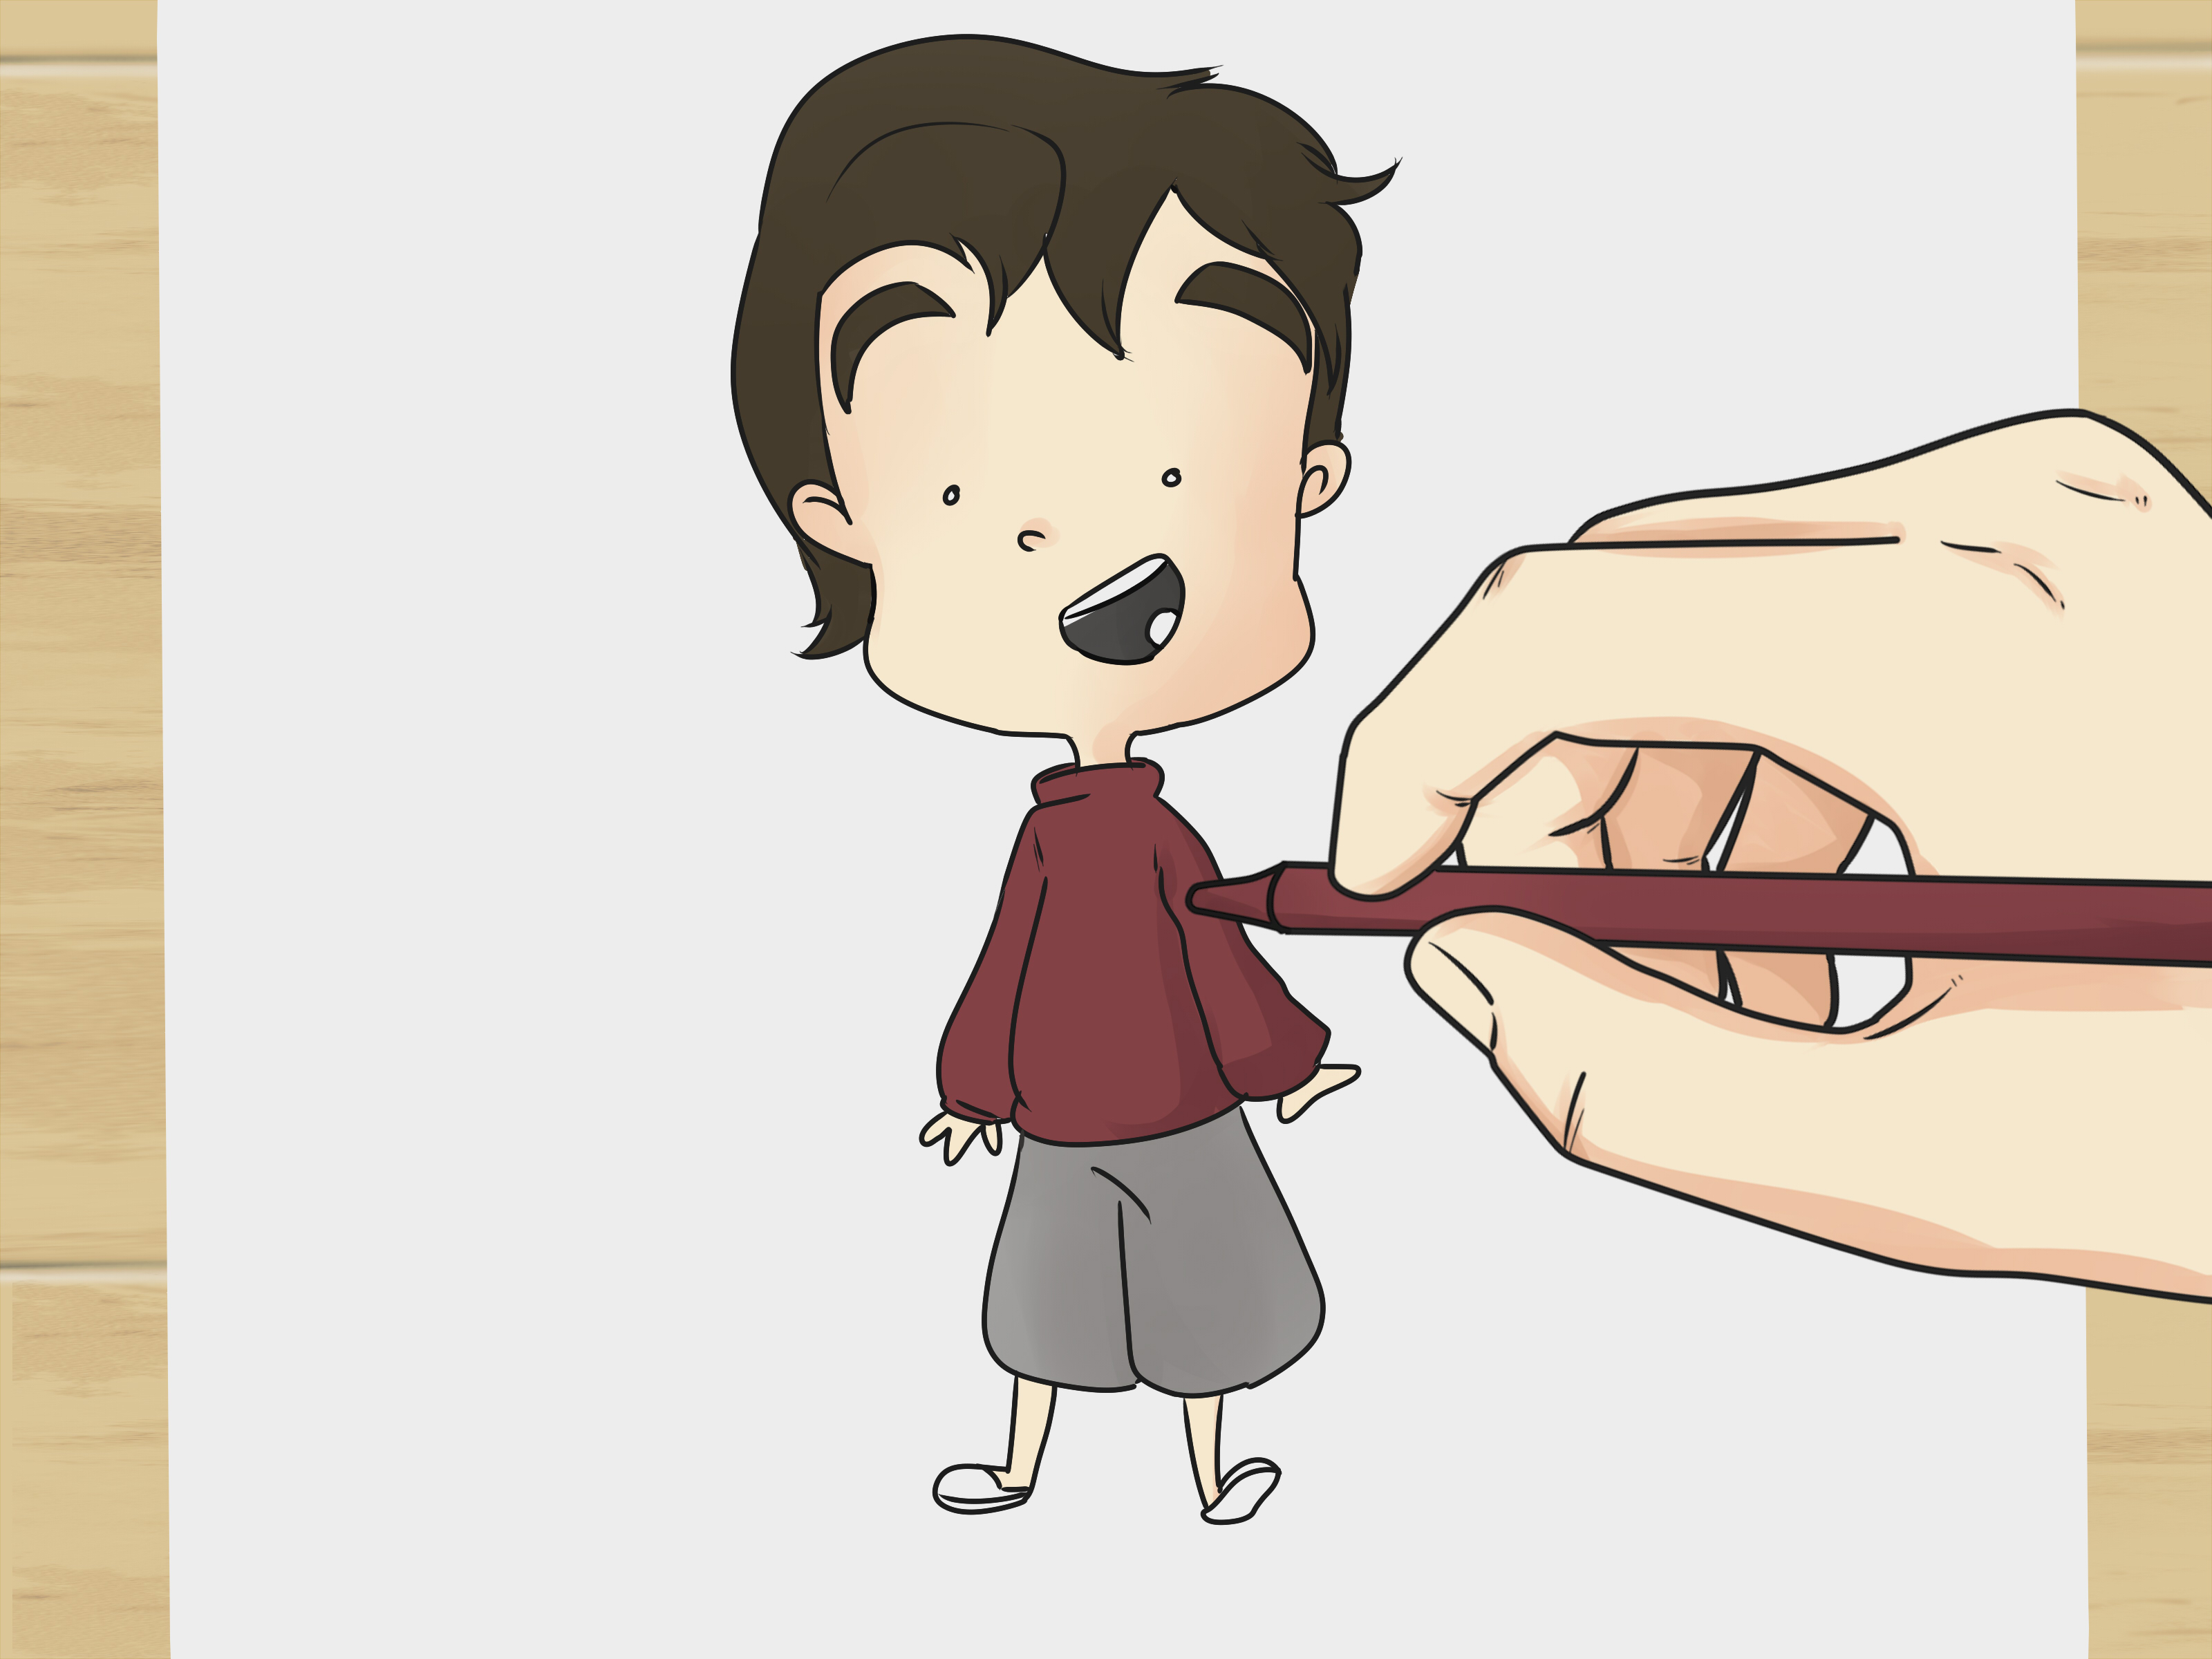
Comic characters do not need realistic muscles, museum-worthy shading, or hair with 4,000 individually rendered strands. They need personality, clarity, and enough consistency that readers recognize them in the next panel. That is excellent news for beginnersand terrible news for anyone hoping to blame a lack of fancy pencils.
This guide explains how to draw simple comic characters by building them from basic shapes, expressive poses, readable faces, and repeatable details. You can follow the process with pencil and paper or use it for digital cartoon drawing. Either way, the objective is the same: create a character who looks alive without making the design unnecessarily difficult.
What You Need Before You Start
You can begin with ordinary printer paper, a pencil, an eraser, and a black pen. A sketchbook is helpful because it keeps your experiments together, including the wonderfully strange ones that look like potatoes applying for office jobs.
Digital artists can use a drawing tablet and any illustration program with separate sketch, ink, and color layers. However, software cannot replace the fundamentals. A perfectly stabilized digital line will still produce a stiff character if the underlying pose has no energy.
- A pencil or light digital brush for rough sketches
- An eraser or undo function
- A black pen or inking brush
- A few reference photographs
- A simple character idea or personality trait
- Optional coloring tools
How to Draw Simple Comic Characters in 11 Steps
Step 1: Decide Who the Character Is
Begin with personality rather than anatomy. Ask what your character wants, how they behave, and what readers should notice first. A nervous student, fearless astronaut, sleepy wizard, and overconfident squirrel should not all stand, dress, or react in exactly the same way.
Write a one-sentence description such as, “Milo is a brilliant inventor who panics whenever his machines actually work.” That sentence gives you several visual possibilities: alert eyes, untidy clothing, cautious posture, and pockets full of suspicious tools.
Keep the concept focused. One strong idea is usually more memorable than twelve unrelated accessories. If the character is shy, perhaps the shoulders curl inward. If the character is bold, enlarge the chest and use an open stance. Visual design becomes easier when every choice supports the same personality.
Step 2: Explore Circles, Squares, and Triangles
Basic shapes are the construction blocks of simple cartoon characters. Circles often appear friendly, soft, or youthful. Squares can suggest strength, reliability, or stubbornness. Triangles and sharp angles may communicate speed, danger, cleverness, or nervous energy.
These associations are flexible rather than rigid laws. A round villain can be delightfully unsettling, while a triangular hero can look quick and adventurous. Shape contrast is what makes a cast visually interesting.
Draw several tiny body designs using different combinations. Try a circular head on a rectangular torso, a narrow head above a round body, or a broad square figure with surprisingly delicate legs. Work quickly. These thumbnail sketches are visual brainstorming, not auditions for a gallery wall.
Step 3: Draw a Clear Line of Action
Before constructing the body, draw one sweeping line that represents the direction and energy of the pose. This is the line of action. It might curve through the spine of a character who is sneaking, leaning, running, laughing, or dramatically discovering that someone ate the last cookie.
A perfectly vertical line often produces a stiff pose. Even a character who is standing still can lean slightly, shift weight onto one leg, or tilt the shoulders against the hips. That small imbalance makes the figure feel present rather than assembled.
Keep the first gesture loose. Use your whole arm when possible instead of drawing with tiny movements from the wrist. If the pose cannot be understood as a quick stick figure, additional detail is unlikely to rescue it.
Step 4: Build the Body With Simple Forms
Place the head, chest, and pelvis along the action line. Use an oval or rounded box for the head, a bean or block for the torso, and a smaller shape for the hips. Connect them with simple lines for the spine and limbs.
Next, turn the limbs into tubes, tapered cylinders, or soft rectangular forms. Add small circles where the shoulders, elbows, knees, and ankles bend. You are creating a mannequin that can be rotated and posednot drawing the final outline yet.
For a highly simplified comic style, the character might be only three to five heads tall. Large heads provide more room for facial expressions, while small bodies make actions easier to exaggerate. Choose proportions that you can reproduce reliably instead of chasing realism.
Step 5: Construct the Head and Facial Guidelines
Draw a vertical centerline around the head to show which direction the face is turning. Add a horizontal eye guideline that curves around the form. These guides keep both eyes attached to the same imaginary skull, which is generally where readers expect to find them.
Move the eye line higher or lower to change the character’s appearance. A lower eye line with a large forehead can look young or cute. A longer lower face may appear older or more serious. Experiment before settling on one formula.
When the head turns, the centerline moves toward the visible side, and the features on the far side become narrower. Thinking of the head as a three-dimensional ball is more useful than memorizing a front-facing symbol and hoping it survives every camera angle.
Step 6: Design a Simple, Expressive Face
Comic faces work through selection and exaggeration. You do not need to draw every eyelash, nostril, or anatomical curve. Select the features that carry the emotion and remove those that create noise.
Start with basic eyes, eyebrows, a small nose, and a flexible mouth. Change one element at a time. Raised eyebrows and an open mouth suggest surprise. Lowered eyebrows, compressed lips, and a forward head create anger. Uneven eyebrows can communicate doubt, suspicion, or the realization that a “five-minute project” has entered its third hour.
Do not rely on the mouth alone. The eyes, eyebrows, cheeks, head angle, and posture should support the same emotion. Practice drawing joy, sadness, anger, fear, boredom, and confusion. Then push each expression slightly farther than feels natural. Cartoon emotions usually become clearer through controlled exaggeration.
Step 7: Add Hair and One Recognizable Feature
Treat hair as a large graphic mass before drawing smaller locks. Establish the outer silhouette, hairline, and main direction. Add only enough interior lines to explain volume and texture. Drawing every strand makes the design slower to reproduce and can turn a cheerful comic into a lifelong hair-management program.
Give the character one or two identifying features. These might include an oversized jacket, crooked glasses, a distinctive hat, a dramatic curl, a long scarf, or unusually shaped ears. The best feature contributes to both recognition and personality.
Test the feature at a small size. If it disappears when the drawing is reduced, simplify or enlarge it. Comic characters often appear in small panels, so important design choices must remain readable without magnification.
Step 8: Simplify Hands and Feet
Hands frighten many beginning artists because five fingers create numerous possible positions. Simplification solves the problem. First draw the palm as a soft box or flattened oval. Group the fingers into a mitten shape and add the thumb separately. Divide individual fingers only when the gesture requires them.
Focus on what the hand is doing. A pointing hand needs one clear finger. A fist needs a compact block with a thumb wrapping across it. An open hand can begin as a fan-shaped mitten. Three- or four-fingered designs are also common in stylized cartoons because they are quicker to draw and easier to read.
Build feet from wedges, beans, or rounded blocks. Make them large enough to support the body visually. Tiny feet beneath a heavy character may be funny, but they should look intentionally funny rather than accidentally misplaced.
Step 9: Draw Clothing That Supports the Story
Dress the construction forms instead of drawing clothes as flat stickers. Fabric wraps around the torso and limbs, while folds tend to gather near bending or pulling points such as elbows, knees, shoulders, and waistbands.
Keep the costume practical for repeated drawing. A jacket with 37 buckles may look impressive in a character portrait, but panel number 200 will make you question several life choices. Begin with a recognizable outfit and reserve detail for areas that reveal occupation, setting, or personality.
Use the costume’s shape to strengthen the silhouette. Wide sleeves can make a character seem relaxed or theatrical. A narrow suit creates a sharper appearance. Heavy boots suggest weight, while loose sneakers may feel casual and energetic.
Step 10: Clean Up the Lines and Add Color
Reduce the opacity of the rough sketch or erase it lightly. Draw the final outline with deliberate strokes. Avoid slowly scratching over the same edge many times. A confident line does not have to be perfectly smooth; it simply needs to describe the form clearly.
Use thicker lines around the outer silhouette and overlapping forms, with thinner lines for facial features and small interior details. This modest variation can create depth without complex shading.
Choose a limited color paletteoften one dominant color, one supporting color, and one accent. Consider whether the design remains understandable in grayscale, since value contrast helps separate the face, hair, clothing, and background. Save exact color values if you plan to draw the character in multiple panels.
Step 11: Create a Mini Character Sheet
Draw the finished character from the front, side, and three-quarter view. Place horizontal guidelines across the page to keep the eyes, shoulders, waist, knees, and feet aligned. This turnaround reveals proportion problems that a single flattering angle may politely conceal.
Add three or more expressions and two characteristic poses. You might include a neutral pose, an action pose, and a reaction pose. Write short notes about height, colors, important accessories, and features that must remain consistent.
Finally, shrink the drawings or view them as solid silhouettes. The character should still be recognizable through overall shape, posture, and major features. If the design only works when every tiny button is visible, strengthen the larger shapes.
How to Make a Simple Comic Character Look Alive
A technically clean drawing can still feel lifeless when every part is equally straight, centered, and calm. Introduce contrast. Pair a straight back with a curved chest, a large torso with thin legs, or a neat outfit with wildly unruly hair. Contrasting shapes create rhythm and give viewers something to remember.
Asymmetry also helps. Tilt the head, raise one shoulder, bend one knee, or place the hands at different heights. People rarely arrange themselves like action figures waiting inside a package.
Most importantly, draw the character doing something. A design becomes believable when it reacts to an object, another character, or an inconvenience. Instead of drawing “a chef,” draw a chef proudly presenting a cake that is beginning to collapse. The situation encourages clearer acting and a stronger pose.
Common Beginner Mistakes to Avoid
Adding Details Before the Pose Works
Perfect shoelaces cannot repair a weak gesture. Check the action line, balance, and silhouette before refining the face or costume.
Using the Same Body and Face for Every Character
Change height, width, posture, facial proportions, and shape language across the cast. Distinct characters are easier to recognize and produce more interesting group scenes.
Making Every Expression Too Subtle
An expression that looks adequate in a large sketch may vanish in a small comic panel. Test it at publication size and exaggerate the eyebrows, mouth, head angle, or body language when necessary.
Drawing Without References
References are problem-solving tools, not evidence of artistic weakness. Study photographs for poses, hands, clothing, and objects. Analyze the forms, then translate them into your own simplified design rather than copying another artist’s character.
Changing Proportions Between Panels
Record simple measurements such as “four heads tall” or “elbows align with the waist.” A character sheet prevents accidental growth spurts every time the camera changes.
A Practice Experience: What Drawing Comic Characters Teaches You
A useful way to experience this process is to draw one simple character every day for a week. The first session often feels slower than expected. You may spend twenty minutes deciding whether the head should be round or slightly less round, as though the fate of civilization depends on the answer. That uncertainty is normal. The design is still a collection of possibilities rather than a familiar person.
On the first day, create the character from basic shapes and stop before polishing it. On the second, redraw the same figure without tracing. Differences immediately appear: the head becomes taller, the arms change length, and the signature hairstyle quietly migrates to another continent. These errors are valuable because they show which parts of the design are too complicated or poorly defined.
By the third day, measuring the character in head lengths usually makes the proportions more stable. You may discover that “large head, bean-shaped torso, short legs” is more useful than a beautiful finished portrait. A repeatable formula gives you freedom. Once you know where the parts belong, you can spend more attention on acting and storytelling.
The expression exercise often produces the biggest breakthrough. Draw six copies of the same head and assign each one an emotion. At first, only the mouths may change. The happy face smiles, the sad face frowns, and the angry face develops what appears to be an aggressive mustache. Redrawing the expressions with eyebrow movement, eye shape, cheek tension, and head tilt makes them noticeably clearer.
During the pose session, use short time limits of 30 to 90 seconds. Quick sketches discourage detail and force you to capture the main action. Some drawings will look ridiculous. Keep them. A ridiculous pose with energy is usually a better foundation than a careful figure standing as stiffly as a refrigerator.
The turnaround exercise may be humbling because the side view exposes decisions that were never made in the front view. How far does the nose project? Where does the ear sit? Is the hairstyle round, flat, or apparently controlled by local weather? Solving these questions turns a loose idea into a usable comic design.
By the seventh day, the character generally becomes faster and more enjoyable to draw. More importantly, the design starts generating story ideas. A nervous inventor suggests malfunctioning gadgets. A proud pigeon detective suggests mysteries involving breadcrumbs. This is when character drawing stops being an isolated art exercise and becomes visual storytelling.
The practical lesson is that consistency does not come from drawing a perfect image once. It comes from redrawing, simplifying, comparing, and adjusting. Each imperfect attempt teaches you which features carry the character’s identity. With practice, you stop thinking about every construction mark and begin concentrating on what the character feels, wants, and does next.
Conclusion
Learning how to draw simple comic characters is less about mastering every anatomical detail and more about making clear visual decisions. Begin with personality, construct the figure from basic shapes, use an energetic line of action, simplify difficult features, and test the design in multiple poses and expressions.
Your first character may wobble between panels or develop mysteriously elastic arms. Keep drawing. A simple design becomes strong through repetition, and every redraw helps you remove what is unnecessary while emphasizing what makes the character memorable. Eventually, those circles, boxes, and questionable mitten hands begin acting like someone readers want to follow.